


34
MPAA (continued)
NR
–
Not Rated
.
Any type of programming that does not contain a rating.
G
–
General Audience
.
Suitable for all ages.
PG
–
Parental Guidance Suggested
.
Suitable for all ages with parental guidance.
PG 13
–
Parents Strongly Cautioned
.
Intended for viewers 13 years or older.
R
–
Restricted
.
Not recommended for viewers 17 years without parental guidance.
NC-17
–
No One Under 17
.
Not intended for viewers 17 years or younger.
X
–
No One Under 18
.
Not intended for viewers 18 years or younger.
Viewing Guidelines:
At the beginning of a program, the program will display its rating and the content it contains.
(Except for unrated programming)
.
A program can contain any or all of the following:
V/FV
–
VIOLENCE/FANTASY VIOLENCE
S
–
SEXUAL CONTENT
L
– Strong
LANGUAGE
D
– Suggestive
DIALOG
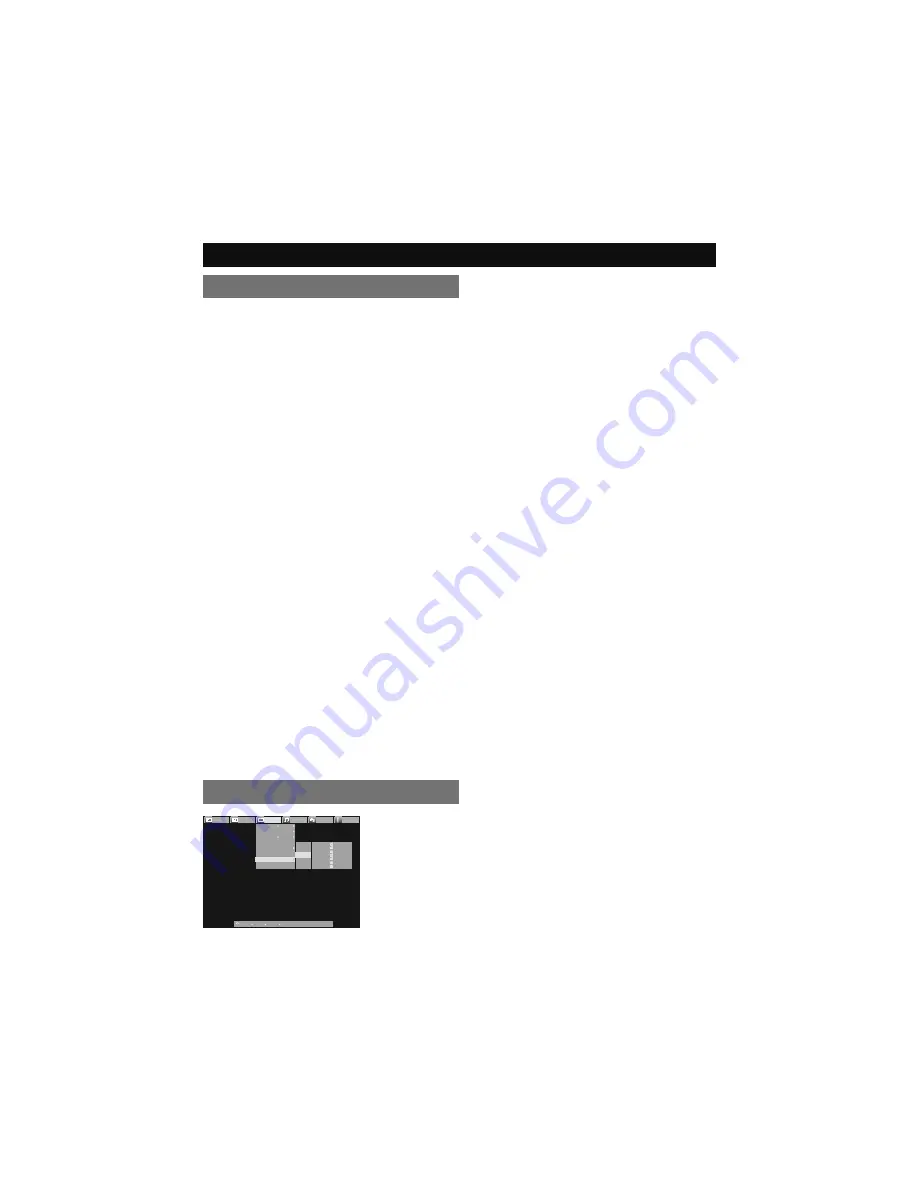
Customizing your TV
Can. Eng.
This setting is based on the Canada ratings
system.
Picture
Display
TV
Sound
Power
Setting
Closed Caption
CC Setting
Tuner Mode
Autoscan
Add Channel
Edit Channel
V-Chip
Guide
ON
Air
Password
MPAA
Can. Eng.
Can Fre.
TVPG
E
C
C8
G
PG
14
18
:Select
:Operate
OK
:Back
BACK
:Exit
MENU
TV (V-Chip) (continued)


