9
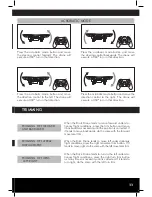
WARNING
CALIBRATION
DRONE SYNCHRONIZATION
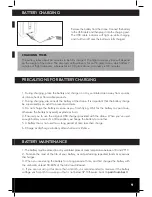
Remove the battery from the drone. Connect the battery
to the USB cable and then plug it into the charging port.
The USB cable indicator will light up while charging
and it will turn off once the battery is fully charged.
CHARGING TIMES
The battery takes about 60 minutes to be fully charged. The flight autonomy time will depend
on the weight of the drone. The simplest configuration is for an 70-gram drone, which offers 7
minutes of flight autonomy, whereas for a 100-gram drone, autonomy is 3.5 minutes.
PRECAUTIONS FOR BATTERY CHARGING
1. During charging, place the battery and charger in a dry, ventilated area away from sources
of intense heat or flammable products.
2. During charging, disconnects the battery of the drone. It is important that the battery charge
be supervised by an adult to prevent accidents.
3. Do not charge the battery as soon as you finish flying. Wait for the battery to cool down,
otherwise the battery may swell, explode or burn.
4. Ensured you to use the original USB charger provided with the drone. When you’ve used
enough battery or see it’s a little swollen, exchange the battery for another.
5. A battery that is not used for a long period of time lose their charge.
6. Charge or discharge a battery often shortens its lifetime.
BATTERY MAINTENANCE
1. The battery must be placed in a dry, ventilated place at room temperature between 18 and 25º C.
2. To make the most of the life of your battery, avoid performing repeated loads or ecessivas
discharges.
3. When you are storing the battery for a long period of time, and first charges the battery with
the umbrella at least 50-60% of the total load allowed.
4. If you are not using it for more than a month, it is recommended to measure it the battery
voltage each month to assure you that is not below 3V. Otherwise back to
point number 3.
BATTERY CHARGING
Summary of Contents for BRICK DRONE
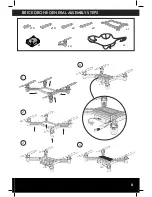
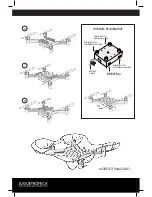
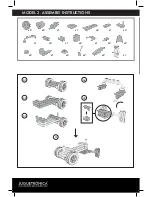
Page 5: ...5 BRICK DRONE GENERAL ASSEMBLY STEPS 1 3 2 4 x2 x2 x10 x16 x1 x1 x1 x4 5...
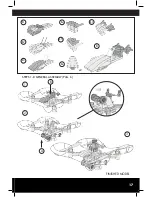
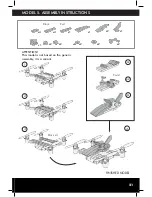
Page 17: ...17 FINISHED MODEL B4 B1 B2 B3 B5 B6 B7 B B A 180 1 2 3 STEPS 1 8 GENERAL ASSEMBLY PAG 6 x2...
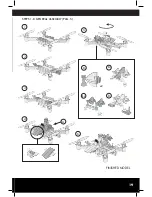
Page 19: ...19 FINISHED MODEL 1 5 6 2 3 STEPS 1 8 GENERAL ASSEMBLY PAG 5 4 A B1 B2 B3 B x2...
Page 23: ...23 DESING YOUR OWN DRONE...


