Ausgabe 07.12.2016
Copyright by Joy-IT
5
3
10.1inch HDMI LCD
4. Working with Raspberry Pi
For the Windows OS on PC, the resolution of the LCD is automatically identified. Hence, you do not
need to make the relative settings. When working with Raspberry Pi, you should set the resolution of
the LCD by yourself, or else the LCD screen will not work. For more detail information, please read the
following section.
At the beginning, you should download the latest image file, RASPBIAN or UBUNTU MATE, from the
website:
http://www.raspberrypi.org/downloads/
1. Download the image file (zipped) into your PC, and extract it, then you will get a file with the
expansion name .img
2. Connect a micro SD card to your PC, and format your micro SD card with the software
. Notices: The capability of micro SD card in used here should be more than 4GB. In this
operation, a micro SD card reader is also required, which has to be purchased separately.
3. Start the software
, and select image file downloaded in the first step, then, click
the button Write to program the system image file.
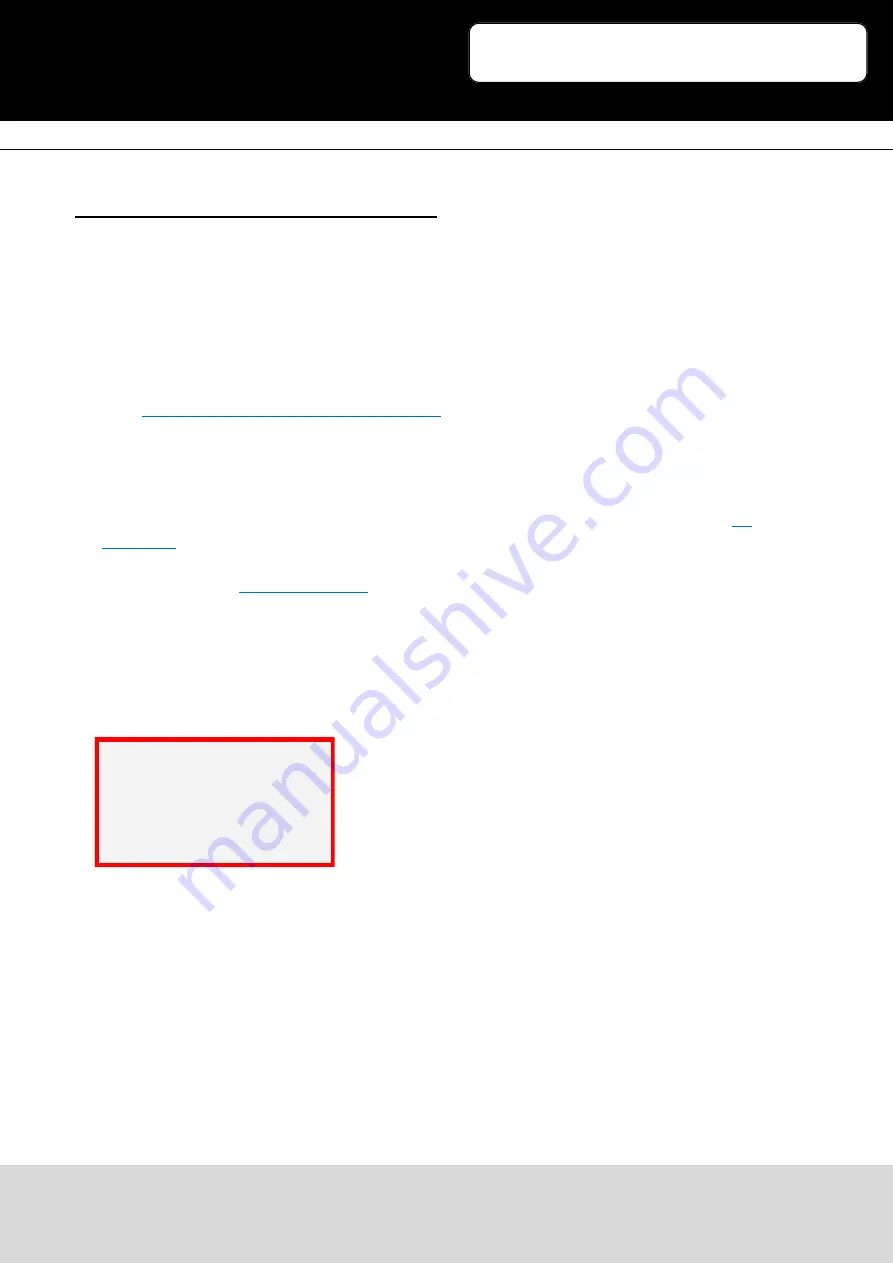
4. When the programming finished, open the config.txt file under the root directory in the micro SD
card, and add the following lines at the end of the file. Then, save the modification and pop-out
the micro SD card.
max_usb_current=1
hdmi_group=2
hdmi_mode=1
hdmi_mode=87
hdmi_cvt 1280 800 60 6 0 0 0


