7
EDIT Mode: (Accessed by Pressing (on/off
3
) and (
4
store) buttons together)
•
Press (on/off
3
) and (
4
store) buttons to scroll up and down to select the
modules. The EDIT light in the center will illuminate to indicate you’re in EDIT
mode.
•
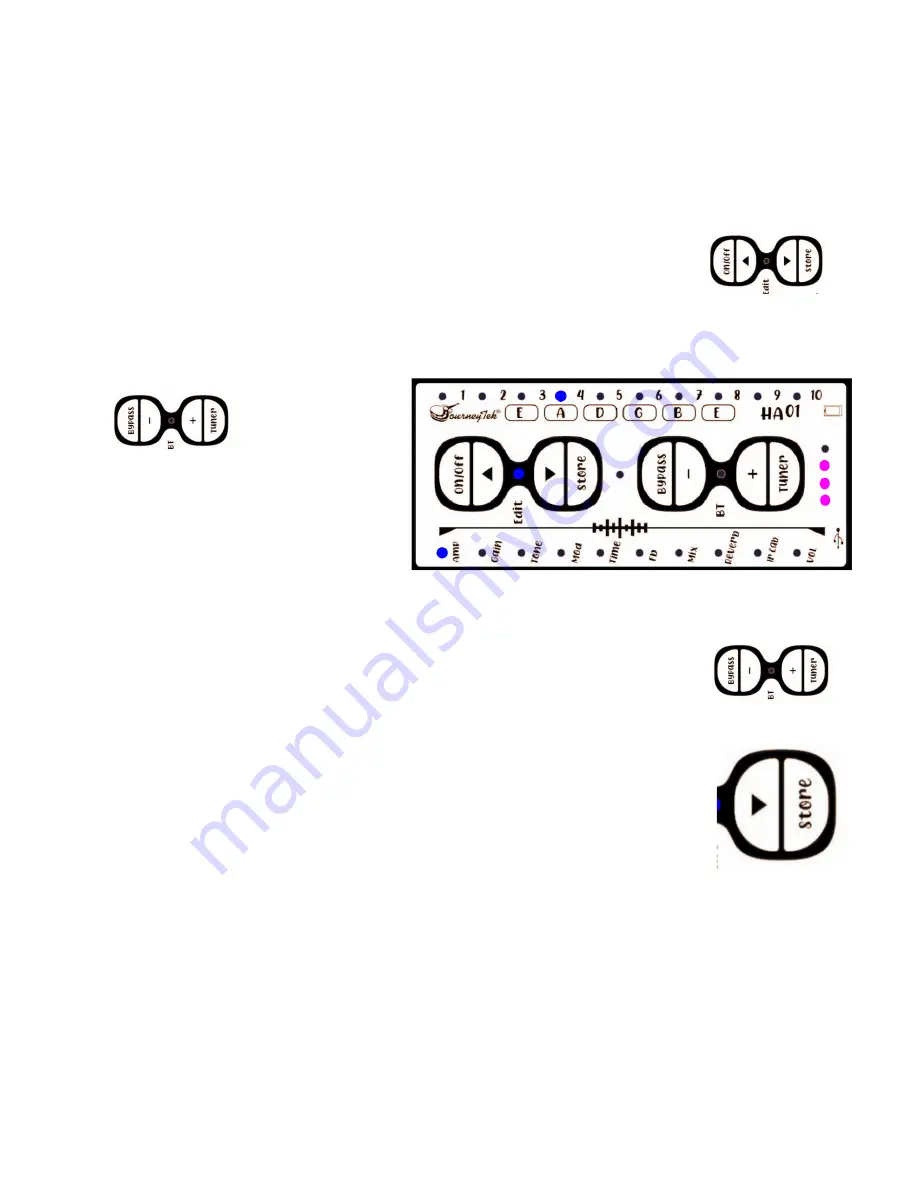
The light beside the AMP label will flash to indicate the module you’re adjusting. When entering the
EDIT mode initially, the system defaults to the AMP module.
You can use the (Bypass-) and
(Tuner+) buttons to
cycle through the
Amp options,
which will be indicated with the light
next to the corresponding number at
the top. After switching to EDIT mode,
if you press “+” three, you’ll be on the
4
th
amp selection, with these lights on
display. (Pink dots represent white
lights)
•
(Bypass-) and (Tuner+) buttons have different functions in different modules.
For example, they browse up/down in the Amp or IR CAB module, and
increase/decrease effect parameters in the REVERB or DELAY modules. The user
can EDIT the parameters in EDIT mode and save them to PRESET mode.
•
Store an Edited Preset: After editing a preset, you can store the edited preset to
the corresponding position in the PRESET mode by an extended press on the
Store button. You can only store your edited settings for the preset you’re
currently editing. For example, if you select the third preset in the PRESET mode
and then press the Press (on/off
3
) and (
4
store ) buttons to enter the EDIT
mode, then the edited preset will be stored as the updated third preset.
©Copyright 2021 Journey Instruments Limited


