24
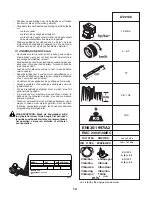
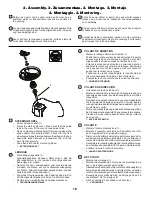
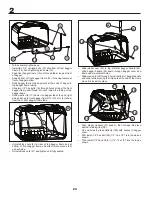
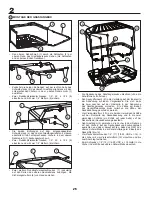
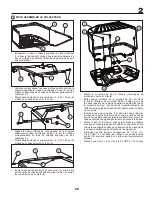
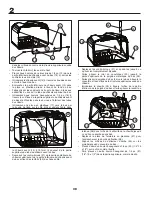
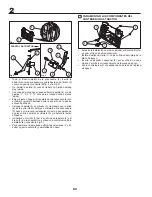
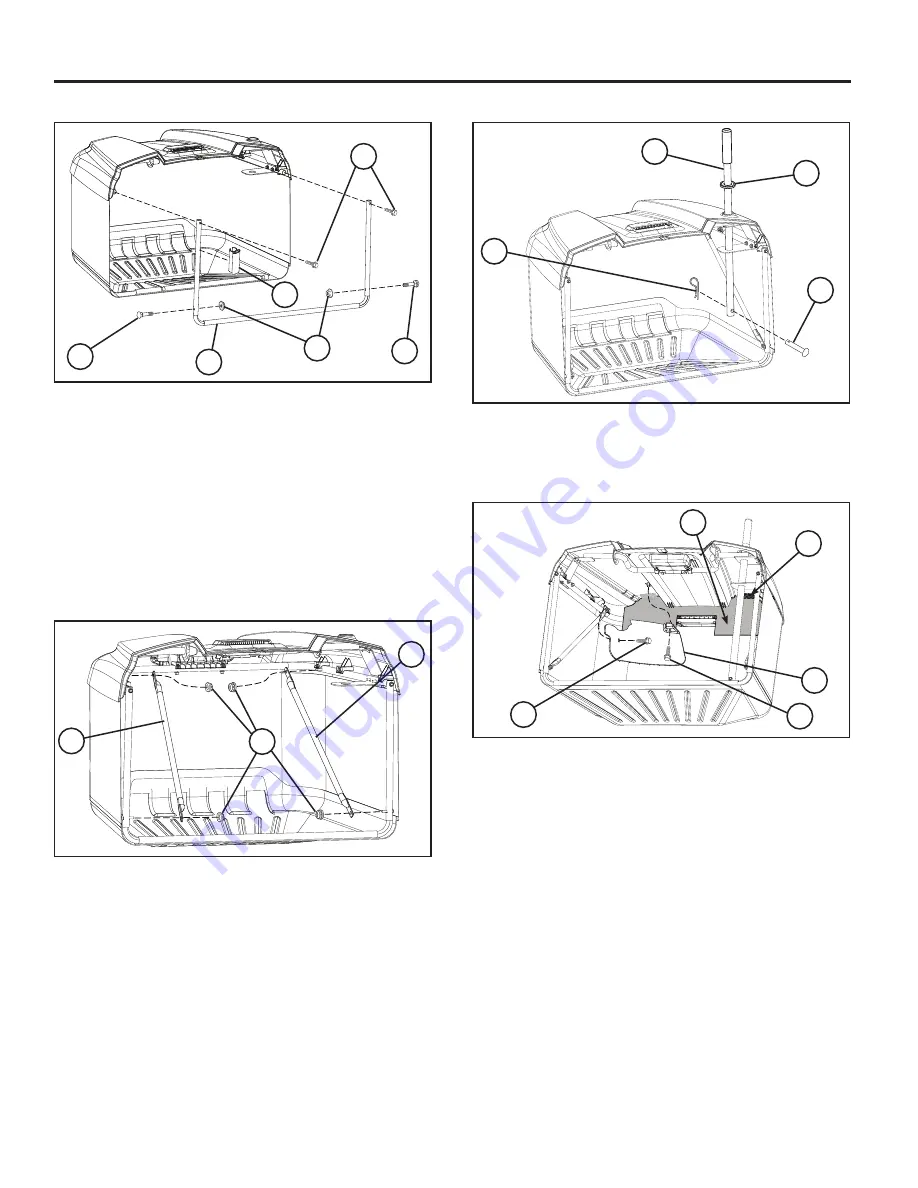
• Slide rubber seal (23) to top of metal bagger handle (24).
• Slide bagger handle (24) down through bagger cover and
frame upper weldment holes.
• Slide clevis pin (25) through hole at bottom of bagger handle
and slide retainer spring (26) into hole at the end of the clevis
pin until it locks into place
• Push plastic closeout (27) back so that it snaps into place
behind retaining ribs (28).
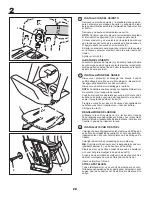
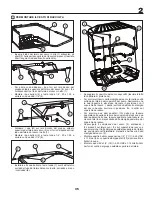
• Line up holes in grass deflector (29) with bosses in bagger
cover.
• First install 1/4" hex bolt (30) (1/4"-15 x 1/2") into the side as
shown.
• Then install 1/4" hex bolt (31) (1/4"-15 x 1/2") into the top as
shown.
30
31
27
28
29
24
26
25
23
22
22
21
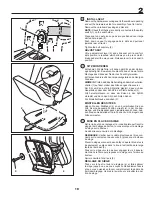
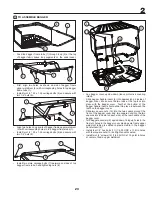
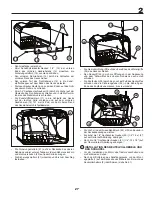
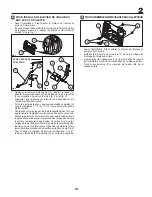
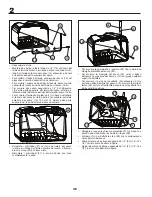
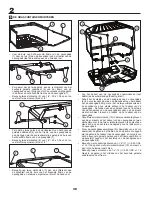
• Turn assembly right-side up.
• Install two 1\4” carriage bolts (13) at bottom of front bagger
frame (14), hand tightening lock nuts (15).
• Feed front bagger frame (14) up through fabric loops at front
of bagger.
• Snap bottom of front bagger frame (14) into snap feature at
front of bagger bottom.
• Slide bagger fabric loop segments at the ends of bag onto
top bagger frame tubing.
• Slide two 1\4” hex bolts (16) through holes at top of the front
bagger frame and thread into nuts inside the tubing of top
bagger frame.
• Slide plastic clip (17) down into bagger fabric loop on right
side and snap to front bagger frame (14) 101 mm (4 inches)
from top of front bagger frame tube.
13
13
14
16
17
15
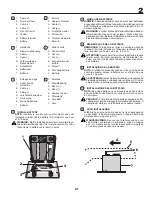
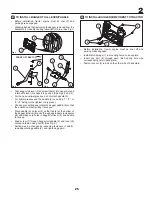
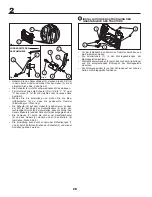
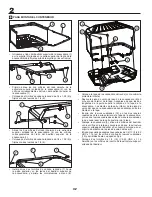
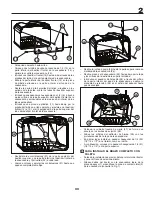
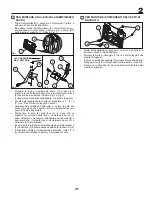
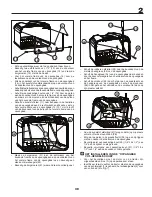
• Uninstall lock nuts (21) at rear of top bagger frame and at
bottom of front bagger frame and attach cross braces (22)
on each side.
• Reinstall lock nuts (21) and tighten until fully seated.
2
Summary of Contents for LT2213C
Page 90: ...90 ...
Page 91: ...91 ...
Page 92: ...532 42 62 68 12 30 08 BAD Printed in the U S A Jonsered Motor AB S 433 81 Partille Sweden ...

