


TP820 User’s Manual
- 11 -
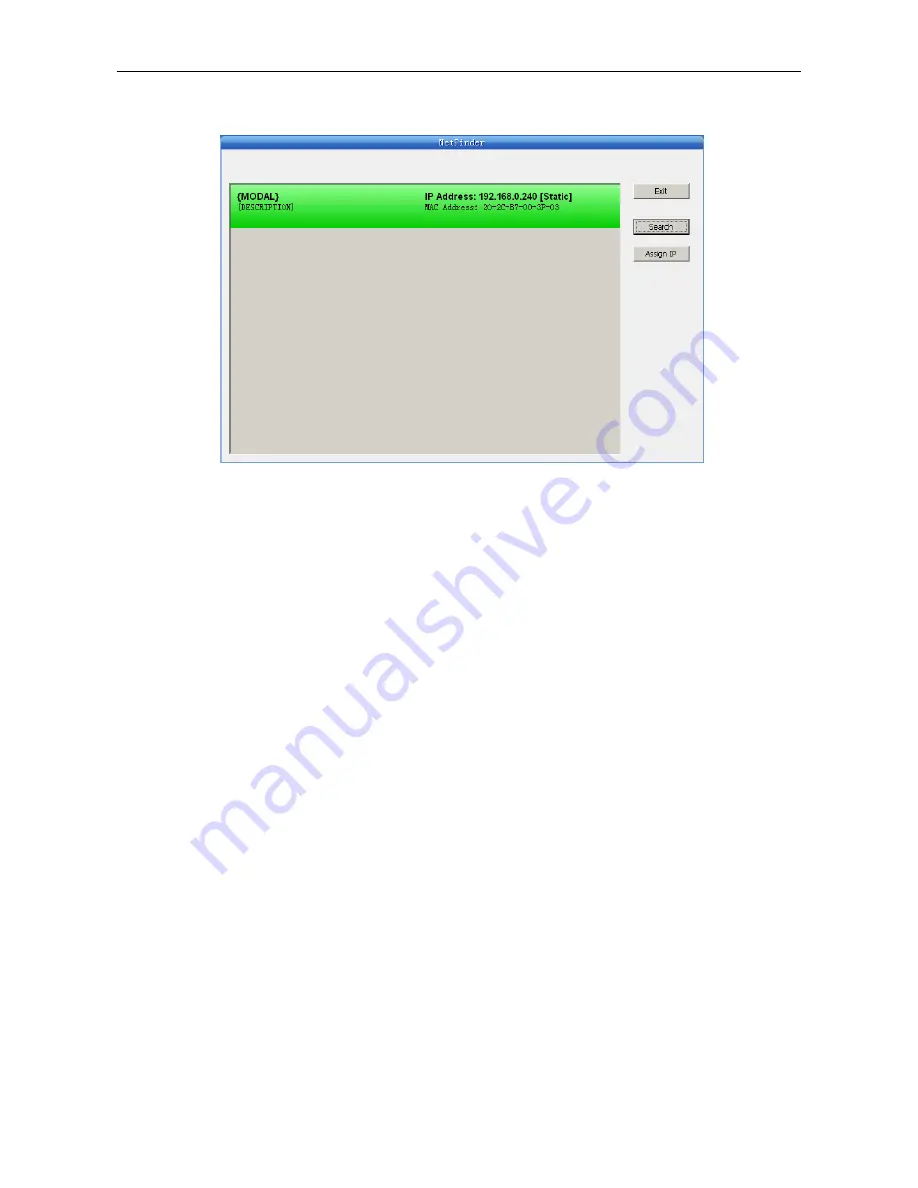
description and the right is the IP and MAC address. What’s more, the assign mode
(dynamic/static) is noted behind the IP address.
1) Correlative description for IP address settings
In order to search and set printer’s IP address conveniently for the first time, the factory default
setting is DHCP mode which assigns IP address dynamically. If there is no DHCP server in the
connected LAN and printer is set to DHCP mode as well, then it will use the internal pre-set
address (IP: 10.0.0.1, Subnet Mask: 255.255.255.0) automatically.
It is suggested that printer’s IP set to static in actual usage, which can cut down the time when
initializing the Ethernet interface as the printer is turned on and prevent IP conflicts (The dynamic
address used in printer may conflict with another one). The network segment part of the IP
address and Subnet Mask must be the same as those of PC connecting with a printer. For
example, the address of working PC is 192.168.0.1/255.255.255.0 (IP/Subnet Mask), then which
of printer should be set to 192.168.0.x/255.255.255.0
(
x=2~254 and should avoid the IP in used.
It is not restricted for NetFinder to search printers in the same network but different segment
parts (can not stride gateway). Relative glossary of IP address may refer to corresponding
information.
2) Setting printer’s IP address
Select the printer information to be modified (black frame appears), click “Assign IP” button. Set
the IP in the dialog box appearing.
Check the “Use DHCP” if need to assign dynamic address, the settings above will be disabled
automatically. Please make sure there is a DHCP server in the network, or the printer can not
receive an effective IP address.
When to specify static address, uncheck “Use DHCP” and fill in “IP address”, “Subnet Mask” and
“Default Gateway”. If there is no gateway in the network, fill 255.255.255.255 in the “Default
gateway”. “IP address” and “Subnet Mask” should obey the assigning rules of local LAN
(Ethernet), please enquire the administrator of networks which the printer connects to for more
details.
Click “OK” to send address setting information to the specified printer. The printer takes response
after “Close this window on success” is checked, and then this dialog is closed automatically.
Select “Reload Timer” then the software will wait for the printer’s response. Generally, printer will
take response in a circle time if network connection is correct.
Click “Cancel” if you abandon the modification.
Click “Search” in the main interface again to update printer information after modifying the
printer’s IP address.
3) Report printer’s IP address
Report the printer’s IP address, which will be used in the section “Newly-install printer network


