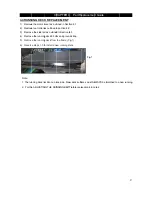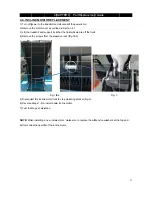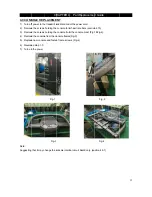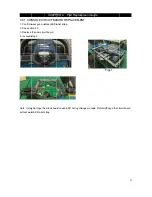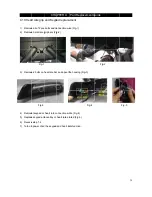
4.2 REAR
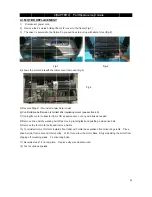
1) Remove
2) Remove
removed (F
3) Remove
4. Reverse
Note:
1. be sure to
2. Over or u
3. Always b
4. Final step
stop the bel
5.
For the
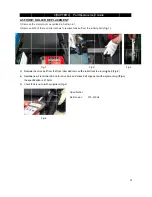
R ROLLER
the 4 screws
both roller a
ig-2).
Fig-1
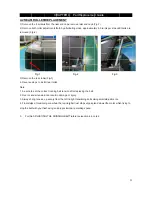
the rear rolle
steps to inst
o set the cor
under tension
ring tension
ps of tension
lt with your fe
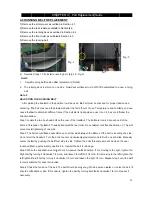
e ADJUSTIN
CH
R REPLAC
s from the re
djustments b
er (Fig-3)
all rear roller
rrect running
n can result i
up evenly fro
ning are when
eet using an
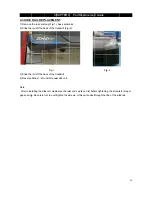
NG THE RUN
HAPTER 4
CEMENT
ear end caps,
both by altern
r.
belt tension
n damage o
om the left to
n the running
abrupt stom
NNING BELT
4: Part Re
, remove rea
nating sides,
Fig-2
after replaci
r injury.
o right tensio
g belt just sto
mp at a walkin
T reference s
eplacemen
ar end caps.(
, approximate
ing the belt.
oning bolts us
ops slipping a
ng speed.
section 4.6 n
nt Guide
Fig-1)
ely 4-5 turns
sing small ad
and slows th
ote 2
s per side unt
Fig-3
djustments.
he motor whe
25
til bolts are
en trying to
5
Summary of Contents for AFG Pro 7.2AT
Page 2: ...Prod duct Br rowse 2 2...
Page 5: ...1 1 Serial SERIAL N l Number NUMBER CHAP Location PTER 1 S Serial Number Locatio on 5 5...
Page 9: ...CONSOLE E ELECTRIC CAL DIAGR CHAPTER RAM R 3 Troubleshooting 9 9...
Page 12: ...3 2 2 Engineering Mo ode CHAPTER R3 Troub bleshooting g 12 2...
Page 13: ...13 3...

