1133394-YIM-A-1014
Johnson Controls Unitary Products
5
Installation
Installation Safety Information
Read these instructions before continuing this appliance
installation. This is an outdoor combination heating and cooling
unit. The installer must assure that these instructions are made
available to the consumer and with instructions to retain them
for future reference.
1.
Refer to the unit rating plate for the approved type of gas
for this product.
2.
Install this unit only in a location and position as specified
on Page 7 of these instructions.
3.
Never test for gas leaks with an open flame. Use
commercially available soap solution made specifically for
the detection of leaks when checking all connections, as
specified on Pages 5, 29, 30 and 52 of these instructions.
4.
Always install furnace to operate within the furnace's
intended temperature-rise range with the duct system and
within the allowable external static pressure range, as
specified on the unit name/rating plate, specified on
Page 53 of these instructions.
5.
This equipment is not to be used for temporary heating of
buildings or structures under construction.
It is permitted to use the unit for heating and cooling of buildings
or structures under construction where the application and use
must comply with all manufacturer's installation instructions
including:
• Proper installation of vent outlet air and combustion air
intake hoods;
• Unit must be operated under thermostatic control;
• Return and supply air ducts must be sealed to the unit;
• Air filters in place;
• Unit furnace input rate and temperature rise must be set
per rating plate marking;
• Return air temperature maintained between 55ºF (13ºC)
and 80ºF (27ºC);
• Upon completion of the construction phase and prior to
formal start up and commissioning, the unit, duct work
and components should be thoroughly cleaned and
inspected to assure that operation of the unit during
construction has not contaminated the unit.
NOTE:
Should the unit be used during the construction phase
the standard limited warranty provisions go into effect
once the unit is placed into operation.
Preceding Installation
1.
Remove the two screws holding the brackets in the front,
rear and compressor side fork-lift slots.
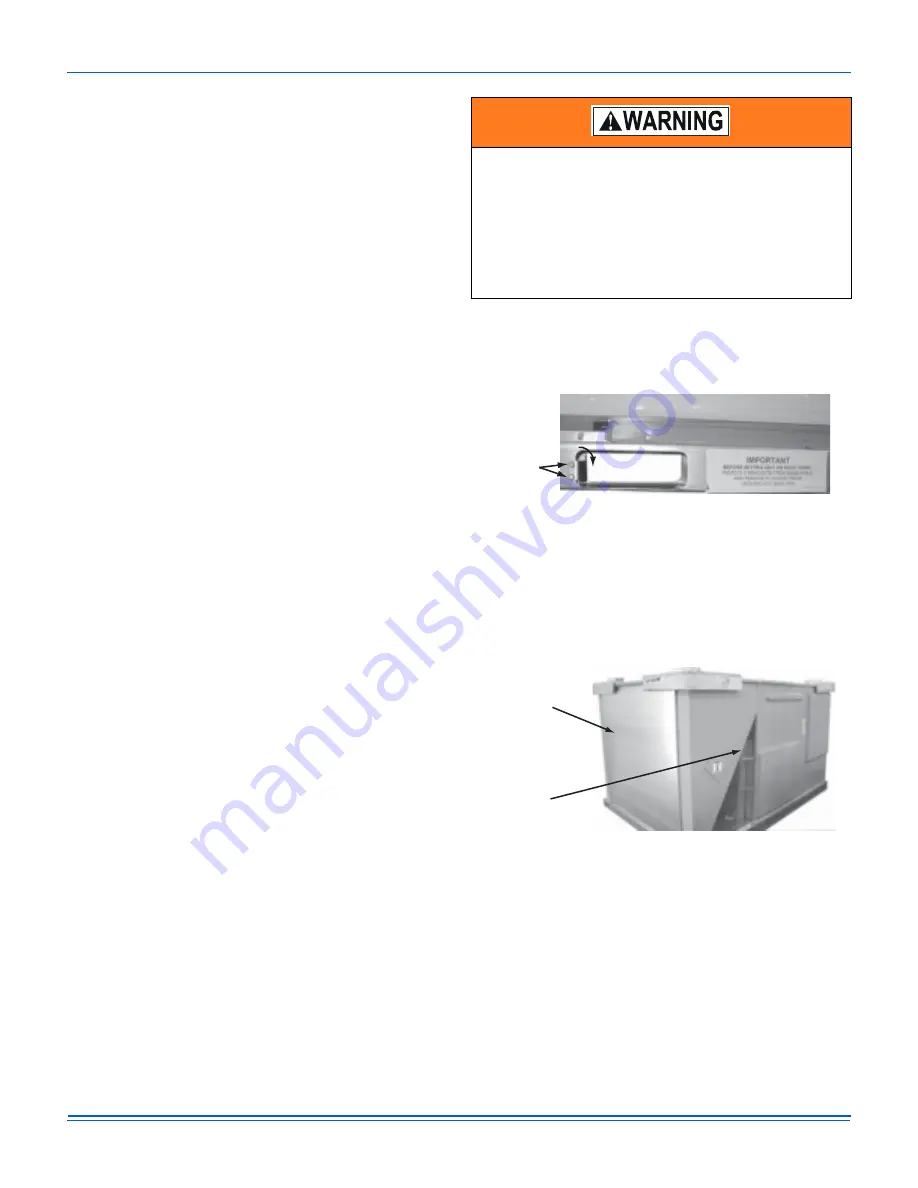
Figure 1: Unit Shipping Bracket
2.
Turn each bracket toward the ground and the protective
plywood covering will drop to the ground.
3.
Remove the condenser coil external protective covering
prior to operation.
4.
Remove the toolless doorknobs and instruction packet
prior to installation.
Figure 2: Condenser Covering
FIRE OR EXPLOSION HAZARD
Failure to follow the safety warning exactly could result
in serious injury, death or property damage.
Never test for gas leaks with an open flame. use a
commercially available soap solution made specifically
for the detection of leaks to check all connections. A fire
or explosion may result causing property damage,
personal injury or loss of life.
Bracket
Screws
Turn down
Condenser
Coil External
Protective
Covering
Barometric
Relief Hood
in Shipping
Location
(if Included)


