Johnson Controls
Start-Up & Operation Guide | 5586996-JSG-A-0120
91
Operation
Turning on the Unit
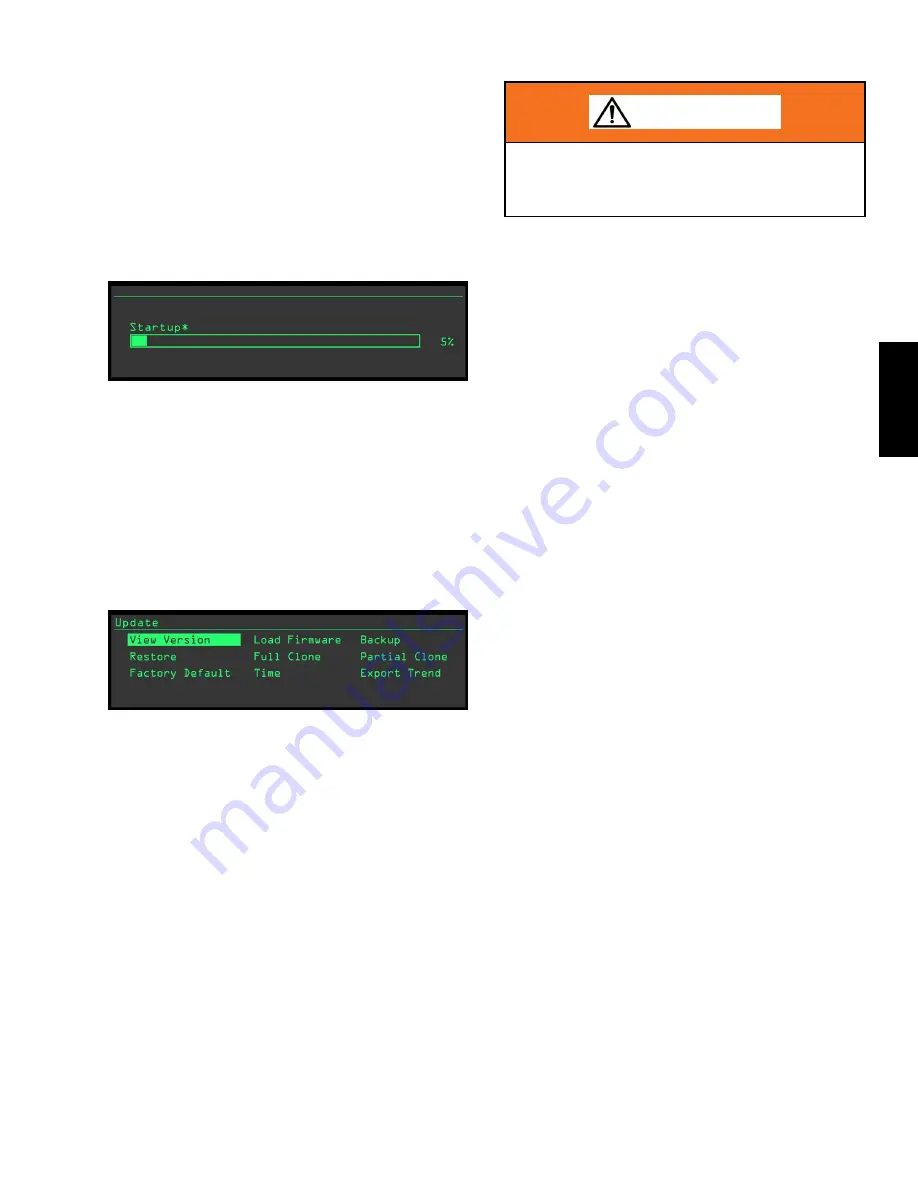
After turning ON the unit, the backlit display briefly
shows the display firmware version. The main control
board begins the start-up sequence, and the display
scrolls through start-up. (
)
The power LED lights up and remains lit on the main
control board. The red fault LED lights up and flashes
intermittently thereafter. The green SA bus LED briefly
lights up.
LD28367
Figure 34: Start-Up Display
Using the USB Port
The unit ships with a USB drive inserted into the USB
port on the main control board that can be used to save
settings and update the unit controller. Within the up-
date menu, the following options are available: view
version, load firmware, backup, restore, full clone, par-
tial clone, factory default, time, and the ability to export
trends to the USB drive. (
LD28368
Figure 35: Update Menu and Sub-Menus
When it is necessary to replace the main control board,
reference the sections
to restore the unit configura-
tion from a backup file. When unable to back up the
unit configuration from the current main control board,
download the correct backup file by scanning the QR
code on the unit with the RTUToolkit app, or contact
Product Technical Support.
View Version
This option displays the current firmware version number.
Load Firmware
The load firmware function should be used only after con-
sulting with Product Technical Support. The latest firm-
ware files can be found on the
Navigator
®
customer portal
under Support > UPG Tech Service Software > Premier
Firmware.
WARNING
Ensure the latest version of the firmware file is
downloaded to the USB drives before starting this
process.
NOTE:
It is recommended to have two blank flash
drives with storage capacity not exceeding 8
GB. One flash drive shall be used for the roof-
top unit firmware update (GRYP_RTUUSB.
PKG), and the second flash drive shall be used
to update the display firmware (GRYP_DIS-
USB.PKG). Format the flash drives (FAT or
FAT32 recommended) before copying the firm-
ware files from the
Navigator
customer portal.
Place individual firmware files at the top level
in each flash drive. DO NOT copy them into a
folder or alter the filenames.
Display Firmware Update
NOTE:
Do not insert the flash drive provided with the
unit for data logging until the display firmware
update is also completed. As the unit is pow-
ered ON, the display completes the start-up
).
1.
Insert the flash drive with the display firmware file
(GRYP_DISUSB.PKG) into the USB port on the
2.
In the event the firmware update does not start
automatically, manually start the process by se-
lecting
Update
>
Load Firmware
> filename end
-
ing with GRYP_DISUSB.PKG.
3. Allow for the process to complete. After the pro-
cess is completed, the display reboots. DO NOT
remove the flash drive until the reboot is com
-
plete and the display returns to normal.
4. Follow the instructions in the
section to complete the firmware
update process.
Rooftop Unit Firmware Update
1.
To upload the firmware update to the rooftop
unit’s main control board, follow the steps above
to complete the display firmware update first.
2. It is recommended to DISCONNECT the power
from the unit and disconnect the BAS, NetSen-
sor, or thermostat from the unit. Power up the
unit.


