8 years old.
-Children should be supervised to ensure they do not play with the
device.
-Before connecting the appliance to the mains, check that the cableand
plug are in perfect conditions. Also check that the voltage indicated on
the appliance is valid for your electrical installation.
-If you detect that the power supply cable, the plug or the adaptor are
damaged or have fallen into water or any other liquid, do not use the
appliance, replace the cable, the plug, or the adaptor. Go directly to the
authorised
JOCCA
technical service where they will replace it correctly
for you.
-Never submerge the cable, the plug or the motor body in water or any
other liquid.
-Do not pull the cable to unplug the appliance from the mains, always
pull from the plug.
-If your appliance has been dropped or fallen into water or any other
liquid do not use it or try to repair it. Take it to the
JOCCA
technical
service.
-Never leave the appliance cable hanging.
-For your safety and for the appliance to work correctly, always use
JOCCA
spare parts and accessories.
-Do not place the device near gas or electrical burners or on top of
them or inside or next to a hot oven or microwave.
-Do not touch the beaters or whisks while they are working. You may
suffer serious injuries. Avoid the contact with all the mobile parts.
-Keep your fingers, hair, clothes and other objects away from the device
while it operating.
-Do not add or remove any accessory while the device is plugged.
Unplug the device to replace the accessory in order to clean it and after
each use.
-Before connecting the device make sure that the beaters and whisks
are properly fixed in the device.
-Uncoil the wire of power supply completely to avoid over heating.
-This device will only be disconnected when it is not plugged.
-Do not use the device if it is empty.
-Use the device on a flat and horizontal surface.
-Do not use the device with hot oil. Splattering could cause burns.
-Please do not use the appliance with wet hands or feet, or bare foot.
-Please do not operate continuously for more than 3 minutes. Let the
appliance cool down for at least 3 minutes to avoid over heating the
same.
-Do not introduce metallic devices such as knives or forks inside the
bowl while the device is on.
ASSEMBLING AND INSTRUCTIONS FOR USE.
-Before assembly or dismantling, please ensure that the appliance IS
NOT connected to the mains electricity supply.
-Take the whisk rod (Fig. 1) and press the same gently on the motor
body until hearing a click, and then connect the appliance to the main
selectricity supply, ensuring that the speed button is in the 0 position
before actually connecting the appliance to the mains electricity supply.
IMPORTANT REMARK:
Do not fill the bowl above the maximum capacity
mark MAX.
NOTE:
The beaters have only one correct position. The beater with the
butt must always be on the right side of the device (fig. 2).
-Select the required speed depending upon the task to be carried out.
-To remove the whisk rod, put the speed selector in the 0 position and
then press the whisk rod release button (b), but when these have come
to a stop completely.
IN ORDER TO ASSEMBLY THE MIXER WITH THE BOWL
-Press the button to tilt up the holder (h button) of the mixer and lift the
motor body. Then introduce the desired beaters or whisks in the body
slightly pressing against the motor block.
-Place the bowl in the correct position (e) and press the button (h) to
lower the support of the mixer.
NOTE
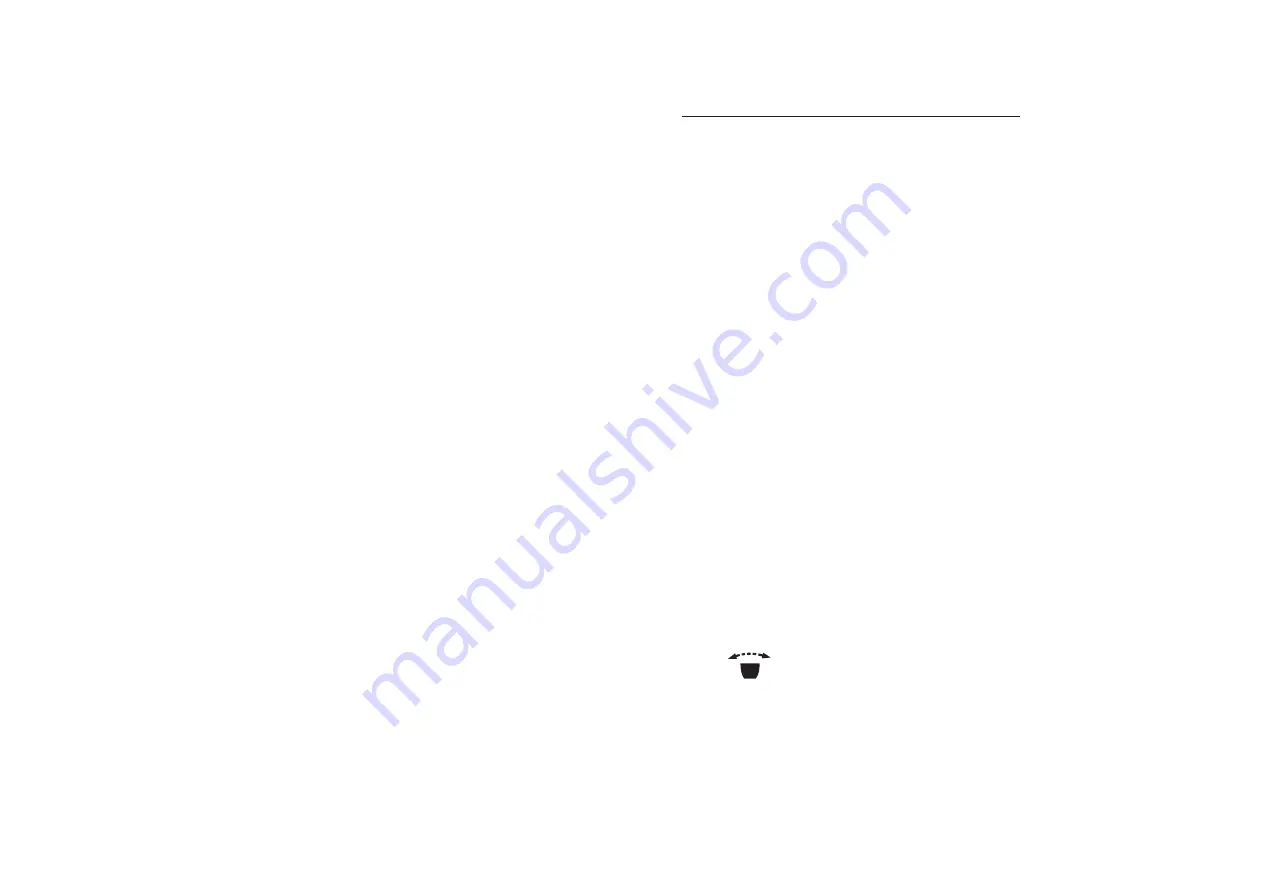
If you would whisk thoroughly a determined area of the bowl, you might
press button in order to move the bowl to the left and to the right
side.
12-EN
EN-13


