Page 5 • JL Audio, Inc., 2016
Continued on Next Page
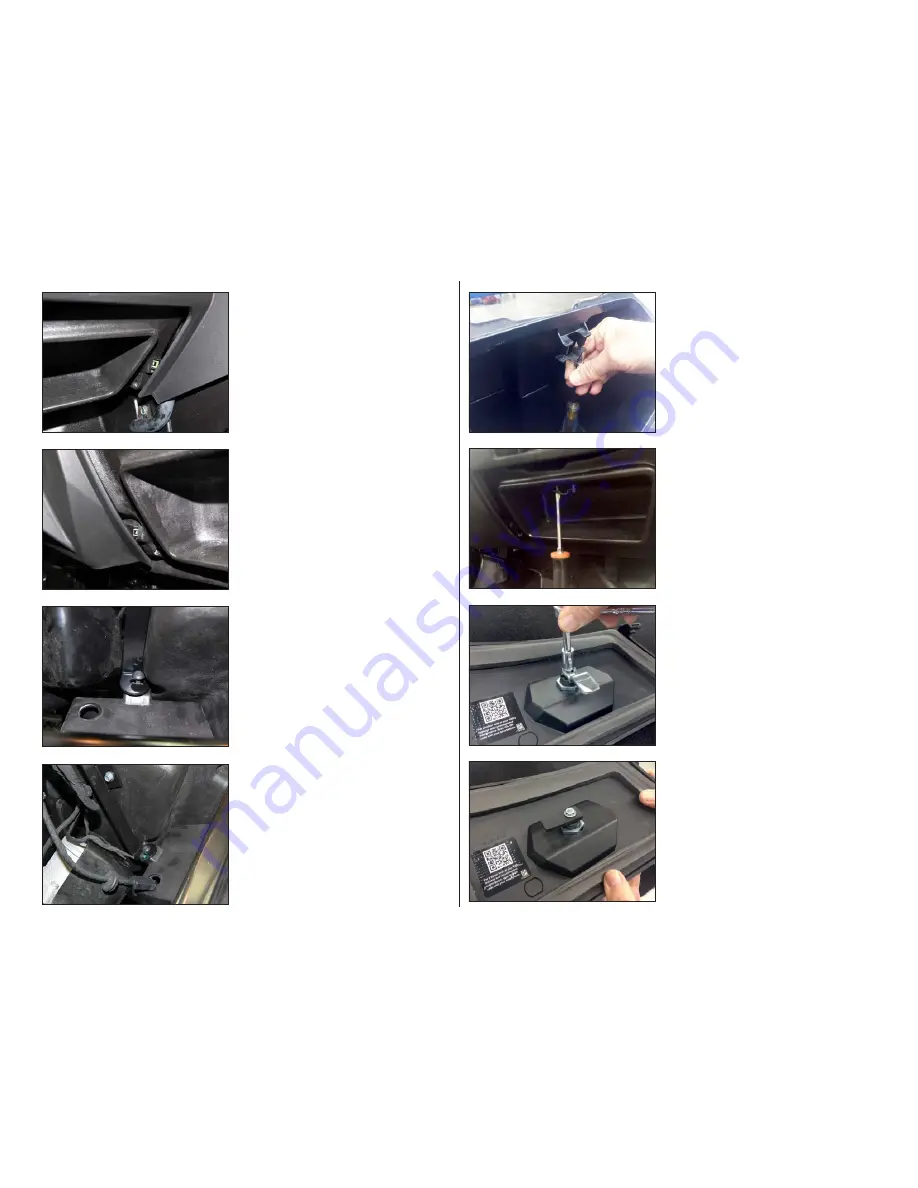
S T E P 32
Secure the replacement Glove Box Latch
bracket to the back of the glove compartment
as shown using the factory bolt removed in the
previous step.
S T E P 31
Remove the factory bolt holding the latch
bracket to the back of the glove compartment
door, and remove the bracket.
S T E P 30
Secure the glove compartment door latch to
the enclosure using the included #8 x 1/2” Pan
Head Screws.
S T E P 29
Remove the two factory screws holding the
glove compartment door latch to the glove
compartment, and remove the latch. These
factory screws will not be reused.
S T E P 28
Reinstall the dash light and USB connector, if
equipped, to the dash panel. Route the
speaker cable as necessary.
S T E P 27
Secure the Side Bracket to the dash panel using
the factory screw removed in
Step 9
.
S T E P 26
Reinstall the dash panel.
S T E P 25
Check the Stealthbox® alignment using the
dash panel, make adjustments as necessary,
and fully tighten all mounting hardware.
SB-POL-RZG2/10TW3 INSTR_SKU# 011446


