- 17 -
Video:
Set the video format, video coding, resolution, bit rate, max frame rate, key frame interval, bit
rate control and image quality.
OSD Set:
Set time stamp, time show, camera name and name show in this interface.
Image:
Adjust the brightness, saturation, contrast, exposure parameter and set the WDR, Aemode,
Imgmode, Intelligent night mode, IR LED Control, IRCut in this interface. (The camera does
not support full colour night vision and smart night vision currently.)
Audio:
Audio type support G711 / 726 protocol, audio stream selection on/off, audio input type
selection, input / output volume adjustment
6.4.2 Setting
Network
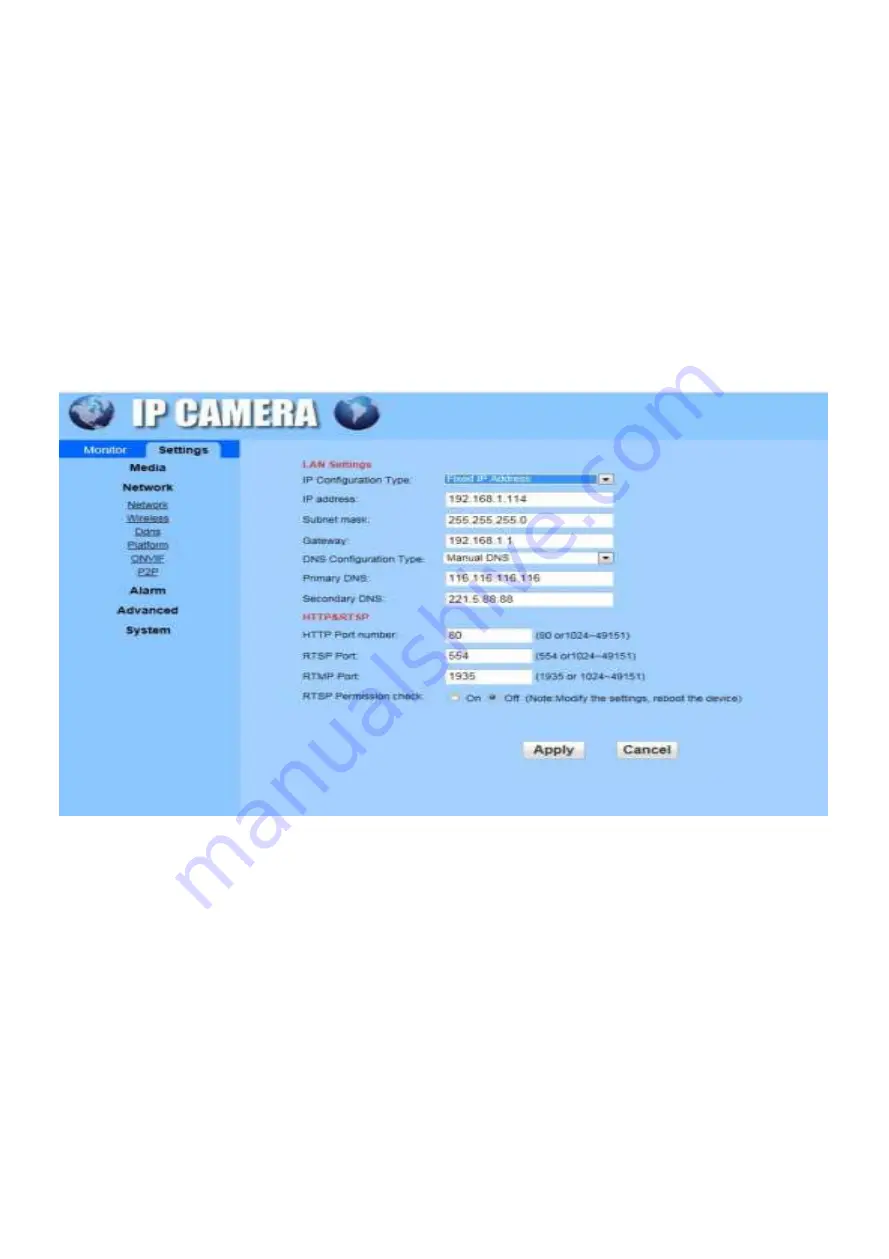
Network:
The IP address can be selected manually settings or automatically obtain. The DNS also can be
selected manually or automatically.
Wireless:
Enable Wireless to search and select the wireless network that you want to add, put password.
Click the “check” to verify camera if connected to the wireless signal.
DDNS:
To set up DDNS (Remote access), requesting an dynamic domain name to fill in the username and
password which provided by Service provider. Contact us to get the cam ID number, each camera
username and password will be different. Also you could use a third-party domain name to set it up.
Platform:
this function was replaced by P2P, please use P2P to complete your setting.
ONVIF:
Set the Server Port, Preview, Time zone Setting, Image Setting, NVC Type in this interface.
P2P:
Enable this function, can watch video in Mobile App via add UID Number.
Summary of Contents for P2R-20X
Page 4: ... 2 2 Installation BC5 P1 4X P14 4X P2R 20X ...
Page 5: ... 3 3 SD Card Slot BC5 P1 4X P14 4X P2R 20X ...
Page 11: ... 9 5 6 APP Function Introduction 5 6 1 Video playback and download ...
Page 14: ... 12 5 6 6 Motion Detection 5 6 7 Email setting 5 6 8 FTP setting ...
Page 16: ... 14 5 6 12 Device time setting 5 6 13 Default setting ...


