


SOURCE
3.Press to confirm the source selection ,
4.Turn on the VCR, insert the tape and press the play button.
ENTER
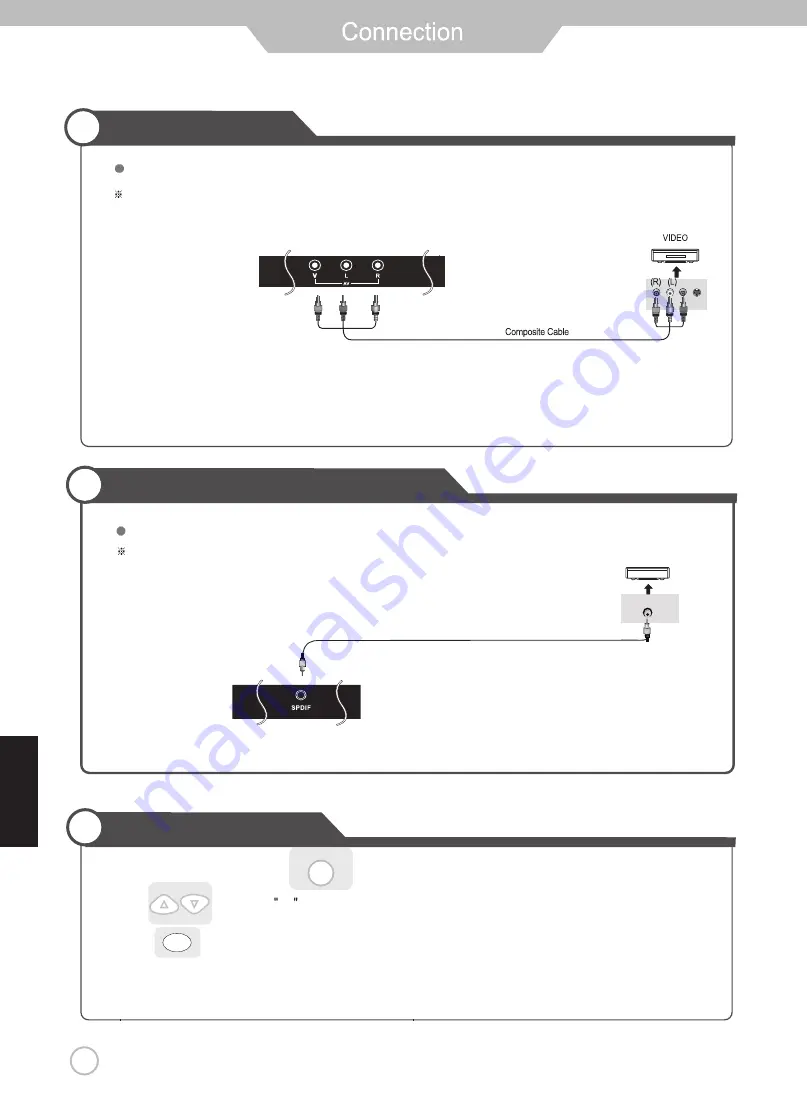
VCR Connections
Watching Video Tape
13
Terminals vary by manufacturer
(Included)
Connect the LED TV’s Composite In terminal to VCR’s Composite OUT terminal using the included Composite cable.
English
will automatically enter the selection mode.
Digital Amplifier
Connecting to a Digital Amplifier
Connecting to the Composite terminal
SPDIF Cable
Digital Amplifier Connections
Terminals vary by manufacturer.
(Make sure the color of the terminals and the colors of the cable are the same.)
(Not Included)
1.Turn on the LED TV and press on the remote control.
2. Use to move to AV.


