


13
link. The link can be re-established through your phone
menu by selecting the JHD22 for connection.
•
DELETE:
To delete a device from the list, press the
ENTER/
TIMER
button.
NOTE: Device must be disconnected to be deleted.
Pairing a Bluetooth Device
Before you begin, consult the owner’s manual for the
Bluetooth device you want to pair with the JHD22.
Bluetooth Quick Pair:
1. On your personal Bluetooth device, enter the Bluetooth
settings list. Make sure your device has Bluetooth turned
on and is searching for new devices.
2. Press and hold the
MODE/PAIR
button (2) for three
seconds to make the JHD22 available on your Bluetooth
device.
3. On your Bluetooth device, select JHD22 once it becomes
available to pair and connect your device. Enter the
pairing password (0000), if requested.
After connecting successfully, you will be able to listen to
music stored on your Bluetooth enabled device through the
radio.
BT Audio (A2DP)
The A2DP music is available for Bluetooth enabled phones
when the phone is connected. To access Bluetooth mode
and play songs stored on your phone, press the
MODE/PAIR
button. While in Bluetooth mode, the Bluetooth Audio icon
will appear on the LCD.
Selecting Tracks
During playback, press the or buttons (6, 7) buttons to
play the previous or next track.
Pausing Playback
During playback, press the button (18) to pause the
Bluetooth AUDIO player. “Pause” will appear on the LCD. Press
again to resume playback. If you change to another mode,
the mobile phone audio will pause. Press the
MODE/TIMER
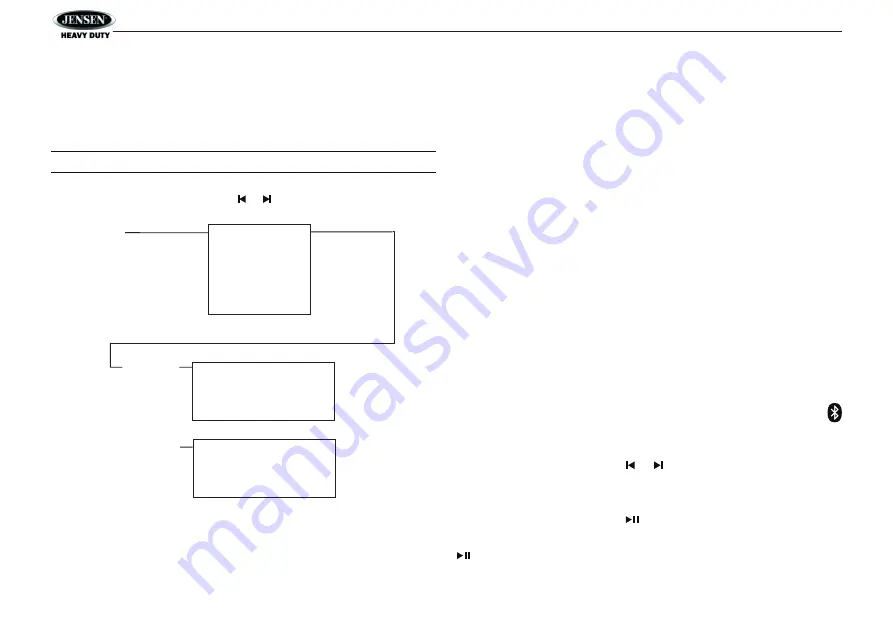
Use or to
Navigate the List
Press
ENTER/TIMER
Press
ENTER/TIMER
Device 1
Device 2
Device 3
Device 4
Device 5
Lock/ Unlock
Connect/ Disconnect
Delete
Lock/ Unlock
Connect/ Disconnect
Delete
BT Device
Device 1
...
...
...
Device 5