background image

4: Wiring 

The included manual is very brief on instructions for the wiring of the printer. The 
following detailed guide may help. 
 
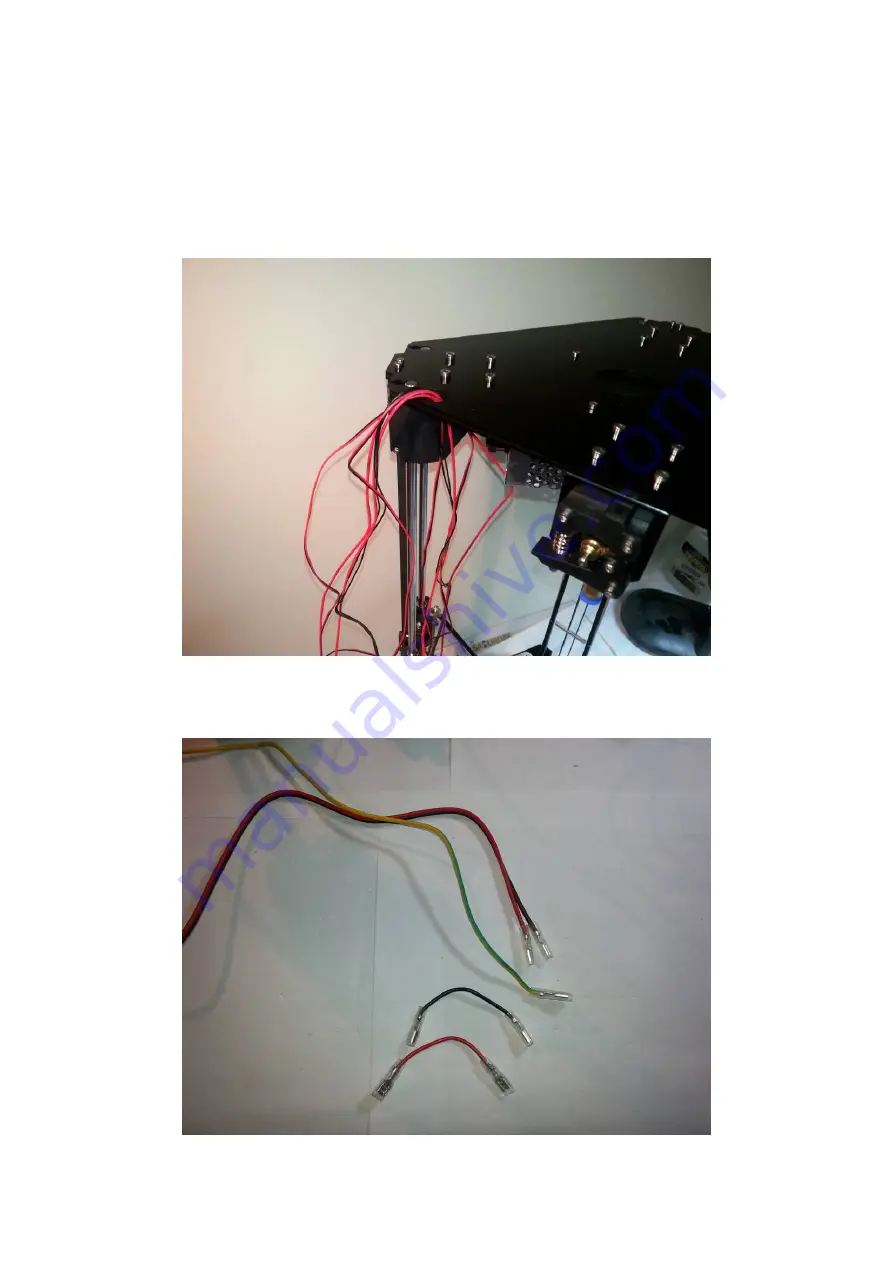
Thread the cables from the extruder through the hole in the top plate. 


Turn the printer upside-down and point the power socket towards yourself. Find the 
following cables. 


Summary of Contents for TL4100

Page 1: ...ng down until the rods are touching the ruler Then tighten the screws The top plate will then sit above the rods If the holes in the top plate do not line up exactly with the holes in the top plate br...

Page 2: ...caused by the bolt cutting into the insulation on the thermistor wires and shorting them together A temporary fix for this is to undo the bolt completely and then restart the printer and see if the e...

Page 3: ...installed before the limit switch is installed Using the below colour code ensure the correct limit switch is installed on the correct tower Also note that the ends of the wires are different and the...

Page 4: ...structions for the wiring of the printer The following detailed guide may help Thread the cables from the extruder through the hole in the top plate Turn the printer upside down and point the power so...

Page 5: ...ked L live the black wire goes into the N neutral and the green and yellow wire goes into the earth Then thread the wires out to the top of the printer through the top plate Then feed the wires into t...

Page 6: ...d red cable This is the main 12V power feed to the board Loosen the fifth and sixth screw terminals on the power supply and screw one end of the red and black cable into it Line up the black wire with...

Page 7: ...d and black cable through the side shield and attach it to the green terminal on the main board ensuring the red wire goes to the terminal and the black wire goes to the terminal Now find the three st...

Page 8: ...ng the X Y and Z marks made on the steppers motors when they were installed and the X Y and Z marks on the main board run a cable from each stepper motor the six way plug to the main board four way pl...

Page 9: ...easiest way to feed this cable through is to take the four way plug end and feed it first through the top plate and then through the side shield following the path of all the other cables Then plug th...

Page 10: ...st four cables from the extruder back along the same path as the other cables and back to the main board Strip about 5mm from the end of the extruder heater these are the two thicker red cables with a...

Page 11: ...nd black wires go to the FAN connection on the main board ensuring the red wire goes to and the black wire goes to The extruder thermistor has two black wires and is plugged into the J21 connector The...

Page 12: ...as the other wires out through the top plate and back through the side shield The connectors are pressed into the sockets on the collision board use the X Y and Z tower markings to ensure the correct...

Page 13: ...complete the calibration A safe place to start is to screw all the calibration screws down which gives us the most clearance above the bed The procedure is as follows 1 Home printer 2 Move extruder t...

Page 14: ...he bottom of the X Y control is the home command so there is no need to set up a script for the home command Right click on the script 1 button to open the script editing window In the large text box...

Page 15: ...ust the calibration screws If you have Z 0 move it to Z 5 with G1 Z5 before running the scripts to move the extruder across the bed then move it back down to measure at each corner of bed The M3 nuts...

Reviews: