


10
www.javad.com
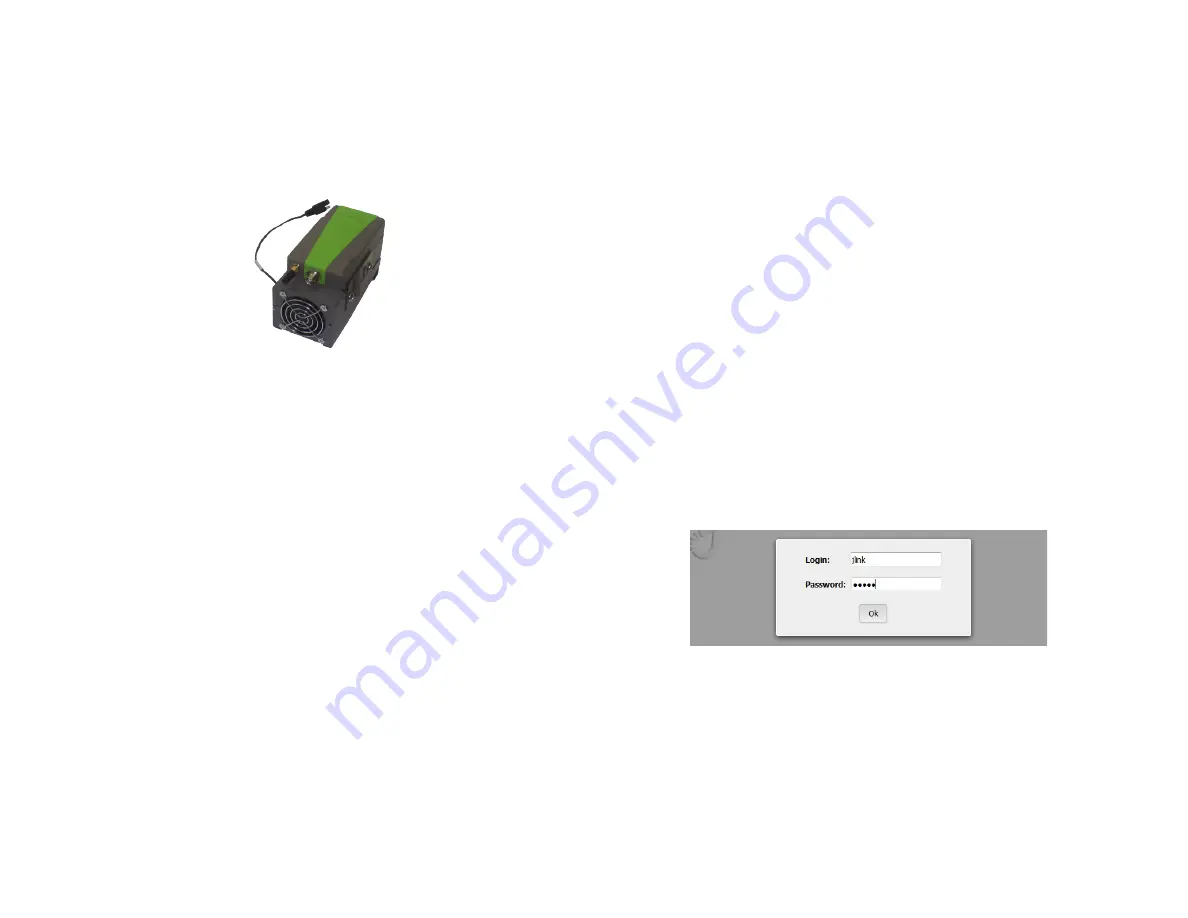
FAN FOR RADIO
The most efficient way to increase duty cycle of the HPT435BT JL trans-
ceiver is using the Fan kit (p/n 02-587101-31) shown on the picture be-
low:
Figure 5. Fan for radio
How to install the Fan see http://www.javad.com/downloads/javadgnss/
how-to/hardware/Fan_For_Radio_install_and_use.pdf
Note:
The fan automatically turns on when the temperature reaches 75 degrees, and
turns off at a temperature of 65 degrees.
SETUP AND CONFIGURATION
1. Turn on power of HPT435BT JL.
2. Wait for complete loading. When it is complete, Power LED will blink.
3. Connect to the device and configure it using a web-browser.
Connection can be established in one of the following ways:
• via Bluetooth interface: the device (PC, handheld/pad) should
be with Bluetooth interface with PAN profile support. HPT435BT JL
Bluetooth-interface is in visibility mode, has the name “HPT435BT
JL” and PIN code 0000. When connection is established open the
web-browser and enter the address 10.1.11.1:8080.
• via Wi-Fi interface: The device (PC, handheld/pad) should be with
Wi-Fi interface. HPT435BT JL Wi-Fi-interface has the name “HPT435BT
JL” and password “testtest”. When connection is established open
the web-browser and enter the address 10.1.10.1:8080.
• via Ethernet: HPT435BT JL LAN static IP address is 192.168.0.200
and network mask is 255.255.255.0. On the PC connected to the same
LAN, open the web browser and enter the address 192.168.0.200:8080.
The dialog window appears with login/password request. Enter login
and password (jlink/jlink).
Figure 6. Login and password entering
Thereafter the device is ready for setup and configuration.
4. Select the interface which will be used to connect to Internet and
configure it. The following interfaces are available:
Ethernet: Configure Ethernet interface in the Communication/LAN tab.
Set the network parameters and reboot the device using Reboot button
in the Administration/Management tab see figure below.
Summary of Contents for HPT435BT JL
Page 2: ......


