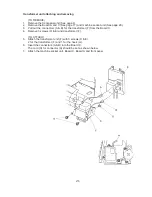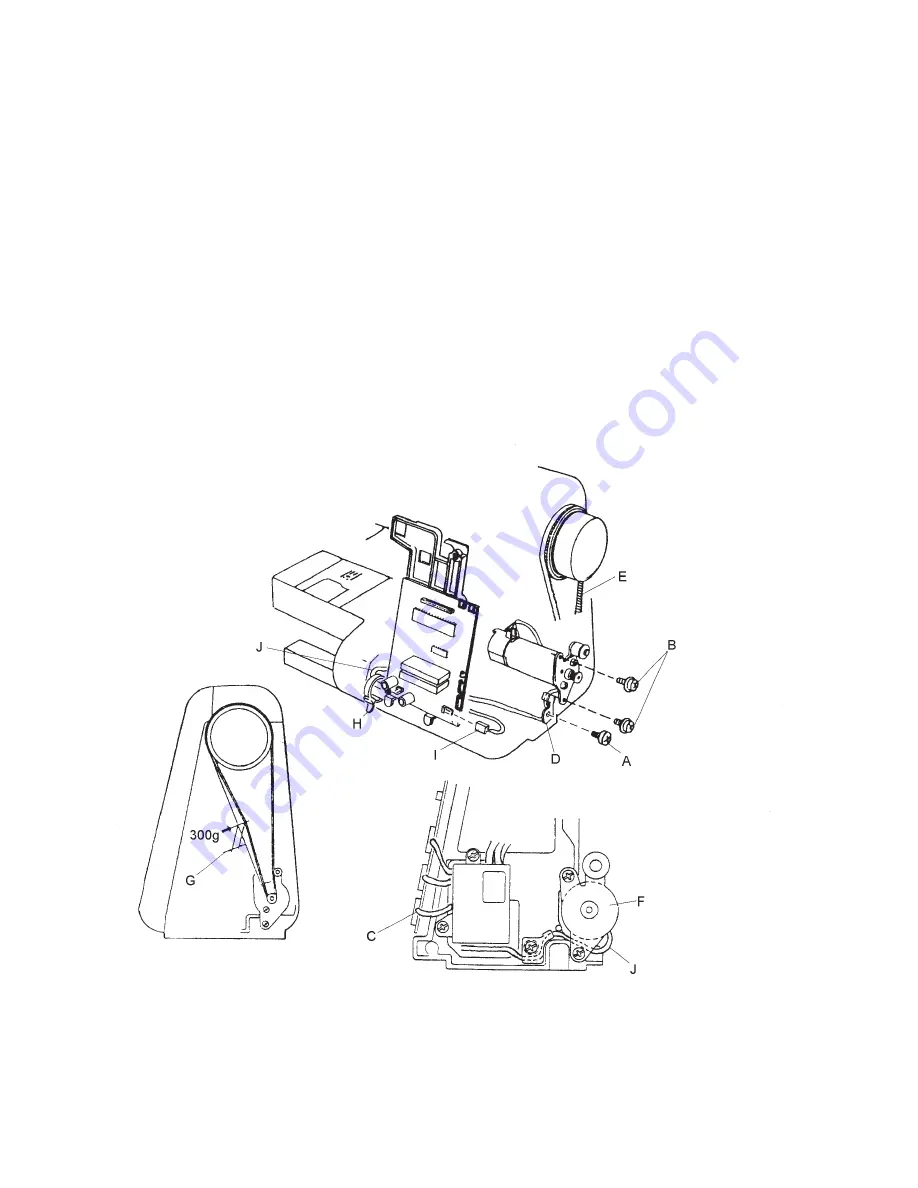
Driving motor unit attaching and removing
(TO REMOVE)
1.
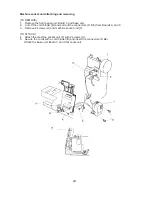
Remove the front panel unit (See page 4).
2.
Remove the machine socket unit (See page 22). (No need to pull out the connectors)
3.
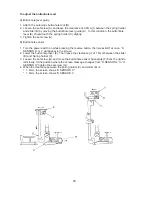
Cut the cord binder (H) and pull out the motor connector (C) from Board A.
4.
Remove the screw (A) and the cord guide (D).
5.
Remove the motor belt (E), screws (B) and the driving motor (F).
(TO ATTACH)
6.
Attach the driving motor (F) by tightening the two screws (B) slightly.
The motor cord should be set as shown below (J).
7.
Attach the motor belt (E) and adjust the belt tension.
When the motor belt is pushed with the pressure at 300g, the slag should be 7 to 8 mm as
shown below (G).
8.
Set the cord guide (D) with screws (A).
9.
Secure the cord with a new cord binder (H).
10. Connect the motor connector (I) to the Board A.
11. Attach the machine socket unit and front cover unit.
20
Summary of Contents for Memory Craft 3000
Page 1: ...SERVICE MANUAL...

