17
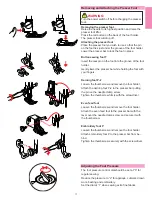
Removing and Attaching the Presser Foot
WARNING:
Turn the power switch off before changing the presser
foot.
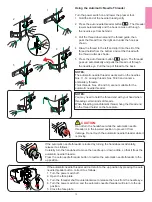
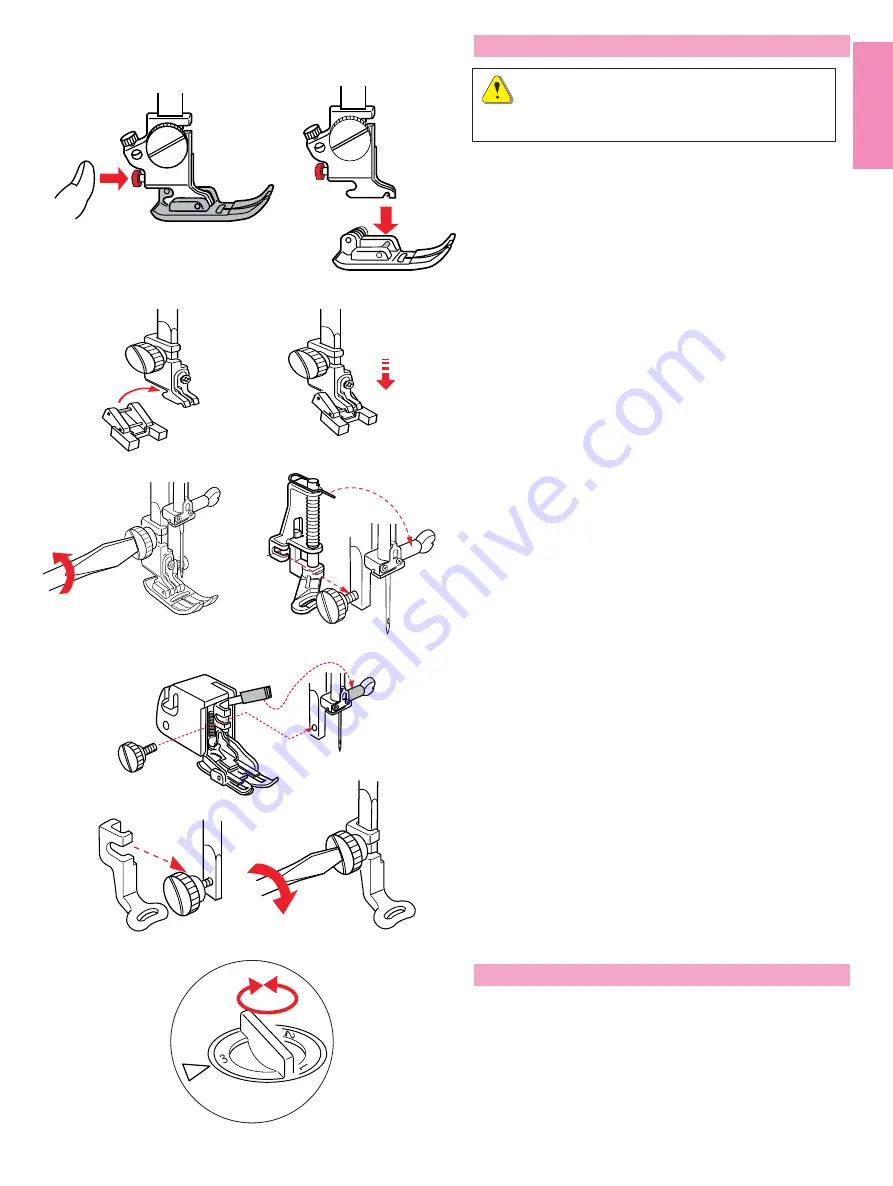
Removing the presser foot
Raise the needle to its highest position and raise the
presser foot lifter.
Press the red button on the back of the foot holder.
The presser foot will drop off.
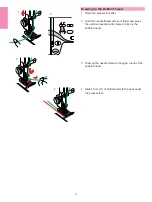
Attaching the presser foot
Place the presser foot you wish to use so that the pin
on the foot lies just under the groove of the foot holder.
Lower the presser bar to lock the foot in place.
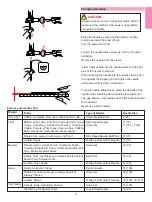
Button sewing foot T
Insert the rear pin on the foot into the groove of the foot
holder.
Gently lower the presser bar while holding the foot with
your fingers.
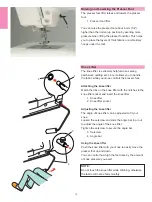
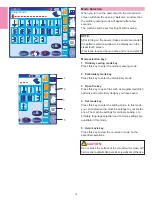
Darning foot P-2
Loosen the thumbscrew and remove the foot holder.
Attach the darning foot P-2 to the presser bar putting
the pin on the needle clamp screw.
Tighten the thumbscrew firmly with the screwdriver.
Even feed foot
Loosen the thumbscrew and remove the foot holder.
Attach the even feed foot to the presser bar with the
lever over the needle clamp screw and secure it with
the thumbscrew.
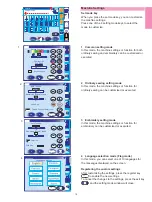
Embroidery foot P
Loosen the thumbscrew and remove the foot holder.
Attach embroidery foot P to the presser bar from be-
hind.
Tighten the thumbscrew securely with the screwdriver.
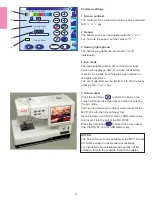
Adjusting the Foot Pressure
The foot pressure control dial should be set at “3” for
regular sewing.
Reduce the pressure to “2” for appliqué, cutwork, drawn
work, basting and embroidery.
Set the dial at “1” when sewing extra fine fabrics.

