31
n
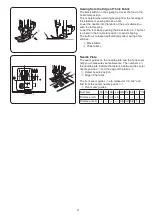
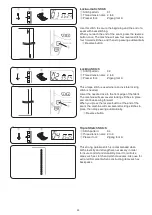
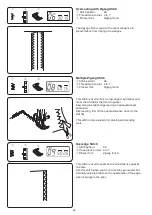
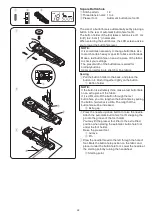
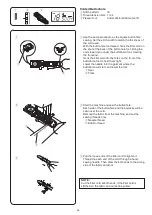
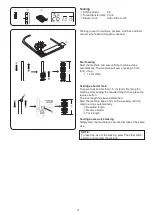
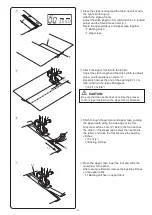
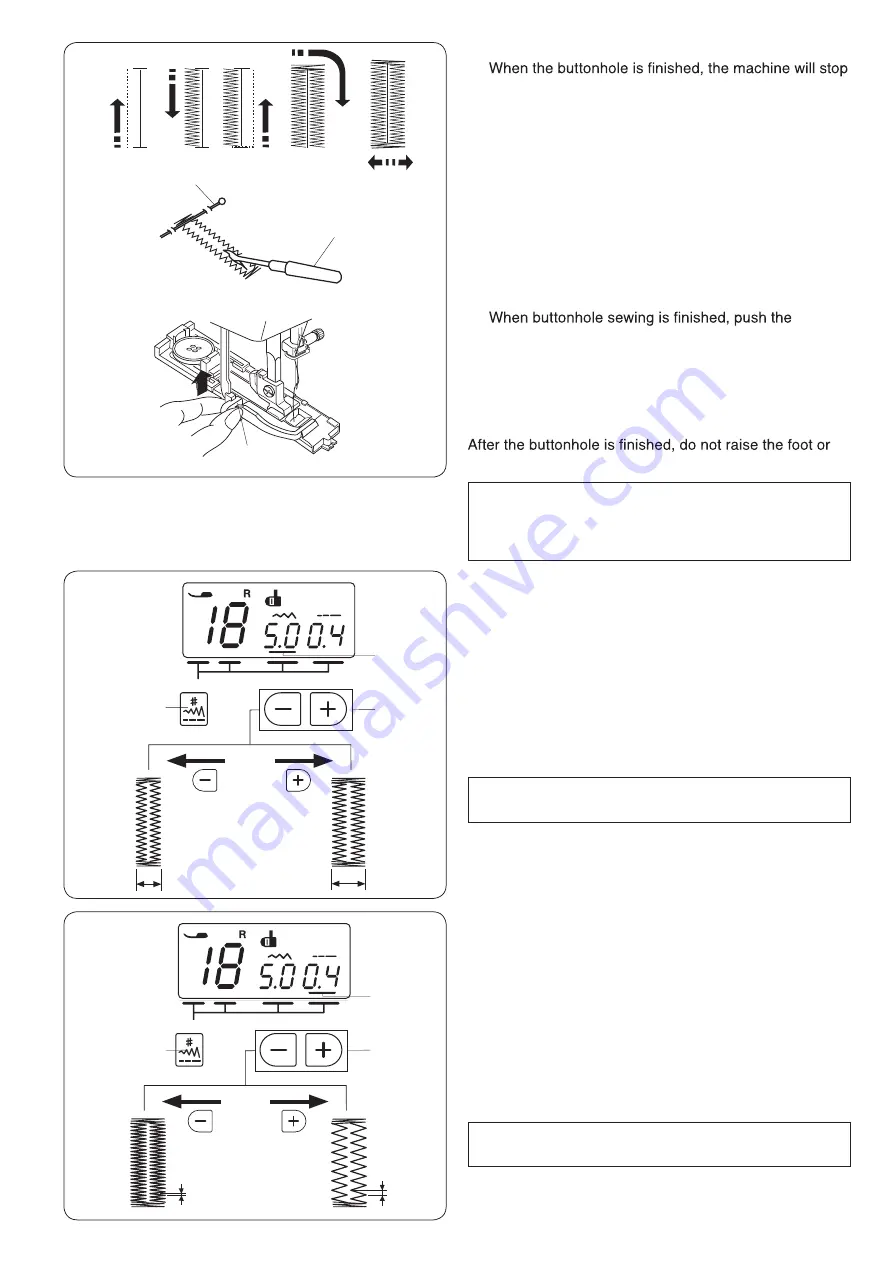
The buttonhole is sewn in the sequence as shown.
automatically with the needle in the up position.
Double layer buttonhole
To make a sturdy buttonhole, sew another layer of
buttonhole stitches over the previous stitches.
buttonhole lever, simply start the machine again.
n
m
,
m
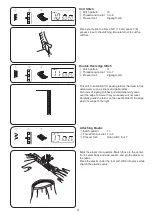
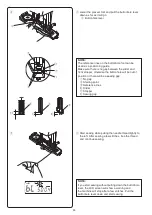
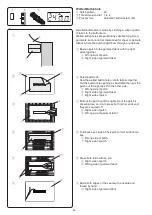
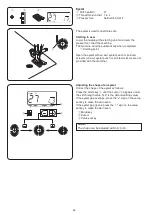
Remove the fabric and place a pin just below the
bartack to prevent accidentally cutting the stitches.
Cut the opening with the seam ripper.
!3
Pin
!4
Seam ripper
,
buttonhole lever upward as far as it will go.
y
Buttonhole lever
y
w
e
w
e
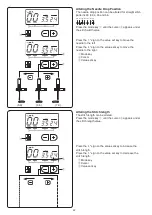
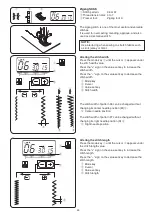
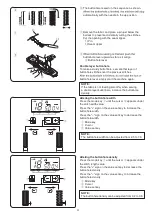
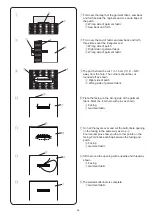
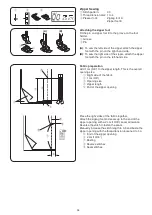
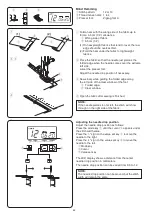
Altering the buttonhole width
Press the mode key
q
until the cursor
w
appears under
the stitch width value.
Press the “+” sign on the value set key to increase the
buttonhole width.
Press the “–” sign on the value set key to decrease the
buttonhole width.
q
Mode key
w
Cursor
e
Value set key
NOTE:
The buttonhole width can be adjusted from 2.5 to 7.0.
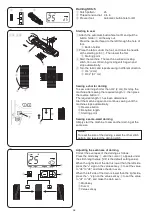
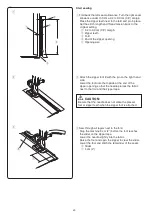
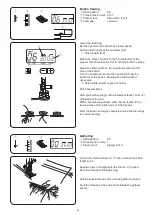
Altering the buttonhole density
Press the mode key
q
until the cursor
w
appears under
the stitch length value.
Press the “+” sign on the value set key to decrease the
buttonhole density.
Press the “–” sign on the value set key to increase the
buttonhole density.
q
Mode key
w
Cursor
e
Value set key
NOTE:
The buttonhole density can be adjusted from 0.2 to 0.8.
q
q
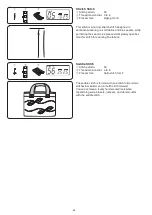
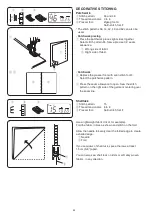
NOTE:
If the fabric is not feeding smoothly when sewing
a double layer buttonhole, increase the buttonhole
density.
!3
!4
Summary of Contents for JW8100
Page 1: ...Instruction Book...
Page 2: ......
Page 56: ...54 Stitch Chart...
Page 57: ......
Page 58: ......
Page 59: ......
Page 60: ...811 800 202 ENG...

