Rod
Rod
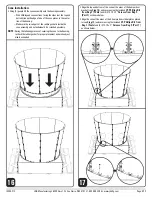
Cone Assembly:
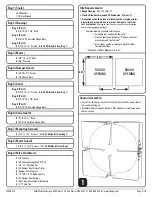
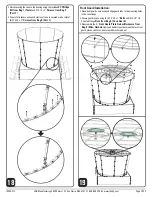
• Lay out the (8) cone pieces, place the (2) sections with the J&D logo
across from each other as shown below.
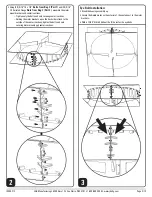
• Using
(6) 5/16”-18 x 7/8”
Bolts from Bag 5 (Part 2)
and (6) 5/16”-18
Serrated Flange
Nuts from Bag 5 (Part 3)
, assemble two cone pieces.
Repeat until all (8) cone pieces are assembled.
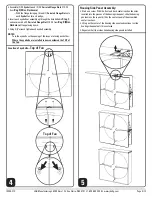
• Using a 1/2” socket with impact driver and wrench, tighten the cone
pieces together.
15
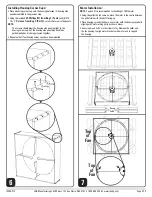
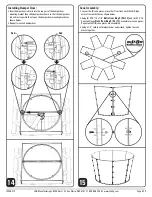
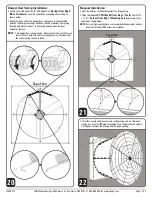
Installing Damper Door:
• Insert damper door rod fully into the top part of the damper door
mounting bracket then slide damper door down so that the damper door
rod end rests against the stop on the damper door mounting bracket as
shown below.
• Repeat for second damper door
14
IS295-21C J&D Manufacturing • 6200 Hwy 12 • Eau Claire, WI 54701 • 1-800-998-2398 • www.jdmfg.com
Page 8/13


