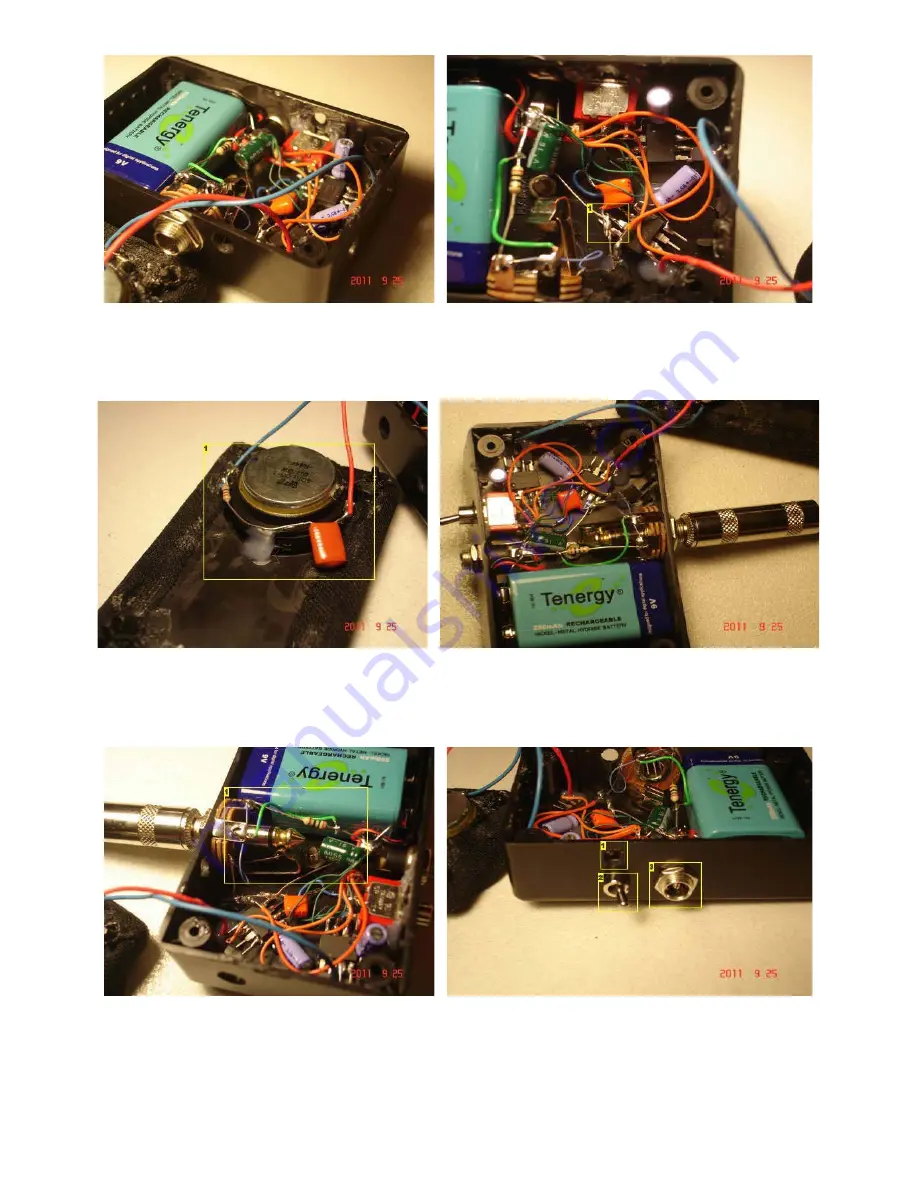
1. Make sure nothing is touching here
Once the circuit is built placed it in the enclosure. The battery goes at one end, with the two jacks next to the battery opposite each
other, and the switch and amplifier circuit mounted underneath the speaker. Since the speaker has a relatively shallow mounting depth,
there is enough room for two small heat sinks to be placed on top of the amplifier chips.
1. Part of the circuit built onto speaker itself
(Blue dot represents positive connection)
The heatsinks are cut up pieces of a regular heatsink filed down to fit. They were then glued to the amplifying chips using a homemade
"thermal glue" of JB Weld mixed with aluminum shavings. I know not ideal, but it's better than not having any heatsink at all.
1. Port
2. Power switch
3. Charging jack
Make sure nothing touches the plug tip or its connections. The screw near the green cap is for the clip. The plug is not touching the
screw
.


