


16
User’s Manual
2.1 Installing Devices
Most devices will be connected to the I/O ports that are located
at the front panel and rear panel of the system. These ports are
readily accessible that you do not need to remove the rear
panel’s cover. However, if you need to install or replace the CPU,
DIMM, hard drive or CD-ROM drive, you must first remove the
rear panel cover in order to access the sockets and connectors.
The system chassis is designed for easy assembly and
disassembly allowing installation of internal components very
convenient.
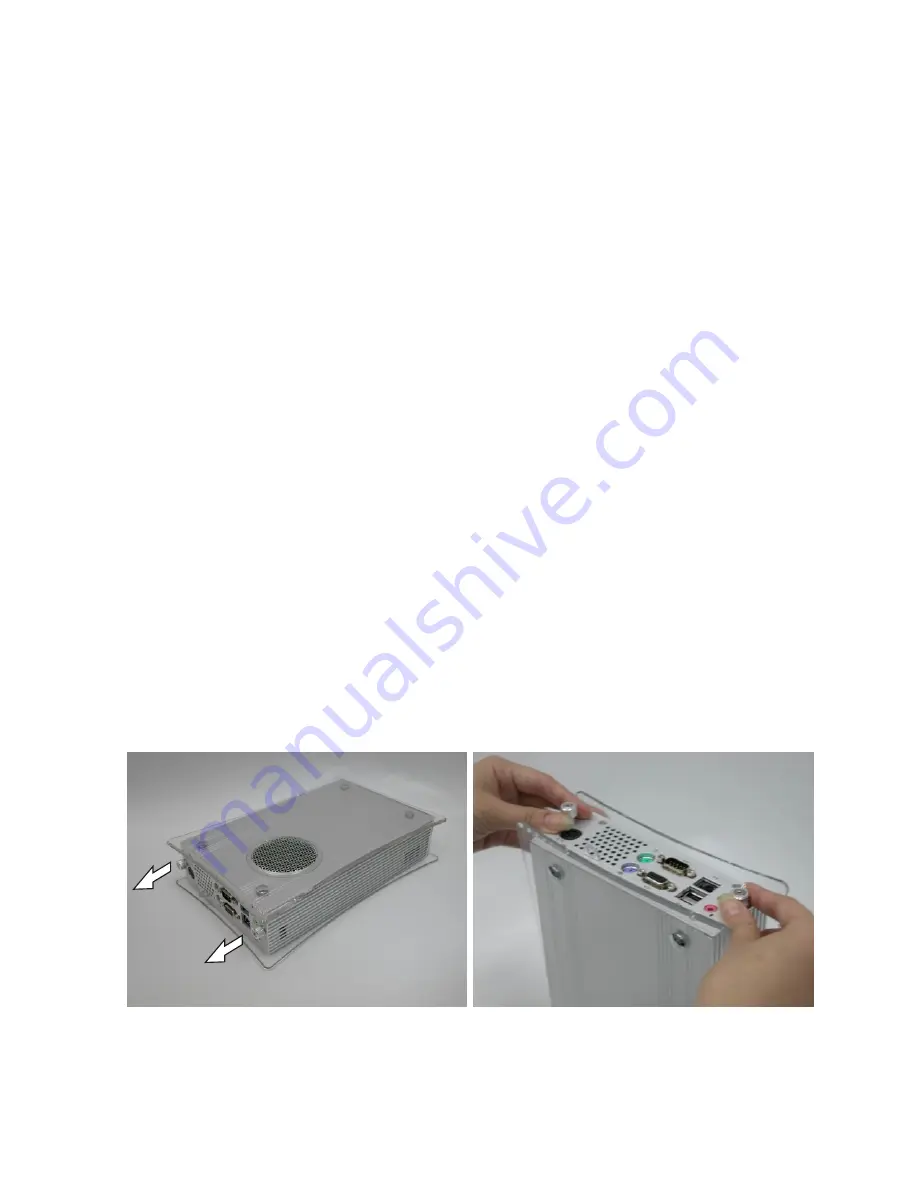
Step 1: Release the Rear Panel’s Screws
a. Place the system on a flat surface with the rear side facing
you.
b. There are 2 screws that secure the rear panel’s cover to
the chassis. Please release the screws first.
Before opening the system unit, make sure you have
done the following.
1. The system and all other peripheral devices
connected to it has been powered-off.
2. Disconnect all power cords and cables.
Summary of Contents for ZPCgx
Page 1: ...ZPCgx Barebone User s Manual Version 1 0 FB24633000 ...
Page 8: ...7 Overview Installation Manual ...
Page 10: ...9 Overview Chapter 1 Overview ...
Page 16: ...15 Installation Chapter 2 Installation ...
Page 26: ...25 Installation Step 10 Secure the HDD Secure the HDD on the reverse side ...
Page 33: ...32 User s Manual ...
Page 34: ...33 BIOS Chapter 3 BIOS ...
Page 45: ...44 User s Manual ...
Page 46: ...45 Specifications Chapter 4 Specifications ...
Page 50: ...1 Basic Care and Tips User s Guide ...
Page 51: ...2 User s Manual ...
Page 52: ...3 Basic Care and Tips Chapter 1 Basic Care and Tips ...
Page 54: ...5 Software Installation Chapter 2 Software Installation ...
Page 58: ...9 Positioning the System Unit Chapter 3 Positioning the System Unit ...
Page 60: ...11 Overview of the System Unit Chapter 4 Overview of the System Unit ...
Page 65: ...16 User s Manual ...
Page 66: ...1 Introduction 17 Chapter 5 Troubleshooting Tips ...
Page 69: ...20 User s Manual ...


