background image

3

CONNECTING CYBEROAM IVIEW

Ethernet connection

1. Connect one end of the Crossover Ethernet cable into Port Eth0 on the Front panel of the Appliance 

and other end into the Ethernet Adapter port of Management computer. Change the IP address of the 
management computer to 172.16.16.2, Gateway and DNS Server address to 172.16.16.16 and the 
subnet mask to 255.255.255.0.

2. Connect one end of the Straight-through Ethernet cable to Port Eth1 on the Front panel of the appliance 

and  other  end  to  your  local  network  (LAN)  switch  or  management  network  switch,  from  where  all  the 
devices are accessible to Cyberoam iView.

3. Connect the AC Power connector into the Back panel of the Appliance and the other end into a Standard AC 

receptacle and turn on the power.

4. Start your management computer. Following Appliance LEDs light up:

!

   Power - Green indicating that Appliance is ON

!

   HDD - Red indicating that hard disk is Active

Given below is the table containing various behaviors of appliance LED. Check with the given states before 
proceeding.

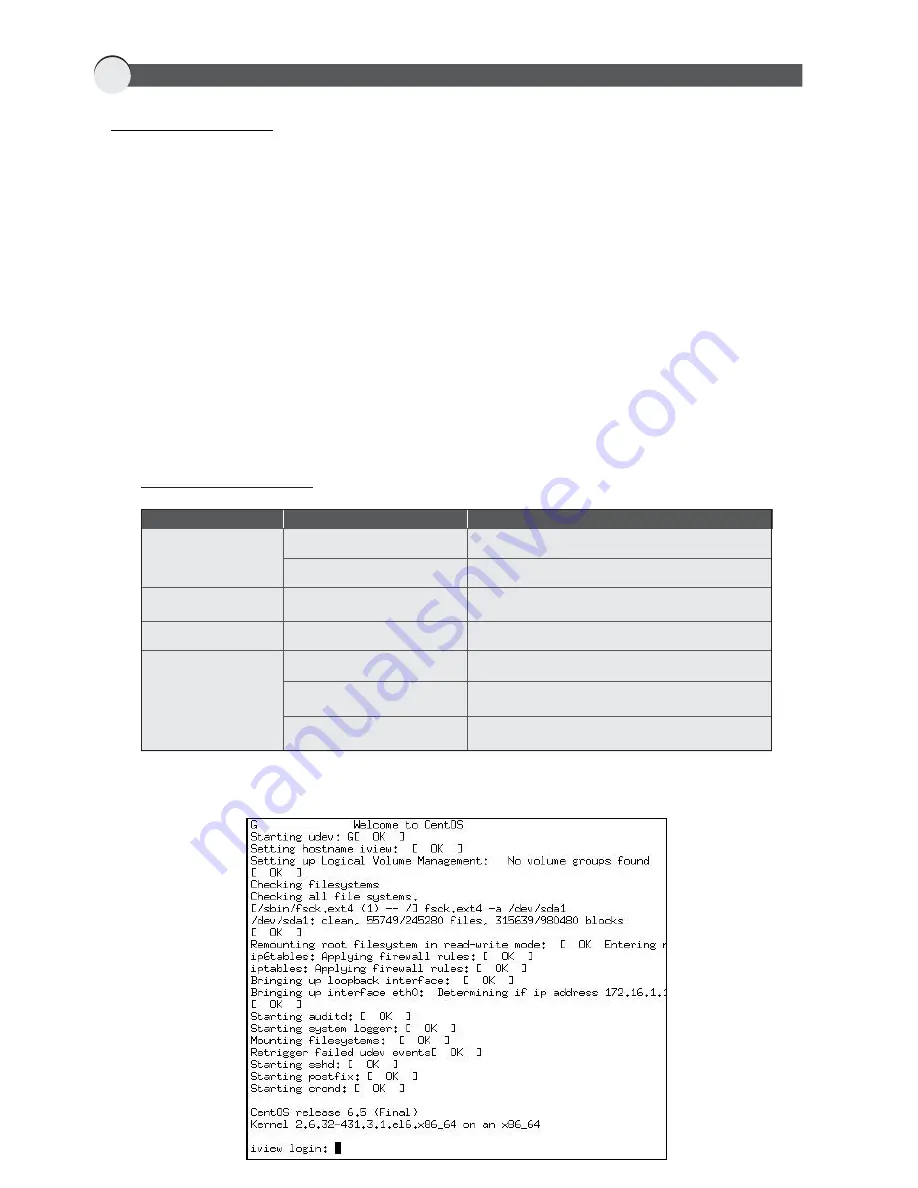
5 Once you turn on the power, Cyberoam iView appliance booting process starts.

.  

Appliance LED Behavior

State

Green

Off

Flashing Red

Off

Green (L), Amber (R)

Green (L), Green (R)

Off

Description

Cyberoam iView appliance is ON

Cyberoam iView appliance is OFF

Activity going on

No activity

Port is connected at 100Mbps

Port is connected at 1000Mbps

No link

LED

Power

HDD

Ports - 

Eth0, 

Eth1, Eth2, Eth3

Summary of Contents for CR-iVU25NR

Page 1: ...www cyberoam iview com TM Quick Start Guide CR iVU25NR Version 1 0 0126 09 06 2014 ...

Page 2: ...P Address one Z Eth0 172 16 1 1 255 255 0 0 LAN Eth1 IP via DHCP WAN Package Contents Checking the package contents Check that the package contents are complete One CyberoamAppliance One Serial Cable OneAC Power Cable One Crossover Ethernet Cable One Cyberoam Quick Start Guide One Straight through Ethernet Cable If any items from the package are missing please contact Cyberoam Support at support c...

Page 3: ...roam iView 3 Connect theAC Power connector into the Back panel of theAppliance and the other end into a StandardAC receptacle and turn on the power 4 Start your management computer FollowingAppliance LEDs light up Power Green indicating thatAppliance is ON HDD Red indicating that hard disk isActive Given below is the table containing various behaviors of appliance LED Check with the given states b...

Page 4: ...prompted to login Logon with default username root and password admin 7 Change directory to the network scripts and change IP address of Cyberoam iView appliance using system config network command Select action as Device configuration Select device as eth0 ...

Page 5: ...Password for user root optional Change Static IP address of the device and click OK to save the changes For the demonstration purpose IP address is changed to 172 16 13 120 Congratulations This finishes the basic configuration of Cyberoam iView and you are now ready to use the Appliance ...

Page 6: ...ith supported devices 2 The RAID Arrays in your appliance can be configured monitored and troubleshot using HighPoint Web RAID Management Software WebGUI For more information refer to the KB article Cyberoam iView RAID Troubleshooting Information Visit following links for more information on Cyberoam iView Cyberoam Knowledge Base http kb cyberoam com Technical Help http sourceforge net projects cy...

Page 7: ...ww cyberoam iview com You can visit open source Cyberoam iView forums at https sourceforge net projects cyberoam iview support to get support from the project community Cyberoam iView License Policy Cyberoam iView is free software if you are using and or enhancing developing open source applications you can redistribute it and or modify it under the terms of the GNU General Public License as publi...

Reviews: