background image


12 


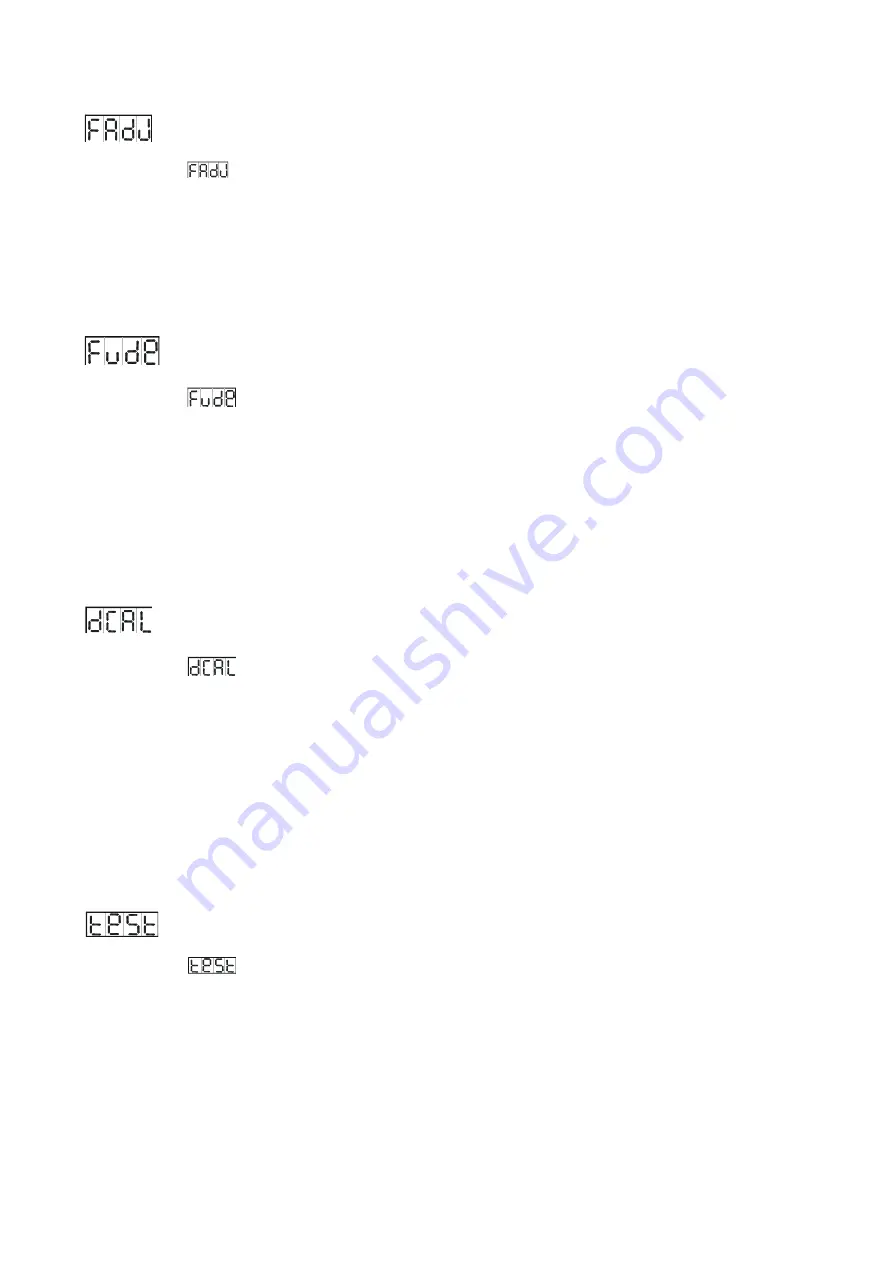
FOCUS   POSITION


To   select   the   

,   press   the   

ENTER

   button   to   show   the   

FOCUS   POSITION   

on   the   display.   Then   

press   the   

ENTER

   button   and   the   unit   will   run   the   built-­‐in   programmed   for   focus   positioning.   To   go   

back   to   the   functions   without   any   changes   press   the   

MENU   

button   again.   Hold   and   press   the   

MENU

   button   for   one   second   or   wait   for   one   minute   to   exit   the   menu   mode.   


FUNCTION   DELAY   

To   select   the   

,   press   the   

ENTER

   button   to   show   the   

FUNCTION   DELAY

   on   the   display.   Use   

the   

DOWN

/

UP

   button   to   select   the   delay   time,   

0

   (no   delay)   or   

1/2/3   

(Wait   for   1/2/3   seconds   

before   these   Functions   of   8/11   CH   are   activated/deactivated).   Once   selected,   press   the

   ENTER


button   to   setup,   to   go   back   to   the   functions   without   any   changes   press   the   

MENU   

button   again.   

Hold   and   press   the   

MENU

   button   for   one   second   or   wait   for   one   minute   to   exit   the   menu   mode.   


DIMMER   CALIBRATION   

To   select   the   

,   press   the   

ENTER

   button   to   show   the   

DIMMER   CALIBRATE

   on   the   display.   

Use   the   

DOWN

/

UP

   button   to   calibrate   the   dimmer   for   a   maximum   output   from   

50

   (limited   to   50%   

of   the   really   max.   output)   to   

100   

(maximum   output   is   not   limited).   Once   calibrated,   press   the


ENTER

   button   to   setup,   to   go   back   to   the   functions   without   any   changes   press   the   

MENU   

button   

again.   Hold   and   press   the   

MENU

   button   for   one   second   or   wait   for   one   minute   to   exit   the   menu   

mode.   


TEST


To   select   the   

,   press   the   

ENTER

   button   to   show   the   

TEST   

on   the   display   and   the   unit   will   

run   a   self-­‐test   .   To   go   back   to   the   functions   without   any   changes   press   the   

MENU   

button   again.   

Hold   and   press   the   

MENU

   button   for   one   second   or   wait   for   one   minute   to   exit   the   menu   mode.   


Summary of Contents for iMove 350S

Page 1: ...Order Ref ISIM31 User Manual Please read the instructions carefully before use...

Page 2: ...6 3 1 Rear Panel 6 3 2 Main Function 7 3 3 Home Position Adjustment 15 4 How to Control the Unit 16 4 1 Master Slave Built In Preprogrammed Function 16 4 2 Easy Controller 17 4 3 DMX Controller 17 5 D...

Page 3: ...close to the unit while operating as it is a fire hazard Use a safety cable when mounting this unit DO NOT handle the unit by taking its head only but always by taking its base Maximum ambient tempera...

Page 4: ...nt your unit may require service please contact your nearest dealer Installation The unit should be mounted via omega bracket see below Always ensure that the unit is firmly fixed to avoid vibration a...

Page 5: ...us white Adjustable manual focus Pan Tilt Pan Tilt 540 270 Automatic Pan Tilt position correction Easy calibration and maintenance by magnetic home positioning Control 3 DMX control modes DMX Master S...

Page 6: ...5 Specification Power Voltage AC 100 240V 50 60Hz Power Consumption 134W Light Source 1 x 60W white LED Beam Angle 15 Fuse T 6 3A Dimensions 292 x 252 x 425mm Weight 7 2kgs...

Page 7: ...Sound activation 2 LED Display Used to show the various menus and the selected functions 3 Button MENU To select the programming functions DOWN To go backward in the selected functions UP To go forwa...

Page 8: ...ture for Stand by Function and Mode select 3 2 Main Function To select any functions press the MENU button until the required function is showing on the display Select the function by pressing the ENT...

Page 9: ...8...

Page 10: ...old and press the MENU button for one second or wait for one minute to exit the menu mode SHOW MODE To select the press the ENTER button to show the SHOW MODE on the display Use the DOWN UP button to...

Page 11: ...button again Hold and press the MENU button for one second or wait for one minute to exit the menu mode SOUND MODE To select the press the ENTER button to show the SOUND MODE on the display Use the D...

Page 12: ...ess the MENU button for one second or wait for one minute to exit the menu mode LED DISPLAY To select the press the ENTER button to show the LED DISPLAY on the display Use the DOWN UP button to select...

Page 13: ...ithout any changes press the MENU button again Hold and press the MENU button for one second or wait for one minute to exit the menu mode DIMMER CALIBRATION To select the press the ENTER button to sho...

Page 14: ...Hold and press the MENU button for one second or wait for one minute to exit the menu mode SOFTWARE VERSION To select the press the ENTER button to show the SOFTWARE VERSION on the display and the dis...

Page 15: ...ER button and the corresponding functions will set to defaults setting To go back to the functions without any changes press the MENU button again Hold and press the MENU button for one second or wait...

Page 16: ...and UP button to adjust the value from 127 to 127 press the ENTER button to store Press the MENU button to exit Colour home position adjustment To select the press the ENTER button to show the COLOUR...

Page 17: ...0 seconds After that the unit will be ready to receive DMX signal or run the built in programs 4 1 Master Slave Built In Preprogrammed Function By linking the units in master slave connection the firs...

Page 18: ...select gobo Mode Sound LED OFF Show LED Slow Blinking LED ON 4 3 DMX Controller Using a universal DMX controller to control the units you have to set DMX address from 1 to 512 channel so that the uni...

Page 19: ...18 5 DMX512 Configuration 8 Channel Mode...

Page 20: ...19 11 Channel Mode...

Page 21: ...The cable can not branched or split to a Y cable DMX 512 is a very high speed signal Inadequate or damaged cables soldered joints or corroded connectors can easily distort the signal and shut down the...

Page 22: ...MX connectors cables to see if linking properly 2 If the DMX LED is on and no response to the channel check the address settings and DMX polarity 3 If you have intermittent DMX signal problems check t...

Page 23: ...using normal glass cleaning fluid Always dry the parts carefully Clean the external optics at least every 20 days Clean the internal optics at least every 30 60 days Declaration of Conformity We decl...

Page 24: ...uncontrolled waste disposal please seperate this from other types of wastes and recycle it responsibly to promote the sustainable reuse of material resources Household users should contact either the...

Reviews: