background image


14 


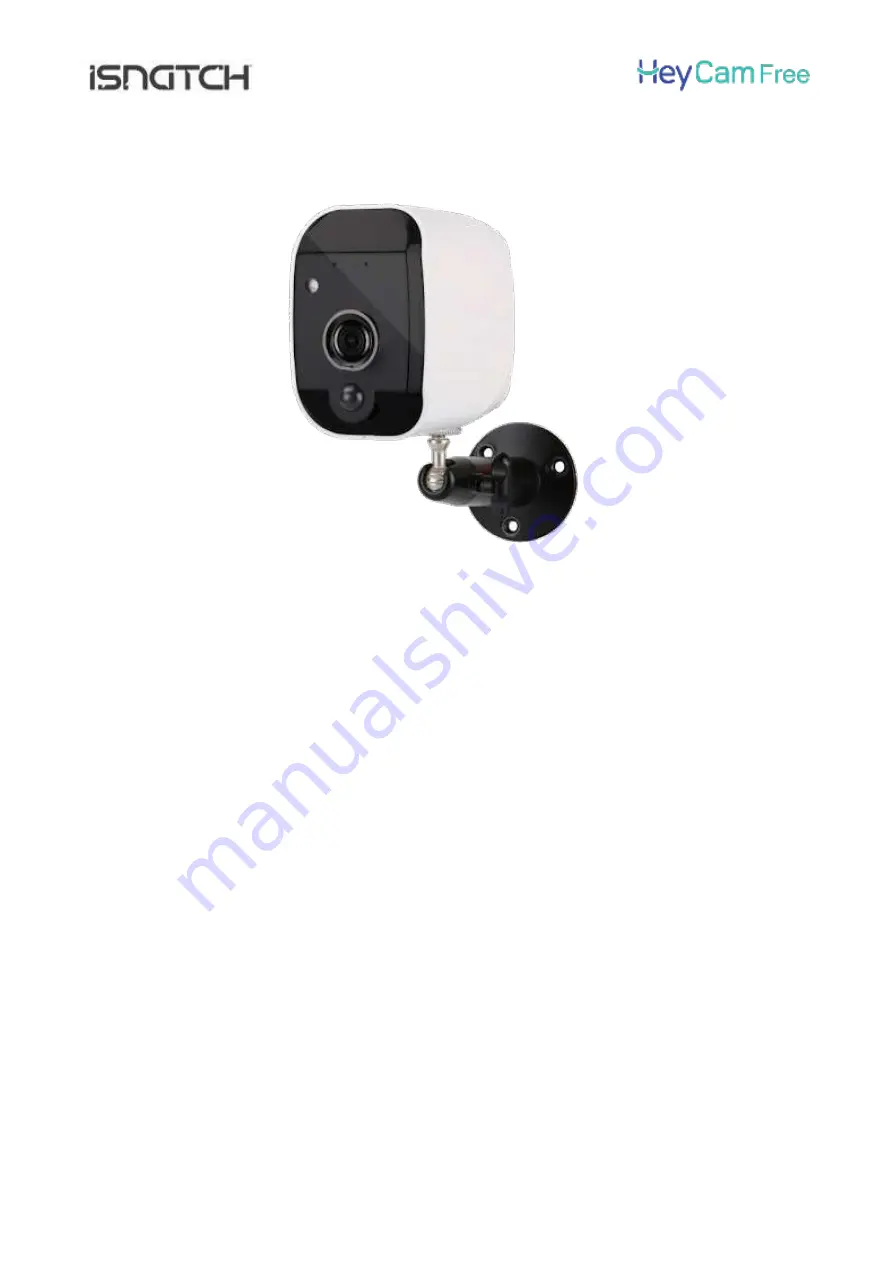
IP  CAMERA  WI-FI  WITH  BATTERIES,  RESOLUTION  1080P,  COMPATIBLE 
WITH AMAZON ALEXA AND GOOGLE ASSISTANT™            Cod. 67.6894.50 


The camera can be installed anywhere since it does not require connection cables. 
Use 2 rechargeable lithium batteries type 18650 lasting about three months, making an average of 10 
readings per day. 
How can this camera have such a long battery life? 
Once the initial setting is complete, the camera switches to Standby mode to limit battery consumption. 
Revolutionary operating principle of the 2.4GHz Wifi connection (Heartbeat technology) 
In Standby mode, the Wifi connection is kept active. The camera will "wake up" when the Pir sensor has 
detected movement or when a smartphone connection is made. 
In situations like these, reaction speed is essential. 
The Camera reactivation is completed in less than a second. 
The Wifi already active, will allow the immediate sending of push notifications and streaming images. 
Even the recording on micro SD card follows the same timing. This is started every time you make a Live 
connection from a smartphone or during a presence detection performed by the PIR sensor. 

 
WARNINGS 
• Attention: the camera supports only 2.4GHz Wi-Fi connection. NOT support 5GHz band 
•  
The  WATER  RESISTANT  protection  rating  of this  camera  guarantees  good  resistance  to  external 
atmospheric agents, including rain. It is always an electronic device and as such must be protected 
as far as possible. The guarantee is not liable for damage due to infiltration 
excessive  water  and  /  or  humidity  as  the  eventual  occurrence  is  not  verifiable  and  even  less 
quantifiable. Install it under shelters and never exposed to direct sunlight. The climatic conditions 
can reach extreme conditions even for just a few seconds (eg heavy hail or downpours), but sufficient 
to damage the camera. 


Summary of Contents for HeyCam Free 67.6894.50

Page 1: ...o SD segue le stesse tempistiche Questa viene avviata ogni volta che si effettua la connessione Live da smartphone o in occasione di un rilevamento di presenza effettuato dal sensore PIR Funzionamento Offline La camera può essere posizionata anche dove non è presente un router WiFi Il dispositivo continuerà a registrare su micro SD a seguito di un movimento rilevato sulla scena Utilizzabile all in...

Page 2: ...tti verso l alto e SEMPRE a camera spenta Dopo aver aggiunto la camera all app si prega di accedere alle impostazioni della telecamera per formattare l SD ed impostare la modalità di registrazione desiderata continua o su evento motion Telecamera 1080p 2 Batterie Litio 3 7V mod 18650 Base magnetica per fissaggio a parete Supporto snodato per fissaggio a parete Cavetto di ricarica Micro USB Viti e ...

Page 3: ...tuati in notturna a causa dell accensione dei LED IR e dalla temperatura ambiente L autonomia diminuisce all abbassarsi della la temperatura ambiente ACCENSIONE E AVVIO DELLA CAMERA Spostare l interruttore d accensione su ON Terminata la procedura d avvio sul fronte della telecamera lampeggerà un Led Blu Rimarrà lampeggiante per 2 min circa periodo durante il quale sarà possibile associare la came...

Page 4: ...3 Selezionare Ottieni Codice di Verifica Verrà inviato un codice di 6 cifre via email 4 Inserire il codice ricevuto via email 5 Impostare una password per il vostro Account 6 Selezionare Fine Aggiungere la camera con i passaggi seguenti Prima di associare la telecamera assicurarsi di aver selezionato sul proprio smartphone la rete Wi Fi 2 4GHz a cui si desidera connettere la telecamera Avviare l a...

Page 5: ...SID del Vostro router 6 Inserire la password di connessione Wifi NON deve contenere caratteri speciali né spazi vuoti 7 Selezionare Conferma 8 Selezionare Continua 9 L app genera un QR Code contenente i parametri di connessione al router ...

Page 6: ...sione 13 All apparire del messaggio Aggiunta dispositivo riuscita selezionare Fine 14 Connessione Live effettuata Salva fotogramma Live su SD dello smartphone Registra Video Live su SD dello smartphone Attiva microfono per conversazione 2 vie Riproduzione registrazioni salvate su micro SD dello smartphone Riproduzione registrazioni da micro SD della telecamera Abilita Disabilita ascolto Audio SD H...

Page 7: ...nt 5 Confermare selezionando Fine 6 Condivisione creata 7 Trascinare verso sinistra e selezionare Cancellare Eliminare la camera dall account 1 Selezionare l icona Impostazioni 2 Selezionare Rimozione di un Dispositivo e confermare La telecamera pronuncerà System Reset tornando ad essere disponibile per l associazione ad un nuovo account L eliminazione da un account principale elimina ovviamente l...

Page 8: ...con relative istantanee Attivare il sensore PIR rileva Movimento 1 Selezionare l icona Impostazioni avanzate 2 Selezionare Interruttore Sensore PIR 3 Impostare un livello di sensibilità per il sensore 4 Selezionare CONFERMA Attivare l invio di notifiche PUSH a seguito di un rilevamento 1 Selezionare icona Impostazioni APP in basso a destra 2 Selezionare Configurare 3 Selezionare Messaggi Notifica ...

Page 9: ...IZZA CENTRO NOTIFICHE 1 Selezionare l icona Impostazioni APP 2 Selezionare Centro Messaggi 3 Selezionare dalla lista eventi quello da visualizzare L immagine salvata su cloud verrà visualizzata a schermo intero ...

Page 10: ...trata 1 2 3 La formattazione cancellerà tutti i file presenti su micro SD VISUALIZZAZIONE DELLE REGISTRAZIONI DA SD Dalla schermata dei comandi è possibile accedere alle registrazioni selezionando 1 Riproduzione 2 La data di interesse dal calendario 3 Selezionare dall elenco il file da visualizzare Nota i files delle registrazioni hanno estensione MEDIA e sono visualizzabili solo da app Hey Smart ...

Page 11: ...ione ad un nuovo account Sul fronte apparirà un Led Blu lampeggiante Nota il tasto reset presente sulla telecamera se premuto a lungo cancella solo le informazioni dei parametri di rete Wi Fi Per riassociare la camera bisogna eseguire la procedura di rimozione dall account illustrata in precedenza pag 6 e 7 ASSOCIAZIONE TELECAMERA CON AMAZON ALEXA Accedere alle skill di alexa cercare HeySmart e co...

Page 12: ...e cercare HeySmart e connettere il proprio account Una volta appresa puoi chiedere Alexa Ehi Google mostrami Nome Telecamera Importante La visualizzazione della telecamera necessita di supporti con monitor es Amazon Echo spot oppure smart TV utilizzando Google Chromecast ...

Page 13: ...pondono ad un codice alfanumerico e sono variabili ininfluenti sulla funzionalità radio definita come versione TOSEEHB27M01D01D ed è conforme alla Direttiva RED 2014 53 EU La dichiarazione di conformità in forma completa è disponibile sul sito www gbconline it Il simbolo del cassonetto barrato indica che il prodotto al termine della sua vita utile non deve essere smaltito insieme agli altri rifiut...

Page 14: ...ompleted in less than a second The Wifi already active will allow the immediate sending of push notifications and streaming images Even the recording on micro SD card follows the same timing This is started every time you make a Live connection from a smartphone or during a presence detection performed by the PIR sensor WARNINGS Attention the camera supports only 2 4GHz Wi Fi connection NOT suppor...

Page 15: ...he contacts facing up and ALWAYS with the camera off After adding the camera to the app please access the camera settings to format the SD and set the desired recording mode continue or on motion event 1080p WiFi camera 2 x 3 7V Lithium Batteries mod 18650 Magnetic base for wall mounting Articulated support for wall mounting Micro USB charging cable Screws and fixing dowels ...

Page 16: ...med at night due to the switching on of the IR LEDs and the ambient temperature Autonomy decreases as the ambient temperature decreases SWITCHING ON AND STARTING THE CAMERA Move the ignition switch to ON After the start up procedure a Blue Led will flash on the front of the camera It will remain flashing for 2 min around period during which it will be possible to associate the camera to the router...

Page 17: ...e images by entering your credentials mail password 1 Select Register 2 Email as the type of account registration 3 Select your Country and Enter your email 4 Select Get Verification Code A 6 digit code will be sent via email 5 Enter the code received by email 6 Set a password for your account 7 Select Done Add the Camera with the following steps Before pairing the camera make sure you have select...

Page 18: ...cters or blank spaces 7 Select Confirm 8 Select Continue 9 The app generates a QR Code containing the connection parameters to the router 10 Frame the QR Code with the camera at 15 20cm away moving the phone away slowly The camera will make a sound and the Blue LED will remain on steady 11 Select Heard a Prompt to continue ...

Page 19: ... the micro SD of the smartphone Playback of recordings from micro SD of the camera Enable Disable listening to Audio SD HD Selecting the VGA 1080P video resolution Advanced camera settings Share the Camera with another account 1 Select the Settings icon 2 Select Device Sharing 3 Select Add Sharing 4 Enter the email address of another user This must have previously created its own account 5 Confirm...

Page 20: ...aring with other users previously programmed ENABLE PIR SENSOR AND PUSH NOTIFICATION ON MOTION EVENT By accessing the camera settings it is possible to enable the PIR motion sensor and receive push notifications In addition on the app you can view all notifications with related snapshots Activate the PIR sensor Motion detection 1 Select the Advanced Settings icon 2 Select PIR Switch Sensor 3 Set a...

Page 21: ... bottom right 2 Select Settings 3 Select Push Notification 4 Enable the notification sending cursors DISPLAY NOTIFICATION CENTER 1 Select the APP Settings icon 2 Select Message Center 3 Select from the event list the one to be displayed 4 The image saved on the cloud will be displayed in full screen ...

Page 22: ...ustrated sequence 1 2 3 Formatting will delete all files on micro SD VISUALIZATION OF RECORDINGS FROM SD From the command screen you can access the recordings by selecting 1 Playback 2 The date of interest from the calendar 3 Select the file to be displayed from the list Note the record files have a MEDIA extension and can only be viewed from the Hey Smart app ...

Page 23: ...th a new account A flashing Blue LED will appear on the front Note the reset button on the camera if pressed for a long time only deletes the information of the Wi Fi network parameters To reassociate the Camera you must perform the removal procedure from the account described above pages 6 and 7 ASSOCIATION WITH AMAZON ALEXA Access the skills from the alexa app search HeySmart and connect your ac...

Page 24: ...24 Once learned you can ask Alexa show me Camera Name ASSOCIATION WITH GOOGLE HOME Make the Log in to the Google Home app search HeySmart and connect your account ...

Page 25: ...cro usb 5V 1A power supply not included Connection Wi Fi 2 4GHz PIR sensor integrated Recording on micro SD max 32GB not included in case of motion detection Alert system Push notification in case of motion detection Audio bi directional microphone and integrated speaker Night vision up to 10 15m 6 IR Led 850nm Water Resistant Support triaxial and articulated for wall installation App for smartpho...

Page 26: ... than 25cm Improper disposal will have negative effects on the environment and on human health In default you are subject to the penalties provided The product contains batteries covered by the European Directive 2013 56 EU and that can not be disposed of with normal household waste Please inform yourself about the local rules on separate collection of batteries because correct disposal helps to p...

Reviews: