Dear Roomba owner,
Thank you for choosing a new generation iRobot Roomba vacuum cleaning robot.
You’re joining a very special community of people - 5 million worldwide and growing
- who are discovering just how useful, convenient and straightforward having a home
robot is. In fact, owners tend to like their Roomba so much they’ve even given
them nicknames.
We’re passionate about our robots too. Not surprisingly, given that making robots is all
we’ve ever done in the 20 odd years of our existence.
Now, you’re probably itching to give your Roomba a go, but it’s worth having a quick
read of this manual first. That way it will be even easier to use and save you even more
time.
I hope you will have many enjoyable experiences with your Roomba and on behalf of all
the team thank you for choosing iRobot.
Best Wishes
Colin Angle
Chairman, CEO and Co-Founder, iRobot Corporation
Looking after your iRobot Roomba
Every little bit helps
For best results, use it often! After every use, empty the bin and clean the filter.
The brushes do a lot of the hard work, so just like a hair brush, every week or so
it’s best to take them out and remove the hair and fluff that collect around these,
and under the brush bearings (see diagrams in Essential Maintenance section).
Extend the battery life by recharging it as soon as possible and storing your Roomba
plugged in. For long-term storage, remove and store the battery in a cool, dry place.
*Safety first*
As your Roomba contains electrical parts, don’t submerge or spray it
with water – clean with a dry cloth only. Before using your product for the first time
please refer to the important safety instructions towards the end of this manual.
How to get started
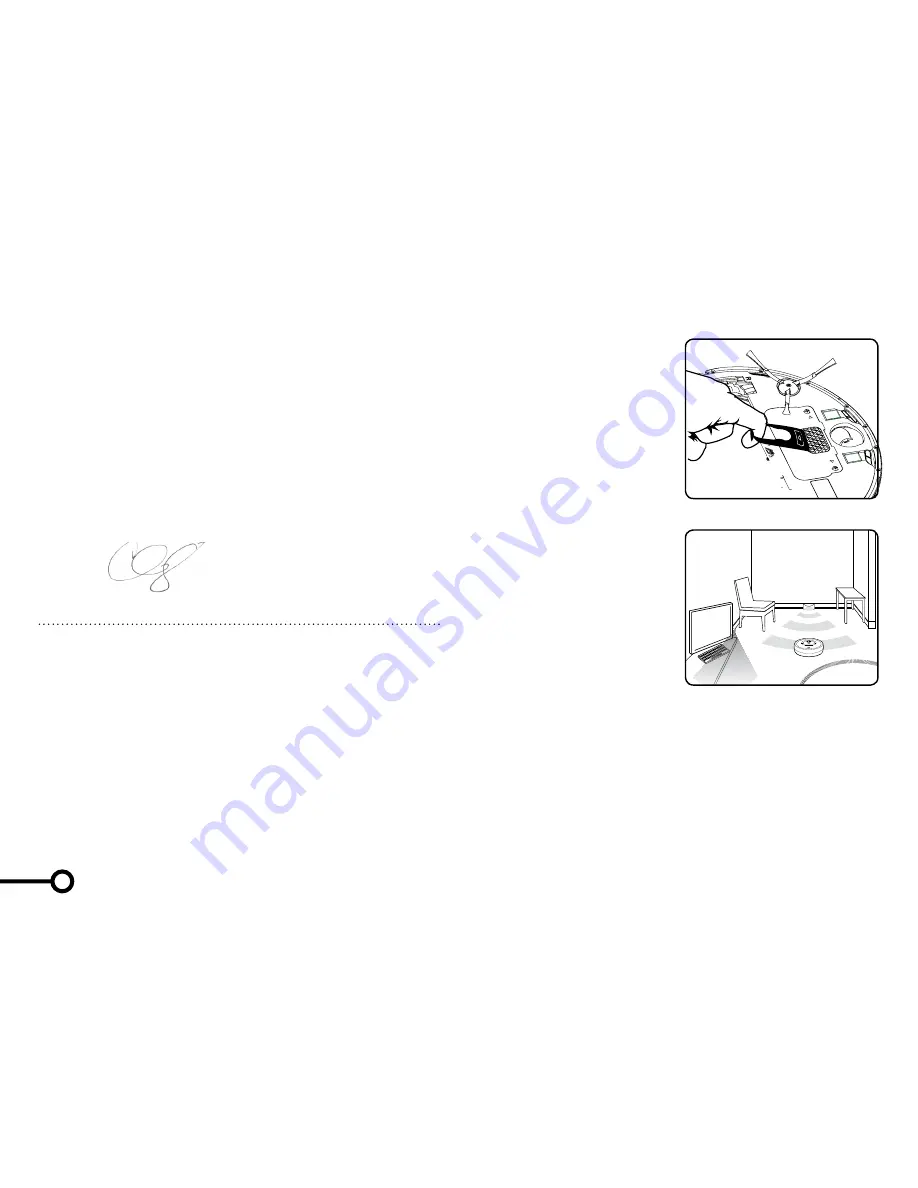
Before you first use your Roomba, turn
it upside down and remove the battery
pull tab. To set the clock see page 7.
Use the Home Base™ to charge the
battery overnight.
Preparing your cleaning area
Your Roomba is pretty smart in getting
around, but it does need a little help.
Carpet tassels aren’t a problem, but
clear away any clutter and loose cables.
General dust, dirt and grime are what
it’s there for, but avoid anything wet.
Setting Roomba up
First, set up the Home Base™. To keep
your Roomba on track, set up Virtual
Walls
or Auto Virtual Walls, which block
off areas, or Virtual Wall
®
Lighthouses™
(models 780 and above only), to enable
room-to-room cleaning.
Ready to Go!
If you have one, set up your Wireless
Command Center or your Remote Control.
Otherwise, just start up your Roomba
manually:
• Press CLEAN once to turn it on.
You’ll hear a beep and the CLEAN button will light up.
To set the clock see page 7.
• Press CLEAN again to start a cleaning cycle.
• When on the Home Base, simply press CLEAN.
• To pause while cleaning, press CLEAN.
• To resume, press CLEAN again.
• To turn off, press and hold the CLEAN button until the lights turn off.
Then just walk away and let your Roomba get to work.
Getting started
| Looking after your Roomba
1
2


