IPU 40234 Issue 3
Page
6
of
28
4.
Getting started.
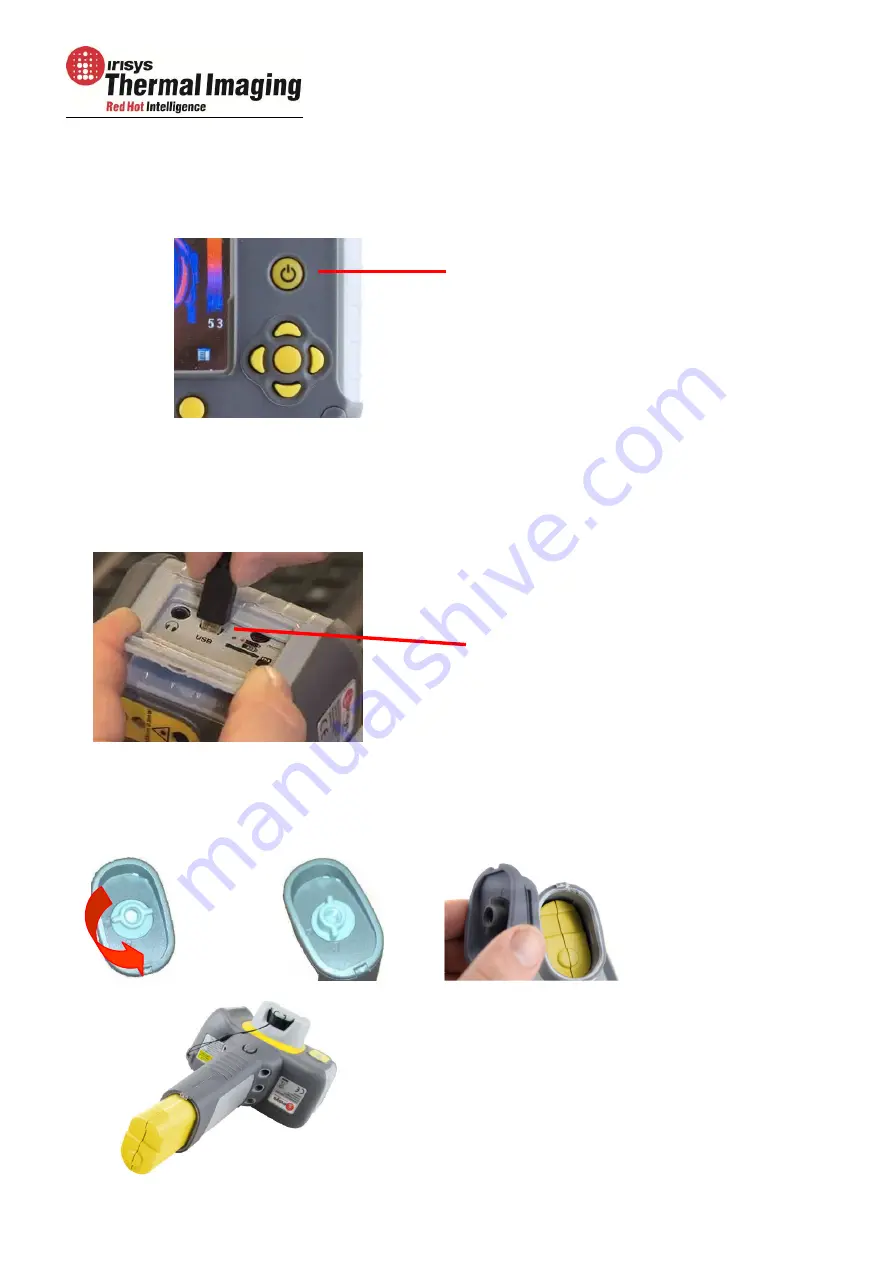
4.1. Switching the camera on/off
After switching on, it will take up to 30 seconds for the infrared image to appear. The image
will periodically freeze for one or two seconds while the camera re-calibrates itself. This is
normal operation, and the time between these calibrations will increase as the operating
temperature of the camera stabilizes.
4.2. Charging the battery
Note: When the camera is connected to a PC via the USB cable it switches off and
the PC sees the SD card as an external memory
.
4.3. Changing the battery
Open the lock on the battery cover and remove the cover.
Press the on/off button and
hold it for two seconds to
switch the camera on.
Press and hold for three
seconds to switch the camera
off.
The camera’s battery is charged via the
USB port. A fully charged battery will last
approximately 5 hours. A green LED
indicates charging which turns to red when
the battery is charged.
Remove battery.
Insert new battery, ensuring the
terminal pads are towards the front
of the camera.
Replace and lock the cover.


