


English
English
4.
Scanning
Text
into
Applications
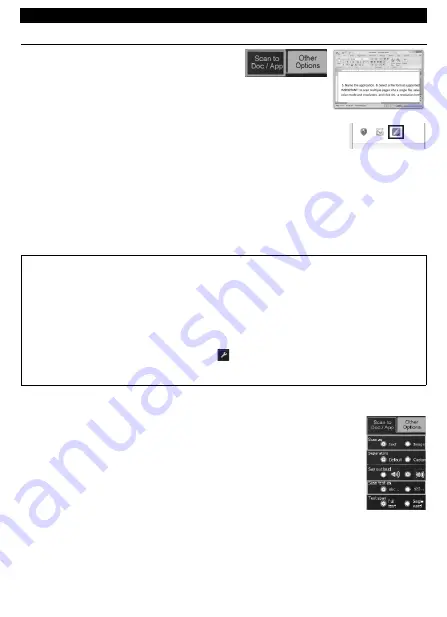
1.
In
the
IRISPen™
ribbon,
click
the
tab
Scan
to
Doc
/
App
.
Important:
•
Make
sure
the
IRISPen™
is
plugged
in
in
a
USB
port.
If
it
is
not
plugged
in,
a
small
cross
is
displayed
on
the
IRISPen™
icon
in
the
System
Tray.
•
Make
sure
the
correct
document
language
is
still
selected.
(See
Step
5.)
2.
Open
the
application
in
which
you
want
to
scan.
Note
that
the
application
must
be
text
‐
compatible.
E.g.
Microsoft
Word.
3.
Click
and
slide
the
IRISPen™
over
the
lines
of
text
you
want
to
scan.
The
recognized
text
appears
in
the
application.
If
the
scanning
was
not
performed
correctly,
animated
scanning
tips
appear
on
screen.
Notes:
By
default,
IRISPen™
adds
a
space
after
each
scan,
and
adds
new
scans
on
the
same
line
in
your
application
until
the
line
is
full.
To
start
a
scan
on
a
new
line:
•
Click
and
slide
the
IRISPen™
over
a
line
of
text.
•
At
the
end
of
the
line,
click
again
with
the
IRISPen™.
The
cursor
now
moves
to
the
line
below.
To
modify
the
default
settings,
click
the
settings
icon.
Then
click
the
Separators
tab
and
select
the
separators
you
want
to
apply.
Tips:
•
Lines
can
either
be
scanned
as
text
or
as
image.
Select
Image
when
scanning
mathematical
formulas
for
instance.
•
To
hear
the
text
read
out
loud
after
scanning,
select
Say
out
loud
.
•
To
scan
numbers
only,
select
numeral
scanning:
123
...
•
To
scan
single
words,
instead
of
full
text
lines,
select
Single
word
.
Place
the
scanner
well
in
front
of
each
word
to
start
the
scanning,
and
also
end
the
scanning
well
after
each
word.


