background image

TVR 15HD Quick Start Guide


5


To connect the remote control to the 

recorder: 

1. 

Press 

Menu


on the front panel or right

-

click 

the mouse and select 

Menu

. The main 

menu screen appears.


2. 

Select 

Display mode settings

 > 

Monitor

3. 

Check the recorder’s device address value. 

The default value is 255. The device 

address is valid for all IR controls.


4. 

On the remote control press the 

Device


button.


5

Enter the device address value. It must be 

the same as that on the recorder

6

Press 

OK


on the remote


control

.  

USB mouse 

The USB mouse provided with the recorder


operates


all the functions of the recorder, 

unlike the front panel, which has limited 

functionality. The mouse lets you navigate and 

make changes to settings in the user 

interface.


Connect the mouse to the recorder


by 

plugging the mouse USB connector into the 

USB port on the back


or front panel. The 

mouse is immediately operational and the 

pointer should appear.


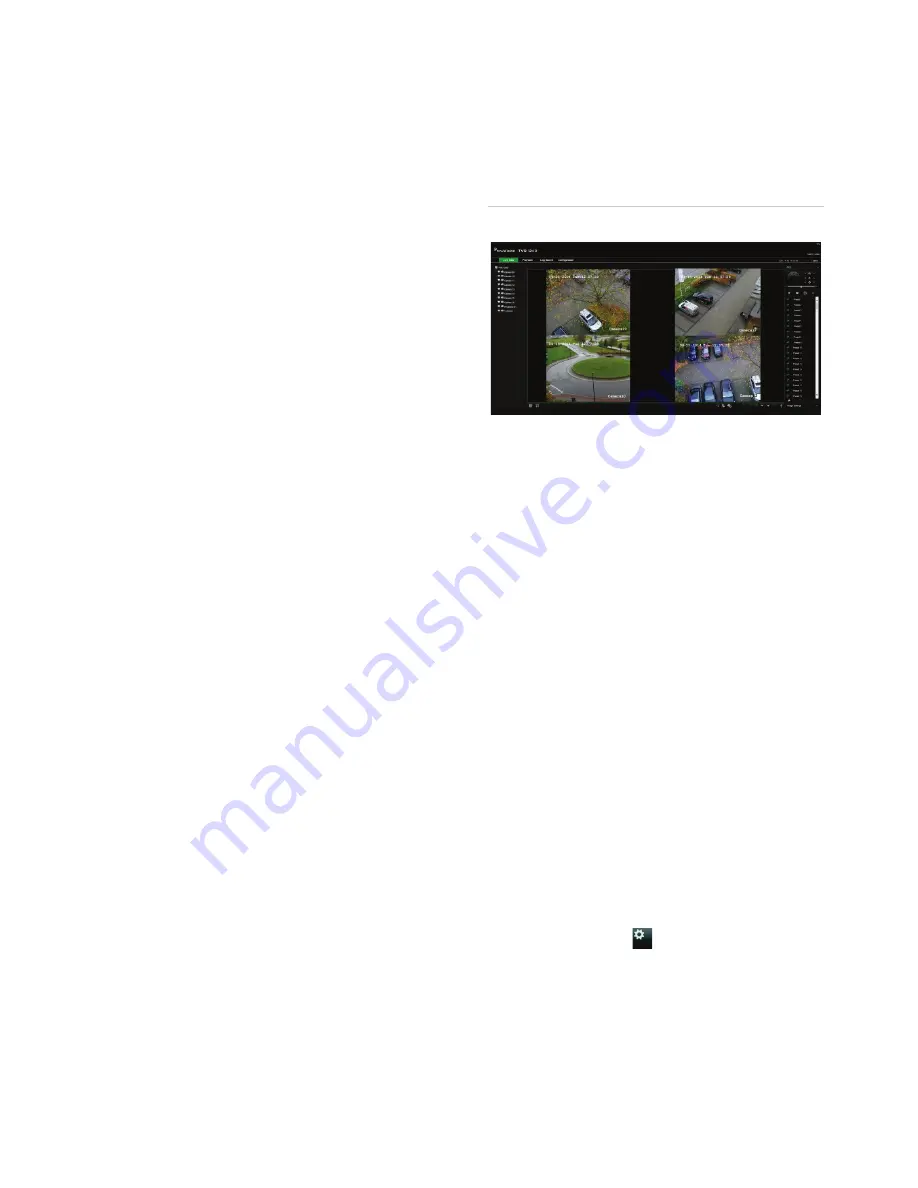
Web browser control 

The recorder’s


Web browser lets you view, 

record, and play back videos as well as 

manage all aspects of the recorder from any 

PC with Internet access. The browser’s easy

-

to

-

use controls give you quick access to all 

recorder


functions.


To access the unit, open a 

w

eb browser and 

enter the IP address assigned


to the recorder 

as a web address. In the logon screen, enter 

the user ID and password

The default values for recorder


network 

settings are:


• 


DHCP: Disabled by default.


• 


IP address 

192.168.1.

82 

• 


Subnet mask 

255.255.255.0


• 


Gateway address 

192.168.1.1


• 


Server


Port: 8000


• 


HTTP Port: 80


• 


RTSP port: 554


Note

: The following ports need to be 

forwarded


in the router in order to connect 

properly: Server port and RTSP port.


Figure 4: Web browser interface 


Live view mode 

Live mode is the normal operating mode of the 

unit where you watch live pictures from the 

cameras.


Regularly used functions in live view can be 

quickly accessed by clicking the left

-

button of 

the mouse


when its cursor is on the camera 

image. The live view


toolbar appears

See 

Figure 3 on page 

3  

for a description


of the 

functions available

Configuring the recorder 

The recorder


has an icon

-

driven menu 

structure that allows you to configure the unit’s 

parameters. Each command icon displays a 

screen that lets you edit a group of settings. 

Most menus


are available only to system 

administrators

Refer to the recorder


user manual for


detailed 

information on configuring the unit.


To access the main menu from live view: 

  P

ress the 

Menu


button on the remote 

control or front panel

Or 


Right

-

click the mouse and select 

Menu


from the pop

-

up menu. 


Summary of Contents for TVR 15HD

Page 1: ... and video 4 Connect four audio inputs to RCA connectors 5 Power switch on off 6 Connect to a RS 232 device 7 Connect to ground 8 Connect to an optional USB device such as a mouse CD DVD burner or HDD 9 Connect to a VGA monitor 10 Connect to speakers for audio output 11 Connect to a network 12 Connect to a RS 485 device such as a PTZ camera or a keypad 13 Connect to the 12 VDC PSU included 14 Conn...

Page 2: ...the recorder press the Device button enter the device address and press Enter See IR remote control Error Bookmark not defined for more information 5 Status LEDs Power A steady green light indicates the recorder is working correctly Red indicates a fault Event Alarm A flashing red light indicates that there is a sensor Alarm In or another alarm such as motion or tampering No light indicates that t...

Page 3: ...ext field 8 Direction The DIRECTION buttons are used to navigate between different fields and items in menus Enter button The ENTER button is used to confirm selection in any of the menu modes 9 Archive button Press once to enter quick archive mode Press twice to start archiving Indicator blinks green when data is being written to backup device 10 USB Interface Universal Serial Bus USB port for ad...

Page 4: ...s using the setup Wizard First time use The recorder has an express installation wizard that lets you easily configure basic recorder settings when first used It configures all cameras simultaneously The configuration can then be customized as required By default the setup wizard will start once the recorder has loaded The wizard walks you through some of the more important settings of your record...

Page 5: ...s To access the unit open a web browser and enter the IP address assigned to the recorder as a web address In the logon screen enter the user ID and password The default values for recorder network settings are DHCP Disabled by default IP address 192 168 1 82 Subnet mask 255 255 255 0 Gateway address 192 168 1 1 Server Port 8000 HTTP Port 80 RTSP port 554 Note The following ports need to be forwar...

Page 6: ...orage management Configures user settings View system information Provides reference information to the various toolbars and menus within the interface Provides access to logout reboot and shutdown options Specifications Power supply 12 VDC Power consumption without HDD TVR 1504cHD TVR 1508HD TVR 1516HD 15 W 20 W 20 W Operating temperature 10 to 55 ºC 14 to 131 F Relative humidity 10 to 90 Dimensi...

Page 7: ... experienced radio TV technician for help FCC conditions This device complies with Part 15 of the FCC Rules Operation is subject to the following two conditions 1 This device may not cause harmful interference 2 This Device must accept any interference received including interference that may cause undesired operation Canada This Class B digital apparatus complies with CAN ICES 003 B NMB 3 B Cet a...

Page 8: ......

Reviews: