


NS3500-24T-4C Quick Installation Guide
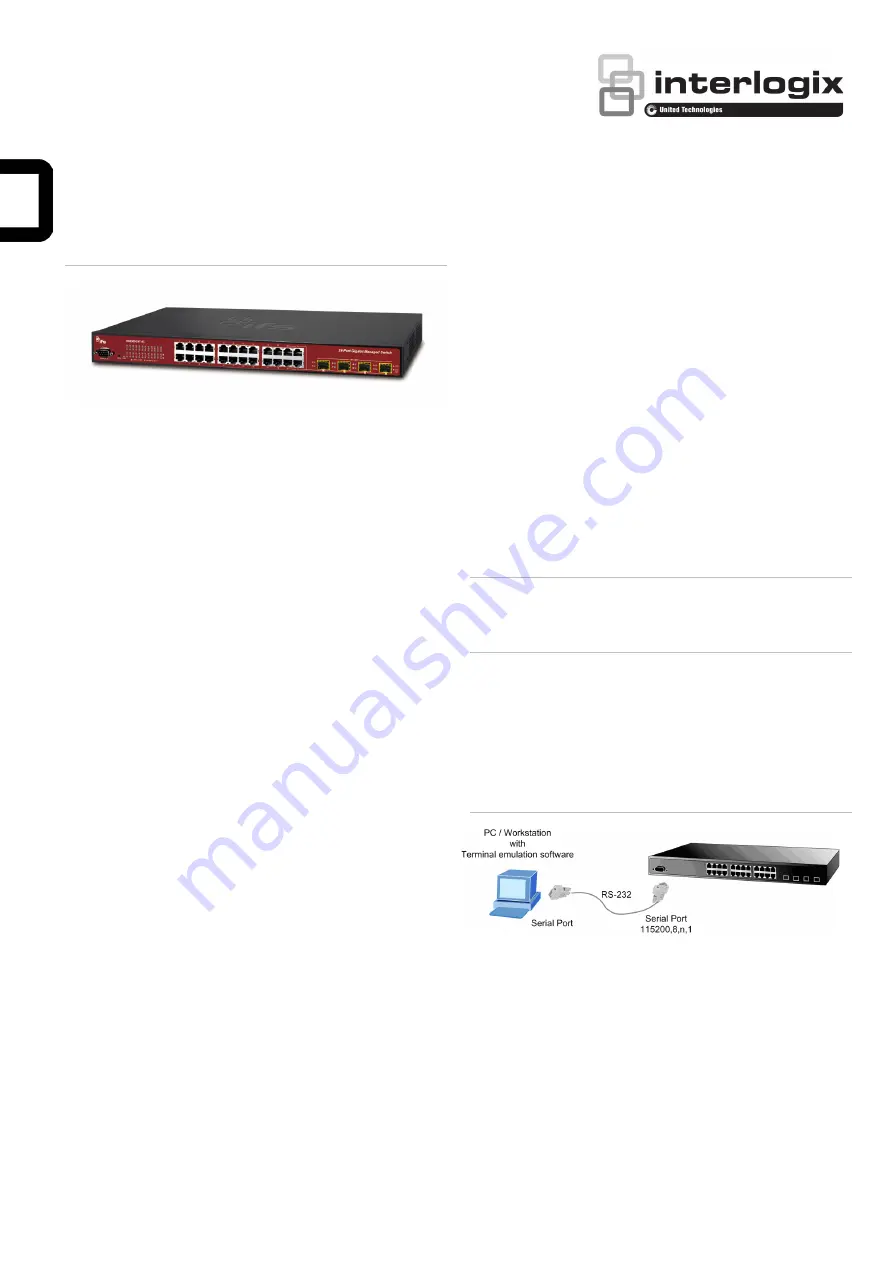
Figure 1: NS3500-24T-4C L2+ Gigabit Managed Switch
Package contents
Thank you for purchasing the NS3500-24T-4C IFS L2+ Gigabit
Ethernet managed switch, which comes with multiple RJ45
copper ports suitable for a Gigabit Ethernet switch with SFP
fiber optic connectibility and robust layer 2 and layer 4
features. The descriptions of this model are as follows:
L2+ 24-Port 10/100/1000BASE-T
+ 4-Port Shared SFP Managed Switch
Unless specified, the term “managed switch” mentioned in this
quick installation guide refers to the NS3500-24T-4C.
Open the box of the managed switch and carefully unpack it.
The box should contain the following items:
The managed switch × 1
Quick installation guide × 1
CD with user manual × 1
RS232 DB9 female console cable x 1
Rubber feet x 4
Two rack-mounting brackets with attachment screws x 1
Power cord x 1
SFP dust-proof cap x 4
If any of these are missing or damaged, contact your dealer
immediately. If possible, retain the carton including the original
packing materials for repacking the product in case there is a
need to return it to us for repair.
Requirements
The managed switch provide
s a
remote login interface for
management purposes. The following equipment is necessary
for further management:
Workstations running Windows
®
XP / 2003 / Vista / 7 / 8 /
2008 / 10, MAC OS X or later, Linux, UNIX, or other
platforms are compatible with TCP/IP protocols.
Workstations are installed with Ethernet NIC (Network
Interface Card)
Serial port connection (Terminal)
The above workstations come with a COM Port (DB9)
or USB-to-RS232 converter.
The above workstations have been installed with a
terminal emulator, such as Hyper Terminal included in
Windows XP/2003.
Serial cable
– One end is attached to the RS232
serial port, and the other end is attached to the
console port of the managed switch.
Ethernet port connection
Network cables – Use standard network (UTP) cables
with RJ45 connectors.
The above workstations have a Web browser and
JAVA runtime environment plug-in installed.
Note
: We recommend using Internet Explorer 8.0 or later to
access the managed switch. If the web interface of the
managed switch is not accessible, turn off the anti-virus
software or firewall and then try it again.
Terminal setup
To configure the system, connect a serial cable to a COM port
on a PC or notebook computer and to an RS232 type serial
port on the managed switch.
Figure 2: Console connectivity
A terminal program is required to make the software connected
to the managed switch. Windows' Hyper Terminal program
may be a good choice. The Hyper Terminal can be accessed
from the
Start
menu.
1. Click
Start
>
Programs
>
Accessories
>
Hyper
Terminal
.
2. When the following screen appears, ensure that the COM
port is configured as shown below. Click
OK
when finished
with configuration.
© 2018 United Technologies Corporation.
P/N 1073385-EN • REV A • ISS 02MAR18
Interlogix is part of UTC Climate, Controls & Security, a unit of United Technologies Corporation. All rights reserved.


