D-0128588-C – 2021/03
VRA Screen - Instructions for Use - EN
Page
6
Setup
Screens
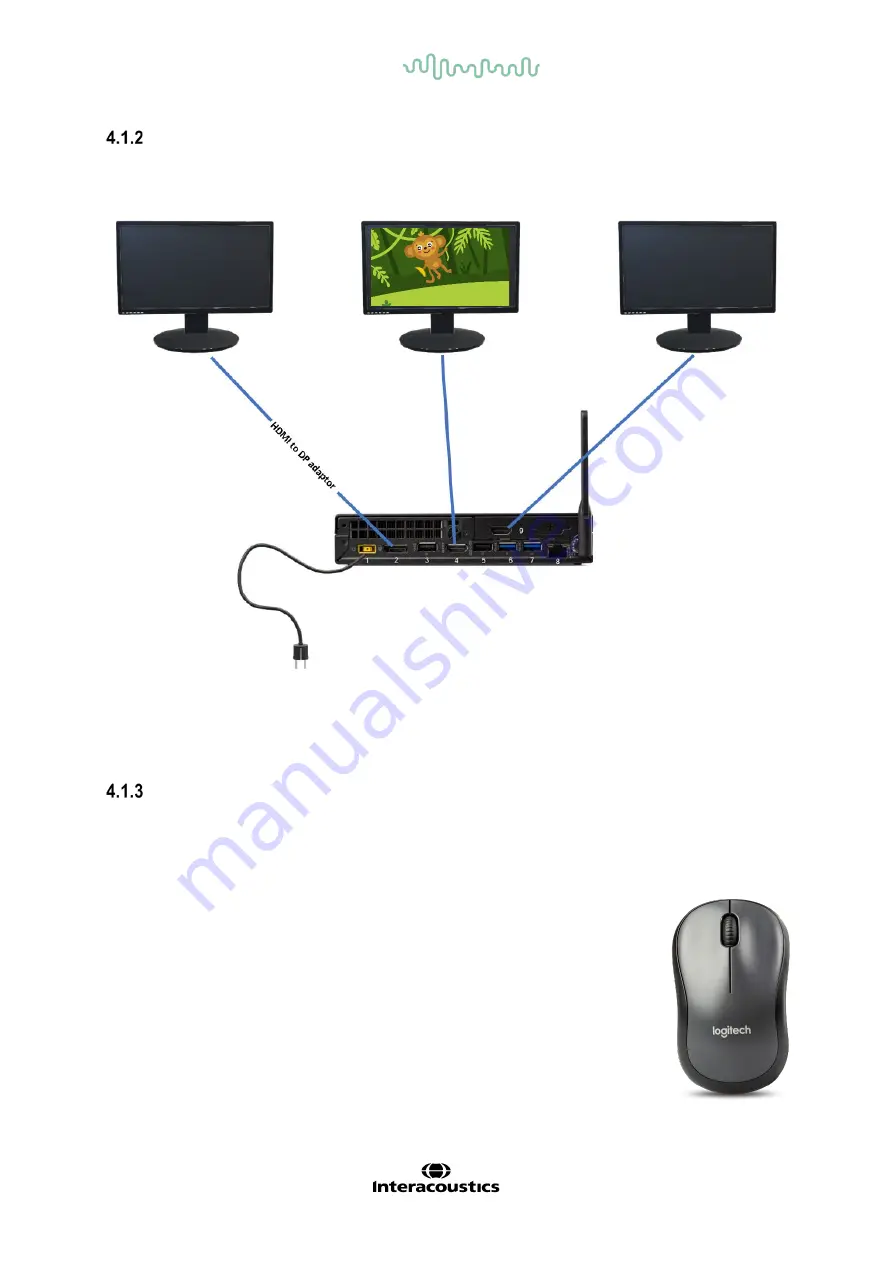
The VRA Screen PC can have up to three screens connected.
Connect two of the screens directly with HDMI and the last with the HDMI to DP adaptor, as there are
only two HDMI ports in the VRA PC. It does not matter what screen is connected to which port, as it is
possible to choose the screens position in the
settings
screen.
Start-up
1. Press the Power button on the VRA Screen PC. A default playlist is preloaded on the system.
The VRA screens will always start-up with black screens and the only indication for the system be-
ing turned on, is the light in the power button on the PC. Wait for 30 seconds. The system is now
ready for use.
2. The mouse is now used to control the VRA system.
Right click:
Shows image or video on the right screen.
Left click:
Shows image or video on the left screen.
Wheel click:
Show image or video on the center screen. When having more
playlists on the VRA PC, it is possible to switch between them by using the
mouse wheel. A small indication of the seelcted playlist will appear on screen.
Three turns upwards:
shifts to next playlist.
Three turn downwards:
shift
the image or video to previous one. This can be useful in case a reward really
caught the attention of the child and you want to reuse it once again.
Pressing the respective key for the screen while the reward is on will result in
the reward disapearing immediately.


