9
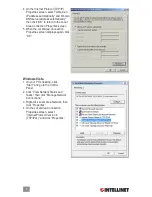
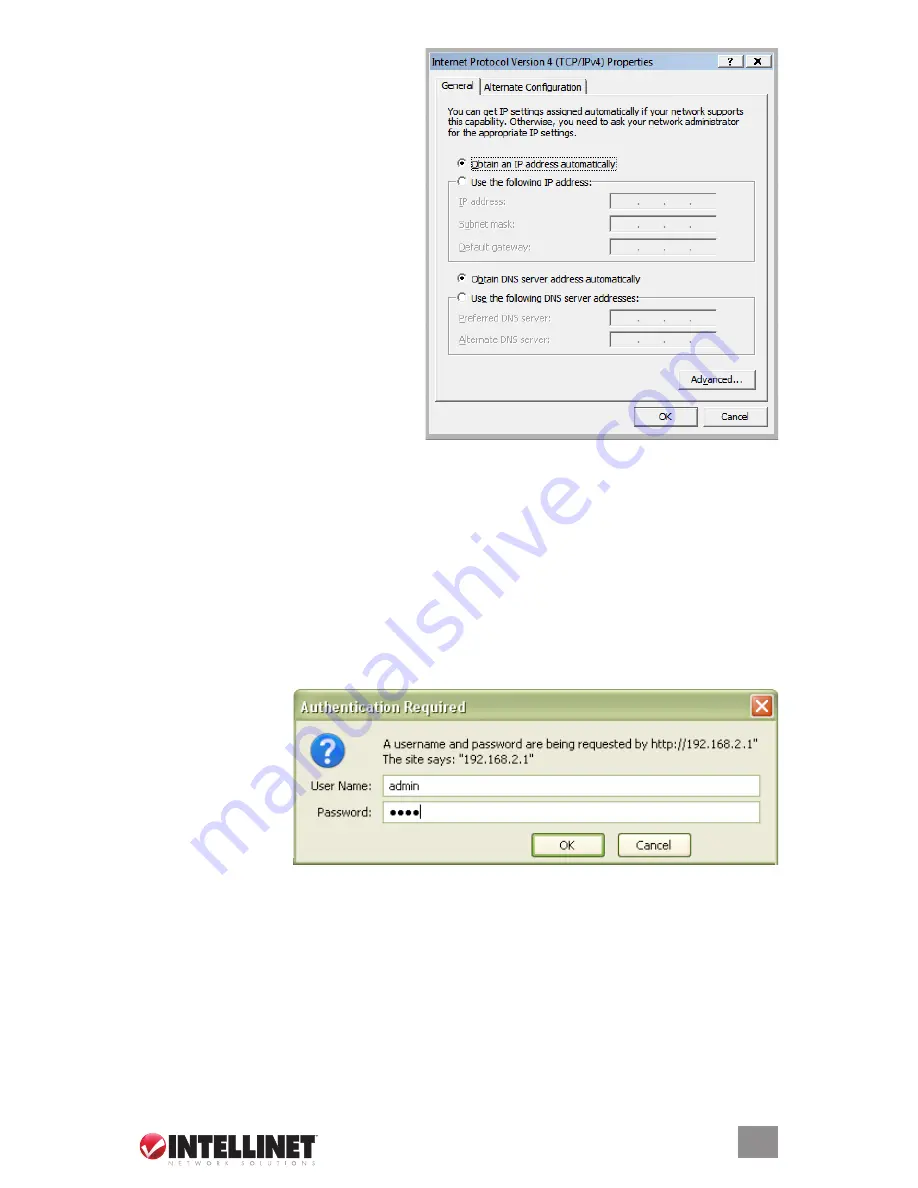
5. On the Internet Protocol Version 4
(TCP/IPv4) Properties screen, select
“Obtain an IP address automatically”
and “Obtain DNS server address
automatically”; then click “OK.”
2.2 Browser login
Now that you’ve obtained an IP address, there’s just one more step before you can begin to
configure your router. As this device is configured through an Ethernet connection, it’s necessary
to confirm that the host PC is set on an IP subnetwork that can be accessed by the router.
For example, if the default network address of the router’s Ethernet interface is 192.168.2.x,
then the host PC should be set at 192.168.2.xxx (where xxx is a number between 2 and 254),
and the default subnet mask is 255.255.255.0.
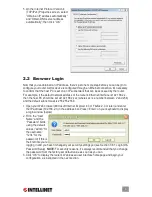
1. Open your Web browser (Microsoft Internet Explorer 4.0 or Firefox 2.0 or later) and enter
the IP address (192.168.2.1) in the address bar. Press <Enter> on your keyboard to display
a login window (below).
2. Fill in the “User
Name” and the
“Password” fields,
using the default
values (“admin” for
the username;
“1234” for the
password) if this is
the first time you’re
logging in and you
haven’t changed your security settings yet (see Section 3.8.1: Login ID &
Password Setup).
NOTE:
For security reasons, it’s always recommended that you change
the password from the factory-set default value as soon as you can.
3.
Click “OK” to display the router’s Web-based user interface homepage and begin your
configuration, as instructed in the next section.
Summary of Contents for 524537
Page 1: ...4 Port Broadband Router user manual Model 524537 INT 524537 UM 0309 02 ...
Page 2: ......
Page 23: ......


