


installation
hardware
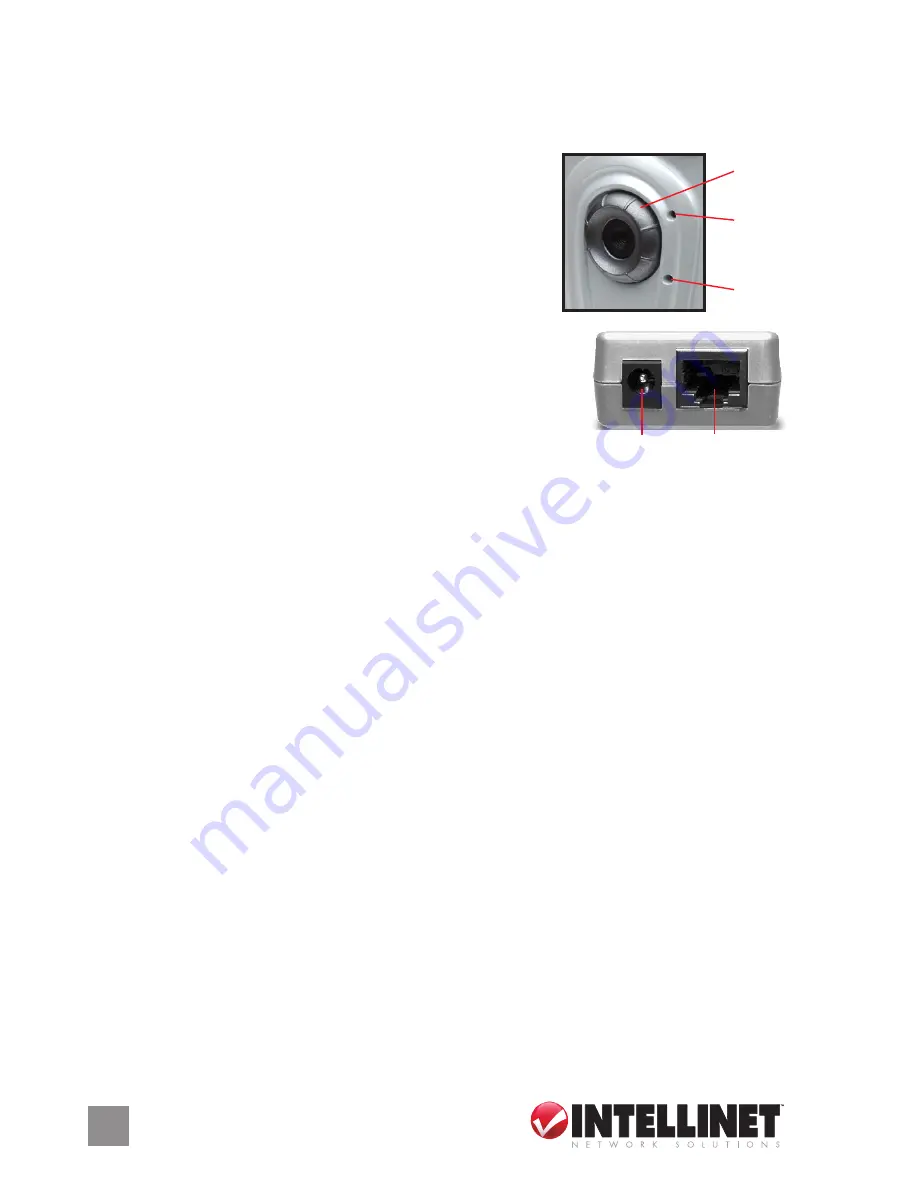
Front:
Focus ring — Rotate to adjust the focus.
Monitoring LED (green) — Lights when someone
is viewing the camera.
Ready LED (amber) — Lights when the camera
is on and ready for use.
Bottom:
Power jack — Connect the power adapter here.
LAN port — Connect the network cable here.
Side:
Reset button — Press to reset the camera to factory
default settings. Insert a paper clip into the hole, then press and hold it in
for five seconds.
1. Using the included network cable, make your network connection from
the camera’s LAN port to your switch/router.
2. Connect the power adapter to the camera’s power jack and plug it in to
a power outlet. The camera is now powered on, and the amber Ready
LED will light when the camera is operational.
3. Make sure that the correct VGA driver and DirectX 9.0 or above have
been installed.
NOTE:
Use only the power adapter shipped with the camera.
software
1. Run the Install Wizard by first inserting the enclosed CD in CD-ROM
drive. The Autorun.exe program should execute automatically. If not,
run Autorun.exe manually from the Autorun folder on the CD.
2. The Install Wizard will present four options. Click “Install Administrator
Utility & Camera Viewer” and follow the subsequent on-screen
instructions.
Focus
ring
Green
LED
Amber
LED
Power jack LAN port


