25
Chapter 3
2.
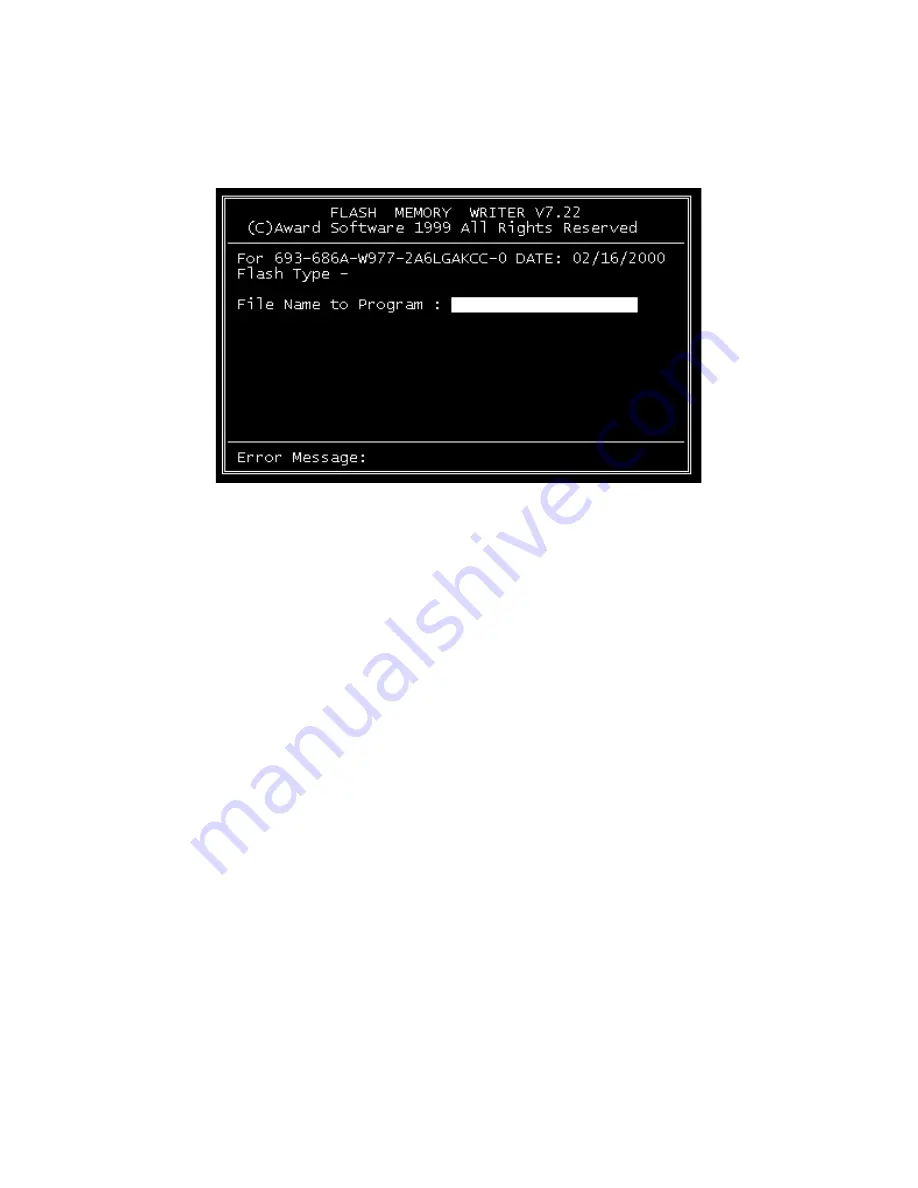
At the prompt, type AWDFLASH.EXE and press <Enter>. The
VGA configuration program will then display the following:
3.
At the prompt, enter the new BIN file which supports your display.
When you are sure that you have entered the file name correctly
press <Enter>.
4.
The screen will ask “Do you want to save BIOS?”. If you change
your mind or have made a mistake, press N to abort and end the
setup procedure. Press Y if you wish to save the existing configura-
tion before changing it. Then type the name under which you want
to save the current configuration.
5.
The prompt will then ask “Are you sure to program?”. Press Y if
you want the new file to be written into the BIOS. Press N to exit
the program.
The new VGA configuration will then write to the ROM BIOS chip. This
configuration will remain the same until you run the AWDFLASH.EXE
program and change the settings.
Figure 3.1: VGA setup screen
Summary of Contents for PCI-6886
Page 6: ...PCI 6886 User s Manual vi ...
Page 16: ...PCI 6886 User s Manual 6 Figure 1 2 Board layout dimensions solder side ...
Page 32: ...PCI 6886 User s Manual 22 ...
Page 36: ...PCI 6886 User s Manual 26 ...
Page 52: ...PCI 6886 User s Manual 42 ...
Page 56: ...PCI 6886 User s Manual 46 2 Press the Next button 3 Press the Next button ...
Page 61: ...51 Chapter6 1 Select Ethernet Controller from Device Manager 2 Select Update Driver ...
Page 62: ...PCI 6886 User s Manual 52 3 Click the Next button 4 Click the Next button ...
Page 63: ...53 Chapter6 5 Please choose Continue Anyway 6 Click the Finish button ...
Page 64: ...PCI 6886 User s Manual 54 ...
Page 65: ...55 Chapter7 CHAPTER 7 Audio Setup Introduction Installation of audio driver for Win dows XP ...
Page 74: ...PCI 6886 User s Manual 64 ...
Page 92: ...PCI 6886 User s Manual 82 ...
Page 97: ...Appendix D Intel Speedstep Tech nology Introduction and Installation ...
Page 99: ...89 AppendixD ...
Page 102: ...PCI 6886 User s Manual 92 ...


