Intel
®
Solid-State Drive
8
Installation Guide
Intel
®
Solid-State Drive
After you have migrated your data onto the Intel SSD and shut down your computer, swap the
placement of your current storage device with the new Intel SSD.
•
For desktop computers:
— You can either physically remove the current storage device and replace it with the
Intel SSD (see
“Desktop Computers — Physically Swapping the Drives”
), or
— Keep the storage device in your computer and change the boot order of the drives in the
system BIOS to ensure that the computer boots from the Intel SSD (see
“Desktop
Computers — Changing the Boot Order of the Drives” on page 9
).
•
For notebook computers, remove the current storage device and replace it with the Intel SSD
(see
“Notebook Computers — Swapping the Drives” on page 9
).
Desktop Computers — Physically Swapping the Drives
1.
Make sure the computer is powered off.
2.
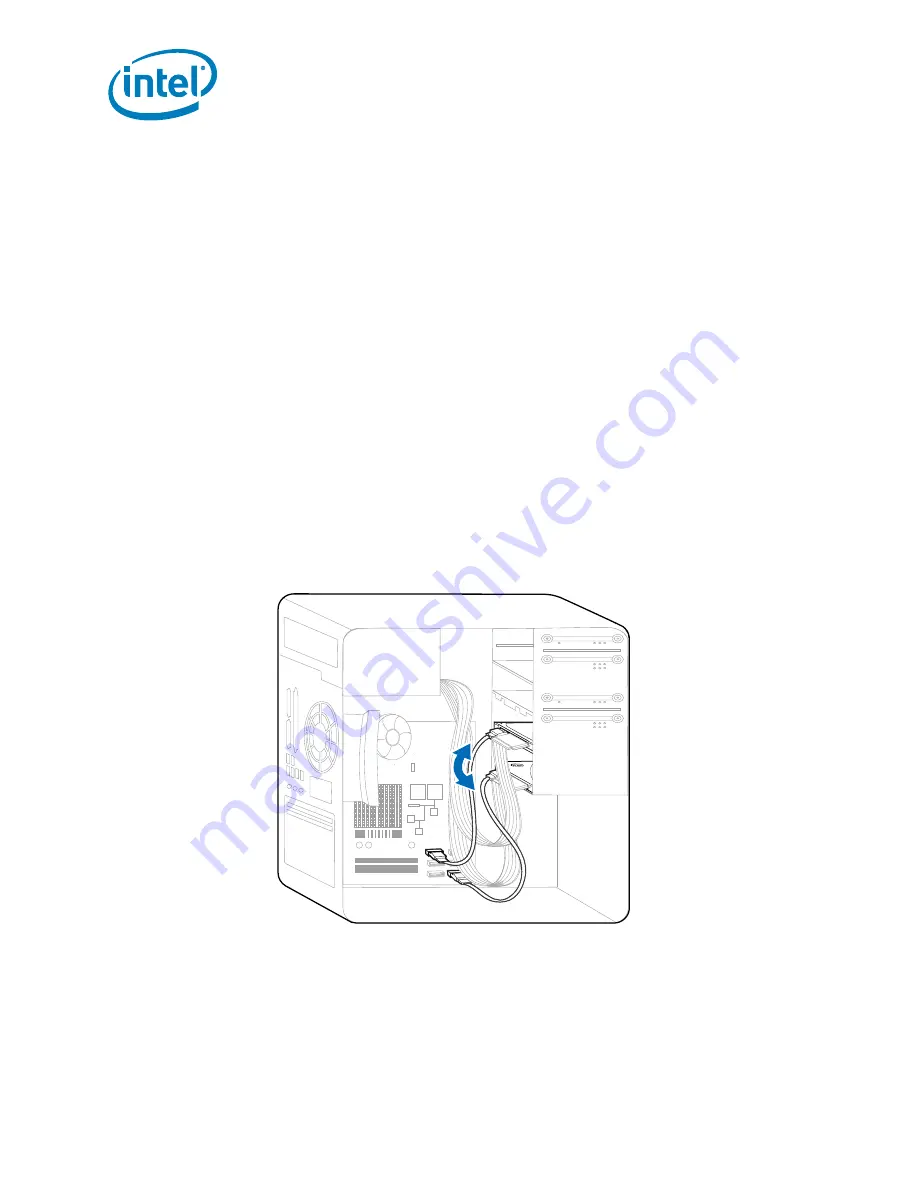
Swap the SATA cable placement of the Intel SSD and your current storage device.
Figure 10. Swap drives
3.
If desired, remove the current storage device.
Note:
You may choose to keep your current storage device installed as a secondary or
backup drive. However, make sure to configure the system BIOS and change the boot
order so that the Intel SSD appears before your current storage device. See
“Desktop
Computers — Changing the Boot Order of the Drives” on page 9
.
3. Swap Your Drives


