Page 1 of 27 Rev: 4/19/2013 10:47 AM
INSTEON
®
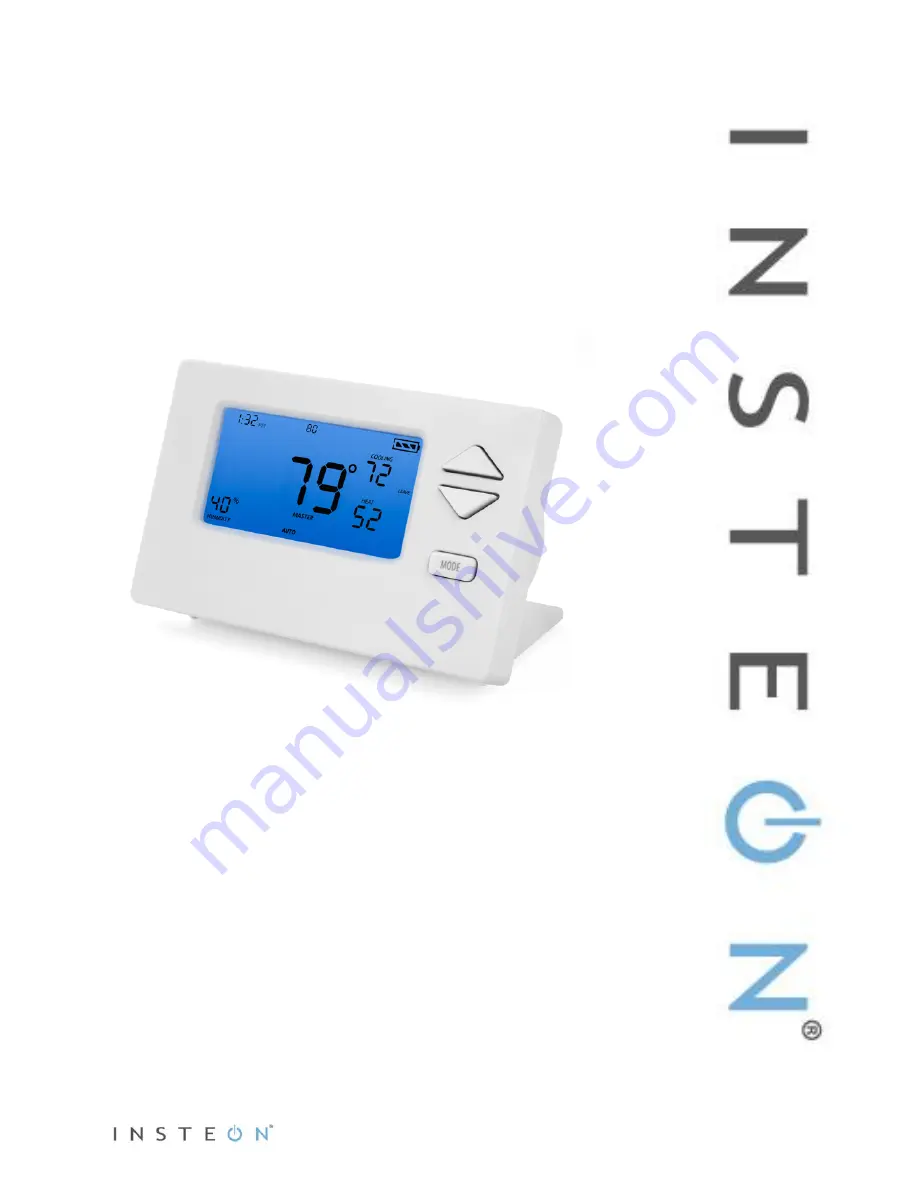
Wireless Thermostat
Owner’s Manual
2732-232, 2441ZTH (US) 2732-432 (EU) 2732-532 (AUS/NZ)
Page 1: ...Page 1 of 27 Rev 4 19 2013 10 47 AM INSTEON Wireless Thermostat Owner s Manual 2732 232 2441ZTH US 2732 432 EU 2732 532 AUS NZ ...
Page 2: ...mperature Sensor 2433A3 11 Power Supply 11 Installation 11 Preparation 11 Test Operation 12 Adding INSTEON Wireless Thermostat to an INSTEON Thermostat 12 INSTEON Programming 13 Add INSTEON Wireless Thermostat as a Controller 13 Remove INSTEON Wireless Thermostat as a Controller 14 User Setup Mode Overview 15 User Setup Mode 16 Temperature and Humidity Calibration Modes 18 Advanced 2 Stage Heating...
Page 3: ...Page 3 of 27 Rev 4 19 2013 10 47 AM What s in the Box INSTEON Wireless Thermostat Quick Start Guide Tabletop stand removable for wall mounting ...
Page 4: ...lways On 6 Master makes this device the master temperature controller Pressing and holding Master does not alter any scene or screen settings It just defines this INSTEON Wireless Thermostat as the master temperature controller 7 Time Sensor button allows you to set the date and time It cycles between hour minute and time format 8 Program button allows you to setup the various pre programmed user ...
Page 5: ... by the same amount Programmed Auto Mode The active program mode is indicated by one of four annotations Wake Leave Return or Sleep The annotation Wake Leave Return or Sleep is not displayed in the other four modes Off Heat Cool or Auto Both Cool and Heat setpoints are shown Up Down arrows increase or decrease values by the same amount When the thermostat moves to the next time period the setpoint...
Page 6: ...tton is pressed again Up Down arrows adjust the temperature setpoint based on the mode you are in From Off Mode Energy button does nothing because the system is off at maximum energy savings already When Energy appears on the screen for Auto Cool and Heat Modes the 4 setback is engaged From Heat Mode Heat setback as specified Default setback is 4 less Notice that Heating is active on the left but ...
Page 7: ...ss Thermostat automatically retrieves time settings from INSTEON Thermostat Up Down arrows cycle through the available options Go to the next Time Sensor step by pressing Time Sensor button again Exit Time Sensor setup by Letting it time out after 4 minutes Pressing Mode button IMPORTANT Once you have added INSTEON Wireless Thermostat to a scene in INSTEON Thermostat as a wireless temperature zone...
Page 8: ...program controls will be performed on the INSTEON Thermostat Note Text colors below indicate element that is presently blinking during setting procedure First press of Program Selects from available pre program modes Up Down arrows cycle through Wake Leave Return and Sleep NOTE Energy is not a part of this option Once a preprogrammed mode is selected that item remains displayed throughout to indic...
Page 9: ...TE The four modes come preprogrammed The defaults are for all days Day Modes Start Time Thermostat Mode Heat Setting Cool Setting Wake 6 00AM Auto 65 F 18 C 75 F 24 C Leave 8 30AM Auto 60 F 16 C 80 F 27 C Return 5 00PM Auto 65 F 18 C 75 F 24 C Sleep 11 00PM Auto 60 F 16 C 80 F 27 C Note To exit program setup mode press Mode button once Fan and Hold Button Operations Fan button operations The Fan b...
Page 10: ...es the local INSTEON Wireless Thermostat the master temperature controller To perform this press and hold Master button for 3 seconds INSTEON Wireless Thermostat will beep once Release Note This is only valid if INSTEON Wireless Thermostat is linked to a INSTEON Thermostat Before pressing Master button Notice that the left remote sensor is currently the Master temperature controller After pressing...
Page 11: ...ermostat will switch back to battery power Install power supply as follows 1 Open the back of INSTEON Wireless Thermostat 2 Locate the wiring block for the power supply It should be the two left screws 3 Use a flathead screwdriver to loosen screws 4 Route power supply cable through hole in back of thermostat case 5 Connect power supply s exposed copper wire strands to terminal block making sure th...
Page 12: ...conds and then turn on steady No furnace activity will take place at this time only display changes 3 Tap the Up or Down arrow until you reach a desirable heat temperature setpoint below ambient Cooling Mode Test 1 Tap Mode button once again to enter Cool mode 2 Tap the Up or Down arrow several times until setpoint is 1 below ambient INSTEON Wireless Thermostat will call for Cooling Cool will chan...
Page 13: ... NOTE An INSTEON Wireless Thermostat can also be added to a scene as a controller to Groups 1 4 When it is added as a controller of an INSTEON Thermostat the setpoints between INSTEON Wireless Thermostat and INSTEON Thermostat will always be matched When it is not added as a controller to a INSTEON Thermostat the setpoints are local only Note Humidity levels are taken from the local device only th...
Page 14: ...choose to remove INSTEON Wireless Thermostat from use it is important that you remove scene memberships from all responders Follow the instructions below for each responder of which INSTEON Wireless Thermostat is a member 1 Press and hold INSTEON Wireless Thermostat Set button until it beeps INSTEON Wireless Thermostat Set LED will blink green 2 Press and hold INSTEON Wireless Thermostat Set butto...
Page 15: ...e LCD displays when using Up or Down buttons to select from among the 4 controller groups User Setup Mode Overview IMPORTANT Once you have added INSTEON Wireless Thermostat to INSTEON Thermostat the Program and Time Sensor buttons will no longer perform their initial functions All program and time controls will be performed on the INSTEON Thermostat To access the Program and Time Sensor buttons ag...
Page 16: ... 47 AM battery saving mode to retrieve any updates from INSTEON Thermostat Press and hold Program button for 3 seconds or more to enter User Setup Mode User Setup Mode 1 Press and hold Program button to access the following options ...
Page 17: ...ge a setting Sub mode 01 LED backlight ON time 10 second default a Tap up or Down arrow to step between OFF 10 seconds 60 seconds and ON Note Do not set to ON unless you are connected to a power supply or the batteries will drain very rapidly Sub mode 02 Humidity low setpoint humidification 30 default a Up arrow Increase humidity setpoint b Down arrow Decrease humidity setpoint c Press and hold ar...
Page 18: ...row ON b Down arrow OFF Sub mode 07 Button lock enable disable OFF default a Up arrow ON b Down arrow OFF Sub mode 08 Programming lock enable disable OFF default a Up arrow ON b Down arrow OFF Sub mode 09 Activation delay default is 5 minutes a Up arrow Increase activation delay time b Down arrow Decrease activation delay time c Range 2 to 20 minutes 3 When finished press and hold Program button t...
Page 19: ...o select the current humidity level The top left number 40 in example is the current reading according to the humidity sensor The top right number 92 in example is the current offset represents 9 2 These numbers can change while this screen is displayed even though the primary humidity level does not change they are floating point calculations o Each press results in a 1 humidity change o The calc...
Page 20: ...INSTEON Thermostat to occasionally engage and disengage second stage during a single heating or cooling cycle as variables are met Factory Reset If you want to reset INSTEON Wireless Thermostat to its factory default settings follow instructions below Note If you choose to reset INSTEON Wireless Thermostat to its factory default settings it is important that you remove scene memberships from all c...
Page 21: ... you are removing a scene from default is Cooling 3 Double tap Set button 4 Press and hold Set button again Do not let go of Set button Device will blink all segments and emit a long beep 5 When blinking beeping stops release Set button Device goes into factory reset for about 10 seconds and will perform a series of self tests Device will return to normal operations and display screen returns to n...
Page 22: ... X10 receiver N A X10 status response N A X10 resume dim N A X10 minimum transmit level N A X10 minimum receive level N A X10 messages repeated N A Mechanical Mounting Tabletop stand or wall mount Wires N A Screw clamp connections Yes 4 position Case color White Set button 1 Plastic UV stabilized ABS Beeper Yes Beep on button press Optional off by default LED 1 red green dual color Dimensions 5 7 ...
Page 23: ...dn t boot up fully Remove batteries from INSTEON Wireless Thermostat wait a few seconds then reinstall If problem persists call the INSTEON Support Line I replaced my INSTEON Wireless Thermostat with a new one but now the INSTEON for Hub app doesn t recognize it The INSTEON for Hub app communicates via INSTEON I D s They are still trying to communicate to the old thermostat s I D Update the INSTEO...
Page 24: ...mostat When the Wireless Thermostat is linked to a Wired Thermostat it will not directly control other linked devices based on temperature or humidity This is normal Have your Wired Thermostat be the controller of other devices based on temperature and humidity When an AC adapter is used the temperature and humidity settings are changing rapidly Noise from the AC adapter is affecting the Wireless ...
Page 25: ...he Master button on the Wireless Thermostat so that it becomes the master and its mode and setpoints are controlling the Wired Thermostat Computer software or other controller can t retrieve the Wireless Thermostat s data Temperature Humidity Setpoints When using only batteries the Wireless Thermostat will go to sleep and not responded to signals from other INSTEON devices Add an AC adapter and th...
Page 26: ...s 1 Electromagnetic Compatibility Directive 2004 108 EC 2 Hazardous Substance Directive 2005 95 EC Technical data and copies of the original Declaration of Conformity are available and can be obtained from INSTEON 16542 Millikan Ave Irvine CA USA User Information for Consumer Products Covered by EU Directive 2002 96 EC on Waste Electric and Electronic Equipment WEEE This document contains importan...
Page 27: ...espect to this product For repair or replacement during the warranty period call the INSTEON Support Line at 866 243 8022 with the Model and Revision of the device to receive an RMA and send the product along with all other required materials to INSTEON ATTN Receiving 16542 Millikan Ave Irvine CA 92606 5027 Limitations The above warranty is in lieu of and Seller disclaims all other warranties whet...