1
USER MANUAL – EN
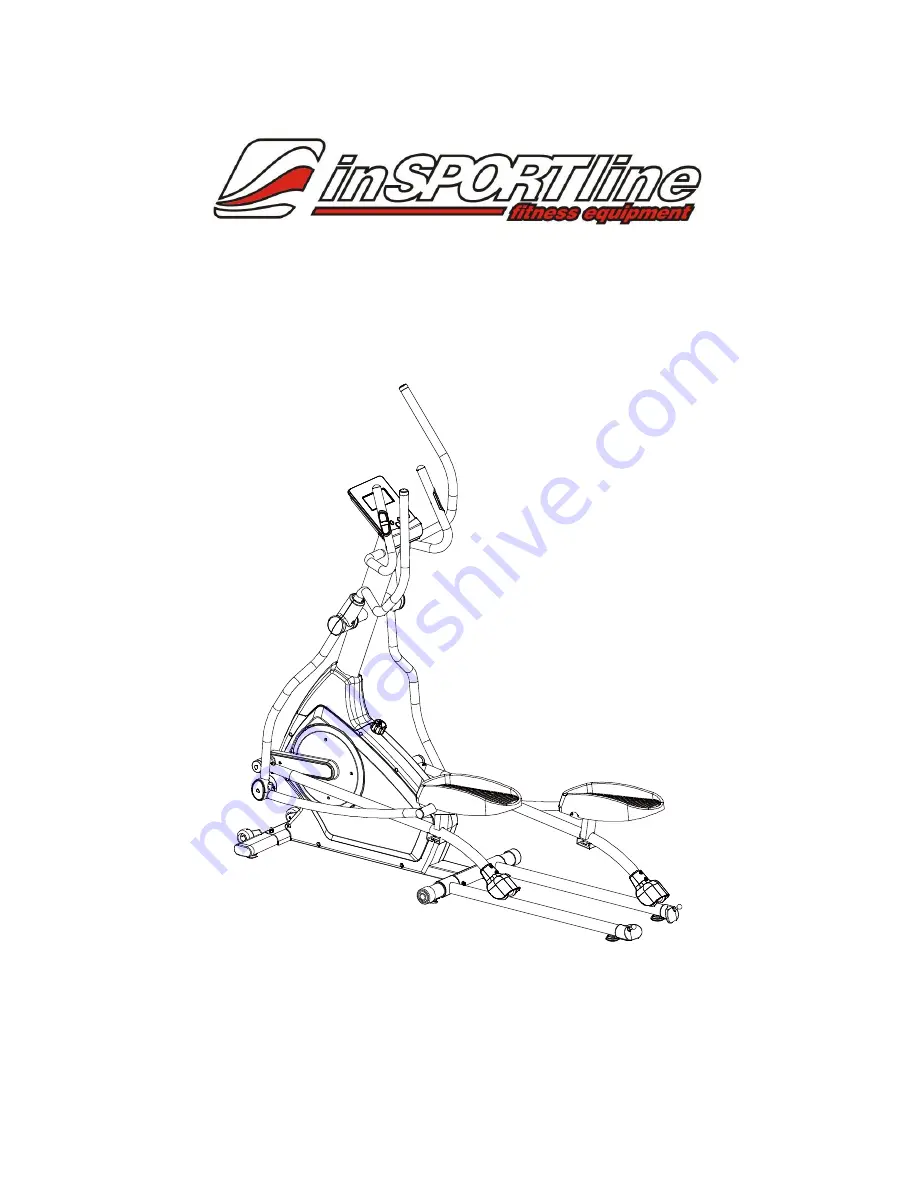
IN 9118 Elliptical inSPORTline ET520i
Made in P.R.C
Page 1: ...1 USER MANUAL EN IN 9118 Elliptical inSPORTline ET520i Made in P R C...
Page 2: ...2 CONTENTS SAFETY CAUTION 3 TOOL KIT 4 EXPLODED VIEW 6 PARTS LIST 7 ASSEMBLY 11 KNOWING THE ICONSOLE 21 TRAINING INSTRUCTION 25 TERMS AND CONDITIONS OF WARRANTY WARRANTY CLAIMS 27...
Page 3: ...s on a level surface and keep it away from moisture and dust Place a mat under the stabilizers to protect the carpet or floor 4 Inspect and tighten all parts regularly Replace and worm parts immediate...
Page 4: ...for M8 bolt 6 F 5 Curved Washer 8 19 2T 6 Allen Key 1 F 6 Carriage Bolt M8 P1 25 40L 4 F 11 Allen bolt M8 P1 25 50L 2 IMFD F 1 FlatWasher 8 25 2T bolt 4 F 9 FlatWasher p 8 p 16 1T 2 F 12 SCREW M5 8L...
Page 5: ...len Key 1 F 6 Carriage Bolt M8 P1 25 40L 4 F 11 Allen bolt M8 P1 25 50L 2 IMFD F 1 8 25 2T bolt 4 p p F 3 Curved Washer 20 30 0 3T 2 G F 10 16 36 5L bolt 2 F 8 Carriage Bolt M8 P1 25 55L 2 F 18 Carria...
Page 6: ...6 EXPLODED VIEW...
Page 7: ...10 Spring washer 6 B 11 Screw 6 B 12 Screw 2 B 13 Hand pulse wire 2 B 14 Screw 2 B 15 Cover for handlebar post 1 C L Left upper handlebar 1 set C R Right upper handlebar 1 set C 1 End cap for upper ha...
Page 8: ...D 29 Axle of gear box 1 D 30 Screw 1 D 31 Nut 1 E Eddy magnet assembly 1 set E 1 Screw 2 E 2 Flat washer 2 E 3 Spring washer 2 F Screw set 1 set F 1 Flat washer 4 F 2 Nylon screw 4 F 3 Wave washer 2 F...
Page 9: ...bilizer 2 H 2 Nut 2 H 3 C type ring 2 H 4 Transportation wheel 2 H 5 Bushing 2 H 6 Screw 4 H 7 Adjustable foot cap 2 I L Left pedal arm 1 set I R Right pedal arm 1 set I 1 Sleeve 4 I 2 End cap 2 I 4 P...
Page 10: ...nut 2 L 11 Flat Washer 4 L 12 Bearing 4 L 13 Bushing 2 L 14 Hex screw 2 L 15 Crank arm connect base 2 M Linkage tube of rear stabilizer set 1 set M 1 Linkage tube of rear stabilizer 2 M 2 Linkage sle...
Page 11: ...dal arm 2 P 5 Pedal 2 Q Rear stabilizer set 1 set Q 1 End cap 2 Q 2 Screw 4 Q 3 Rear stabilizer 1 Q 4 Foot cap 2 Q 5 Nut 2 ASSEMBLY BEFORE EVERYTHING It will affect your safety and the smoothness of t...
Page 12: ...asten the Front stabilizer H to the Main frame D by using 2 Flat washers F 7 2 Carriage screws F 8 and 2 Nut F 19 2 Securely fasten the Rear stabilizer M to the Frame D by using 2 Semicircle washer F...
Page 13: ...t crank arm L L to the Crank O 1 by using 1 Flat washer F 1 1 Nylon screw F 2 and 1 Cover for screw F 15 2 Assemble the Right crank arm L R to the Crank O 1 by using 1 Flat washer F 1 1 Nylon screw F...
Page 14: ...t washers B 7 2 Semicircle washers B 8 6 Spring washers B 10 and 6 Screws B 11 3 Install the Right lower handlebar K R to the Axle for handlebar with 1 Flat washer F 1 1 Nylon screw F 2 and 1 Wave was...
Page 15: ...ight pedal arm I R to the right crank arm and then fasten it with1 Pedal connector I 4 3 Flat washers I 5 and 3 Screws I 6 3 Assemble the Left pedal arm I L to the Lower handlebar K L by using 1 Nylon...
Page 16: ...16 STEP 5 Assemble the Pedals P 5 with 8 Screws F 13 and 8 Flat washers F 14...
Page 17: ...17 STEP 6 Assemble Left cover for pedal arms P 3 and Right cover for pedal arms P 4 with Screws F 12...
Page 18: ...and 4 Carriage screws F 6 2 Install the Right upper handlebar C R to the Right lower handlebar K R by using 4 Nylon nuts F 4 4 Semicircle washers F 5 and 4 Carriage screws F 6 3 Put the Front cover fo...
Page 19: ...lug the Cable wire upper B 9 and Hand pulse wire B 13 onto the back of Computer A 2 Install the Computer A to the computer panel which is welded on the top of the handlebar post Fix the computer with...
Page 20: ...A C 1 Make the two arrow icons of chain cover and disc to be alignment 2 Tighten the knob by clockwise way 3 Lift up linkage tube of rear stabilizer 4 Fix the shaft into the hole fold for storage 5 Un...
Page 21: ...ely and has been certified by the developer to meet Apple performance standards Apple is not responsible for the operation of this device or its compliance with safety and regulatory standards Please...
Page 22: ...for 2 seconds computer will reboot and start from user setting Reverse to main menu during presetting workout value or stop mode Start Stop Start or Stop workout Recovery Test heart rate recovery stat...
Page 23: ...o select workout program choose Beginner mode and press Mode to enter 2 Press UP or DOWN to preset TIME 3 Press START STOP key to start workout Press UP or DOWN to adjust load level 4 Press START STOP...
Page 24: ...default 100 3 Press UP or DOWN to preset workout TIME 4 Press START STOP key to start or stop workout Press RESET to reverse to main menu WATT MODE 1 Press UP or DOWN to select workout program choose...
Page 25: ...wed INTENSITY To achieve maximum results the right intensity has to be chosen The heart rate is used as guideline As a rule of thumb the following formula is commonly used Maximum pulse rate 220 Age W...
Page 26: ...ce by suing a higher paddling frequency or with longer training periods Pulse rate chart AGE MAX 60 65 70 75 80 85 20 200 120 130 140 150 160 170 25 195 117 127 137 146 156 166 30 190 114 124 133 143...
Page 27: ...s for the purpose of using the Goods or services for his own business activities The Buyer conforms to the General Purchase Agreement and business conditions to the extent specified in the Commercial...
Page 28: ...claim about the Goods that is legally covered by the Warranty provided by the Seller the Seller shall fix the reported defects by means of repair or by the exchange of the damaged part or product for...
Page 29: ...29 Web www insportline sk www worker sk www worker moto sk Date of Sale Stamp and Signature of Seller...