15
www.insignia-products.com
7 Press EXIT on the remote to return to normal
viewing.
8 Repeat steps 1 through 6 to remove the
labels other channels.
Labeling the video input source
The video label feature allows you to label each
input source for your TV.
To label the video input source:
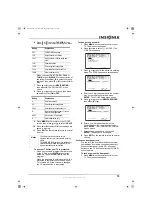
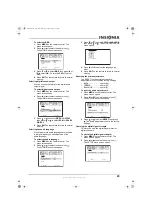
1 Press MENU on the remote control. The
menu screen opens.
2 Press
or
to select the Option icon
.
The OPTION menu screen opens.
3 Press or
to select VIDEO LABEL, then
press
or
and
the
VIDEO LABEL menu
opens.
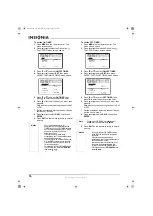
4 Press or
to select the video source you
want to label.
5 Press
or
to select the label you want.
6 Press EXIT on the remote to return to normal
viewing.
Setting the clock
You must set the clock correctly for the ON/OFF
TIMER to activate at the correct time. For more
information, see “Setting the ON and OFF
TIMERS” on page 15.
To set the clock:
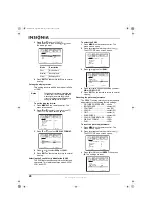
1 Press MENU on the remote control. The
menu screen opens.
2 Press
or
to select the setup icon
.
The SETUP menu screen opens.
3 Press
or
to select CLOCK SET, then
press .
the
CLOCK SET menu opens.
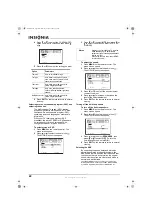
4 Press
or
to set the MONTH, then press
.
5 Set the DAY, YEAR, and TIMER as you set
the MONTH in step 3.
6 Press EXIT on the remote to return to normal
viewing.
Setting the ON and OFF TIMERS
This feature allows you to have your TV
automatically turn on and off at a predetermined
time. If you program the ON/OFF TIMER to
DAILY, your TV turns on and off everyday at the
same time to the same channel.
O P T I O N
O N / O F F T I M E R
O F F
FAVO R I T E C H
C H L A B E L
V I D E O L A B E L
: S E L E C T
: A D J U S T
V I D E O L A B L E
1 . V I D E O 1
-
/ V C R / DV D / D T V
2 . V I D E O 2
-
S AT / C B L
3 . V I D E O 3
-
4 . C O M P O N E N T
-
O P T I O N M E N U
: S E L E C T
: A D J U S T
V I D E O L A B E L
1 . V I D E O 1
-
2 . V I D E O 2
-
3 . V I D E O 3
-
4 . C O M P O N E N T
-
/ V C R / DV D / D T V
S AT / C B L
O P T I O N M E N U
: S E L E C T
: A D J U S T
V I D E O L A B L E
1 . V I D E O 1
-
2 . V I D E O 2
-
3 . V I D E O 3
-
4 . C O M P O N E N T
- / V C R /
DV D
/ D T V
S AT / C B L
O P T I O N M E N U
: S E L E C T
: A D J U S T
Note
• After setting the clock, the date and time
start working automatically.
• After a power outage or disconnection, the
clock settings are lost and need to be
reset.
S E T U P
L A N G UAG E
E N G L I S H
C L O C K S E T
T V / C A B L E
C A B L E
AU TO C H M E M O RY
A D D / D E L E T E
: S E L E C T
: A D J U S T
S E T U P
L A N G UAG E
E N G L I S H
C L O C K S E T
T V / C A B L E
C A B L E
AU TO C H M E M O RY
A D D / D E L E T E
: S E L E C T
: A D J U S T
C L O C K S E T
M O N T H
1
DAY
1 ( S U N )
Y E A R
2 0 0 6
T I M E
1 2 : 0 0 A M
: S E L E C T
: A D J U S T
E X I T: E N D
NS-30HTV.fm Page 15 Wednesday, August 2, 2006 4:36 PM

