


71
NS-24DD220NA16/NS-28DD220NA16/NS-32DD220NA16 24"/28"/32" 720p 60Hz, LED DVD combo TV
www.insigniaproducts.com
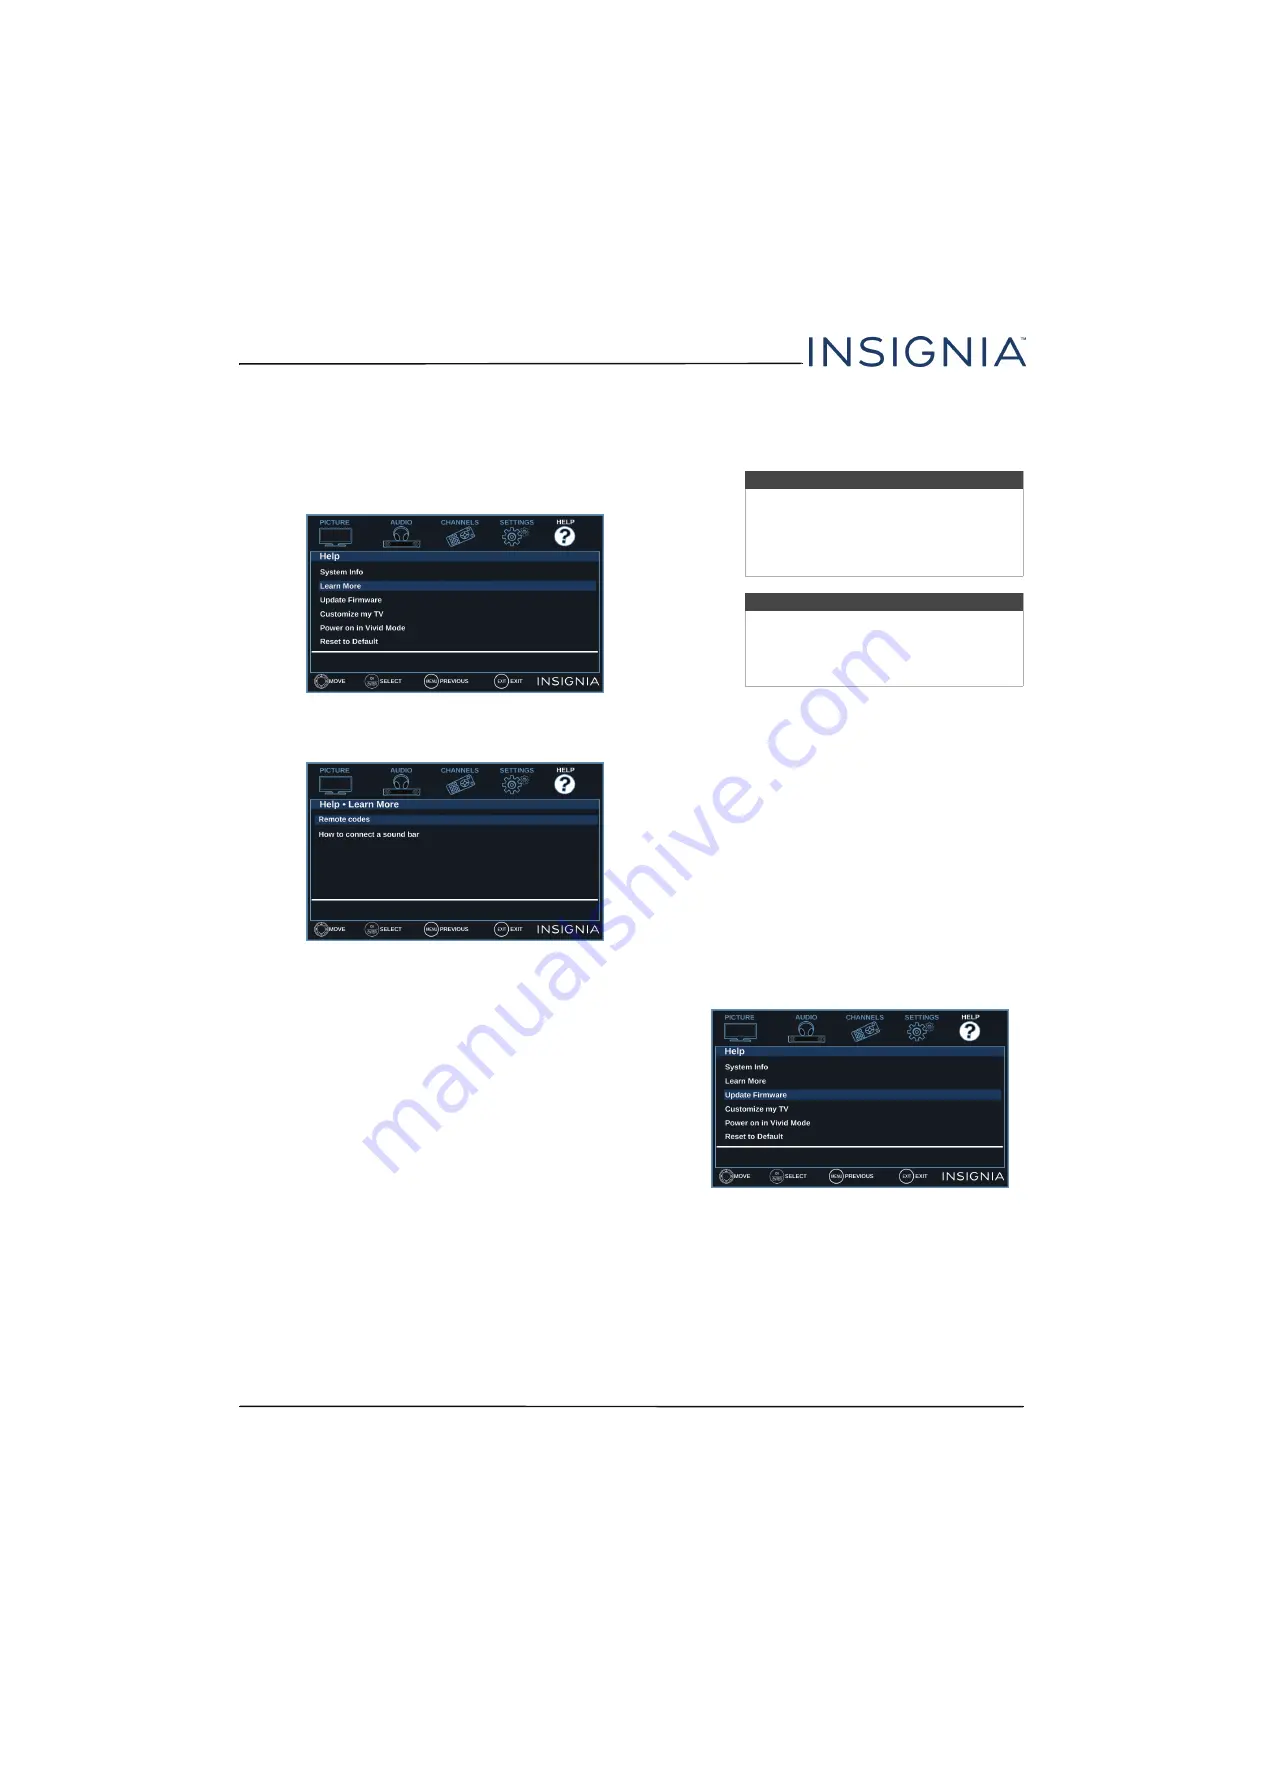
Learning more
You can learn more about remote control codes and
connecting a sound bar.
1
Press
TV-MENU
.
2
Press
W
or
X
to highlight
HELP
, then press
T
or
OK
.
3
Press
S
or
T
to highlight
Learn More
, then press
OK
or
X
.
4
Press
S
or
T
to highlight a topic, then press
OK
.
Your TV displays information about the topic you
selected.
5
Press
TV-MENU
to return to the previous menu, or
press
EXIT
to close the menu.
Updating the TV firmware
If your TV is behaving oddly and you have tried all the
solutions in the troubleshooting pages, you may need
to update the TV firmware.
1
On the
Help
menu, select
System Info
, then write
down your model, revision, and firmware
information. See “
” on
page
2
On a computer, go to
www.insigniaproducts.com
,
then click
Support & Service
. Enter
NS-24DD220NA16
,
NS-28DD220NA16
, or
NS-32DD220NA16
in the box under
Manual,
Firmware, Drivers & Product Information
, then
click
X
.
3
Follow the instructions in the
Firmware Installation
Guide
on the Insignia website to download the
firmware update and copy it to a USB flash drive.
4
Plug the USB flash drive into the
USB
port on the
side of your TV.
5
Press
TV-MENU
.
6
Press
W
or
X
to highlight
HELP
, then press
T
or
OK
.
7
Press
S
or
T
to highlight
Update Firmware
, then
press
OK
or
X
. A message asks if you want to
update the TV firmware.
8
Highlight
OK
, then press
OK
.
While your TV installs the firmware update, your
TV displays a status screen.
Do not turn off your
TV until the update is complete.
Cautions
• Make sure that you have tried all other
solutions before you upgrade the
firmware.
• While the firmware is updating, do not
turn off your TV.
Note
To update the TV firmware, you need a:
• Computer with an available USB port
• High-speed Internet connection
• USB flash drive


