background image

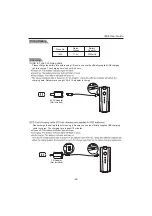
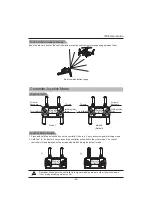
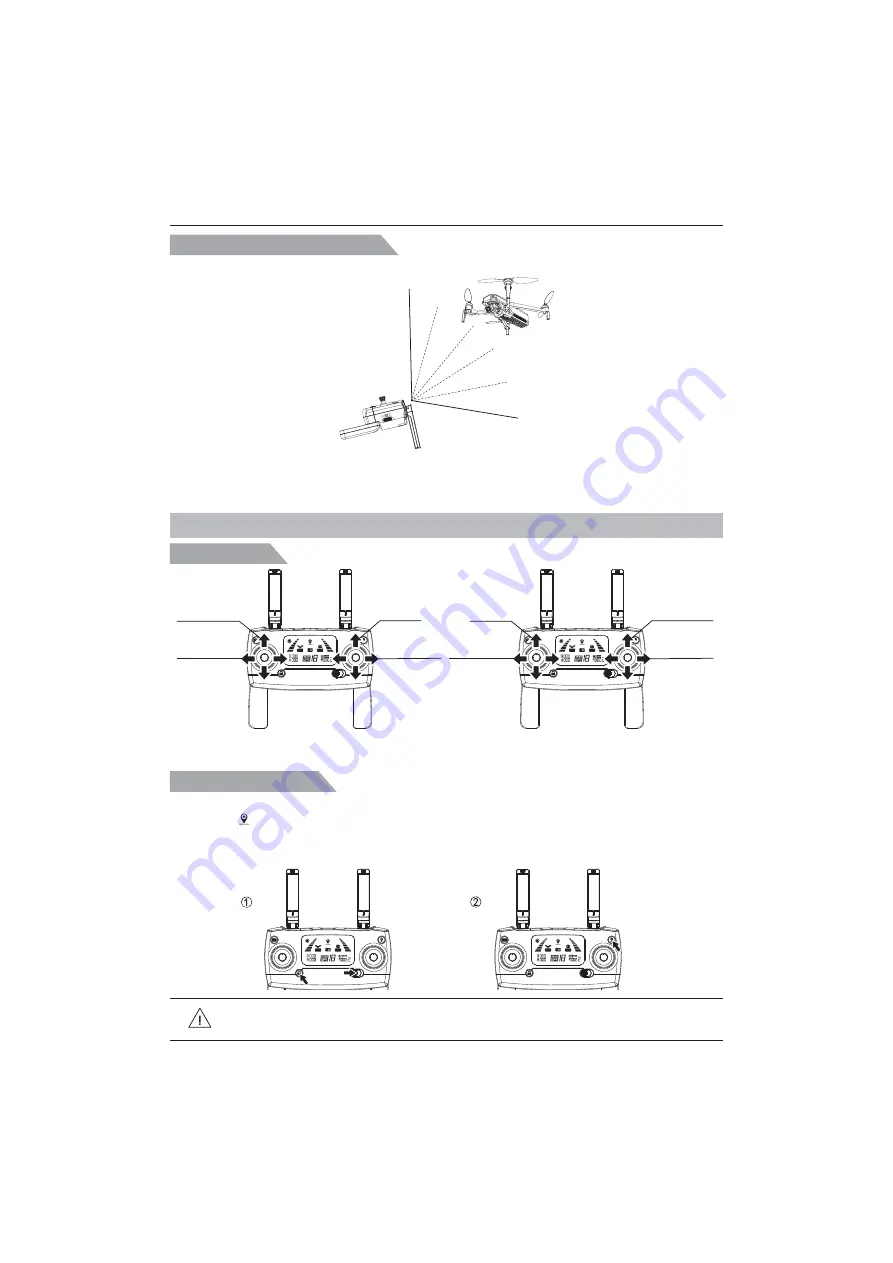
Drone Communication Range

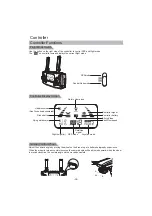
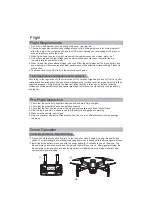
Joystick mode

Keep the drone in front of the controller and prevent any obstacles from appearing between them.

Joystick Mode Switch

                          I63E User Guide

Best communication range

Reminder: Make sure the controller is in signal matching mode in order to switch modes, 
if not, mode switching will not occur.

1. Press and hold the unlock button on the controller, then turn it on to activate signal matching mode.
2. Hold the "     " button for 3 seconds and the controller will switch to the other mode. The current 
    controller will be displayed on the screen with Mode 2 being the default mode.

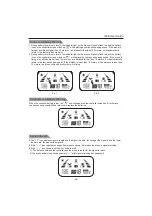
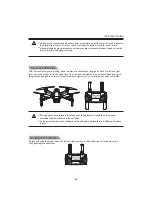
Mode 2

(Default)

Mode 1

Throttle

Left/Right side

flying

Forward/

Backward

Turn left/Right

Throttle

Left/Right side

flying

Forward/

Backward

Turn left/Right

Controller Joystick Mode

-15-

Summary of Contents for SPEEDBIRD 163E

Page 1: ...3 Axis Gimbal User Guide...

Page 2: ...4 5 6 7 9 9 10 11 Function Situation of Controller Controller Joystick Mode Assemble Phone Holder Controller 12 15 16 FPV Real Time Transmission Software M RC PRO App 17 Surrounding Requirements of th...

Page 3: ...mbal camera 1 SPEEDBIRD I63E is equipped with optical flow and GPS and is capable of hovering and flying steadily indoors and outdoors It is equipped with automatic return home and easy to use intelli...

Page 4: ...6 7 8 5 1 2 3 4 2 B...

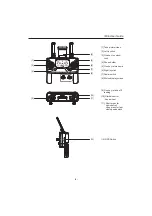
Page 5: ...Lock 4 Phone holder 5 One key return home 6 Right joystick 7 Power switch 8 Status display screen 9 One key to take off landing 10 Gimbal control hand wheel 11 Short press for light control Long pres...

Page 6: ...any accidents At the same time please avoid flying in a weak GPS signal or a narrow space to avoid accidents GPS Mode Optical Flow Position height is 3m If you exceed this height the drone will lose c...

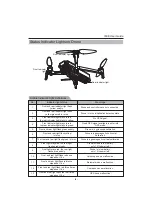
Page 7: ...and rear light flash red once stop about 1 5s Gyroscope has a malfunction 11 Front and rear light flash red twice stop about 1 5s Barometer has a malfunction 12 Front and rear light flash red three ti...

Page 8: ...et 15 120m When the GPS signal is weak or not working or has been interrupted for more than 6 seconds the drone will not be able to return to the home point It will descend slowly until landing then i...

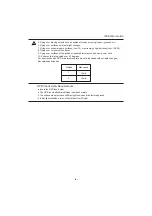
Page 9: ...sures the accurate positioning and safe flight of the drone Measurement accuracy to the Optical Flow System OPS is easily affected by light intensity and texture of the surface If the OPS fails the dr...

Page 10: ...ith significant repeated textures such as same color brick 10 Surfaces that are angled over 30 degrees For best results with OPS maintain moderate drone flying speed without rapid changes Recommended...

Page 11: ...onds again the drone will turn off and indicator light will turn off 0 70 9 Please place drone on flat open ground for takeoff Do not touch the gimbal after the power is turned on The gimbal contains...

Page 12: ...is about 70 minutes Charging 5V 2A Adapter Not included Please charge the battery fully before using it Be sure you use the officially supplied USB charging cable to charge The charging time is about...

Page 13: ...sassemble battery or place near high temperatures or heated areas such as fires or electric heating devices Check the power cord shell and other parts regularly If any damage occurs repair damage befo...

Page 14: ...de Fixed altitude mode Gimbal Control Wheel Adjust the camera angle by moving the wheel on the drone to get a better photography experience When the wheel is turned counterclockwise the camera angle w...

Page 15: ...o take a video and the will flash slowly continuously Hold the controller for 2 seconds again to stop shooting video After unlocking the I63E press the button once and the drone will takeoff automatic...

Page 16: ...reen will show while playing a continuous beeping sound If the drone is flying at an altitude higher than 15 meters or at a distance further than 15 meters it will automatically return to the last sav...

Page 17: ...not mode switching will not occur 1 Press and hold the unlock button on the controller then turn it on to activate signal matching mode 2 Hold the button for 3 seconds and the controller will switch t...

Page 18: ...1 Pull the phone holder up completely Pic 1 2 Rotate the phone holder up 30 Pic 2 3 Rotate and fix support board in to place Pic 3 4 Move components up and down to adjust the size to fit your phone Pi...

Page 19: ...ed Saving Photos and Videos Without a memory card photos and videos will be saved to the album in the App These photos and videos will only have the quality that the phone provides With a memory card...

Page 20: ...nts 1 Check that the controller controller battery and phone are all fully charged 2 Check that the propellers have been installed correctly 3 Check that the front and rear arms of the drone and prope...

Page 21: ...ound Push the left and right joysticks to the bottom left at the same time The front and rear lights on the drone will flash quickly as the gyroscope begins to calibrate Once the indicator lights stay...

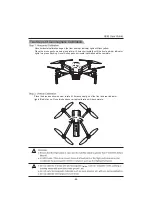
Page 22: ...as shown below and rotate it 3 times horizontally until the front and rear indicator lights turn green flashing Once this happens horizontal calibration will be complete Place the drone as shown below...

Page 23: ...k the drone Method 2 The drone will lock automatically after 15 seconds of non use Emergency stop Operate The Drone Controller Drone Up Down Forward Backward Turn left Left side flying Right side flyi...

Page 24: ...controller and drone and complete the initialization of the drone 4 Open the M RC PRO APP connect the phone to the I63E and enter into the camera interface 5 Unlock the drone 6 Slowly move the thrott...

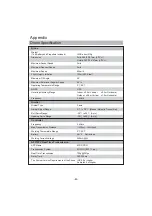
Page 25: ...Battery AA 2 Working Temperature Range 0 40 Working Current Voltage 200mA 3V Max Transmission Distance Drone Weight The Battery and Propellers Included Dimension Maximum Ascent Speed I63E about 612g F...

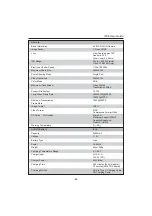
Page 26: ...imum Photo Size Photo Shooting Mode Video Resolution Camera I63E Lens View Angle approx 120 Aperture f 2 0 Focal Length 2 96mm Basic Information 4K EIS 5G WIFI Camera Image Sensor Electronic Shutter S...

Page 27: ...n a clean non abrasive cloth to clean screen of ING controller screen Do NOT use any type of chemical solvent acidic or alkaline solution as these may damage the screen Never clean the screen when dev...

Page 28: ...Important Statement n a e o t...

Page 29: ...and other materials Therefore it is necessary to keep away from heat sources avoid deformation or even damage due to high temperature Discard the product at will which may affect the environment Plea...

Page 30: ......
Reviews: