16
U
s
i
n
g
t
h
e
P
r
o
j
e
c
t
o
r
Volume
•
To increase the volume, press
•
To decrease the volume, press
Volume adjustments are saved for each source you have con-
nected.
Using the On-Screen Menus
The projector
has four on-screen menus that allow you to make
image adjustments and change a variety of settings. Most of these
adjustments aren’t available directly from the keypad.
To open the on-screen menus, press the
menu
button on the key-
pad. This changes the volume, source, and standby buttons on
the keypad to menu navigation buttons (and illuminates the key-
pad green). Press the corresponding buttons to move the cursor
up, down, left, or right. To select a menu, use these buttons to
move the cursor to the tab for the menu you want, then click
either mouse button. To change a menu setting, move the cursor
to the setting you want to change using the navigation buttons,
then use one of the two mouse buttons to make changes. Press
menu
again when you want to close the menus. All changes are
saved when you close the menus.
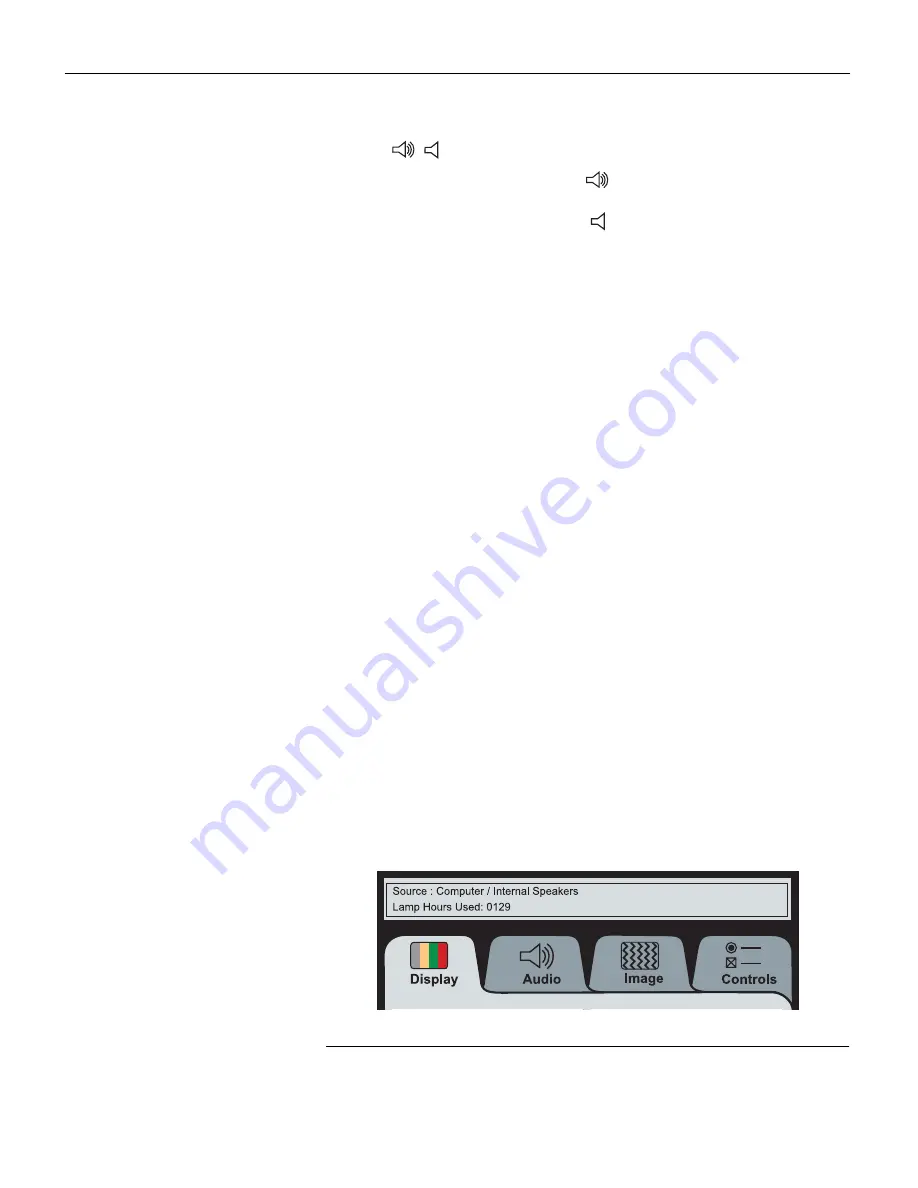
The status bar at the top of the menu display indicates the source
that is currently active (Computer or Video) and any peripherals
that are connected. It also contains a lamp hour counter that
starts at zero hours and counts each hour the lamp is in use.
Change the bulb when the brightness is no longer acceptable. See
“Replacing the Projection Lamp” on page 25 for details.
F
IGURE
12
On-screen menu status bar


