background image

WiMOD LR Starter Kit 


Quick Start Guide 

iM88x_StarterKit_QuickStartGuide.docx/ 

page 5 of 6 


3


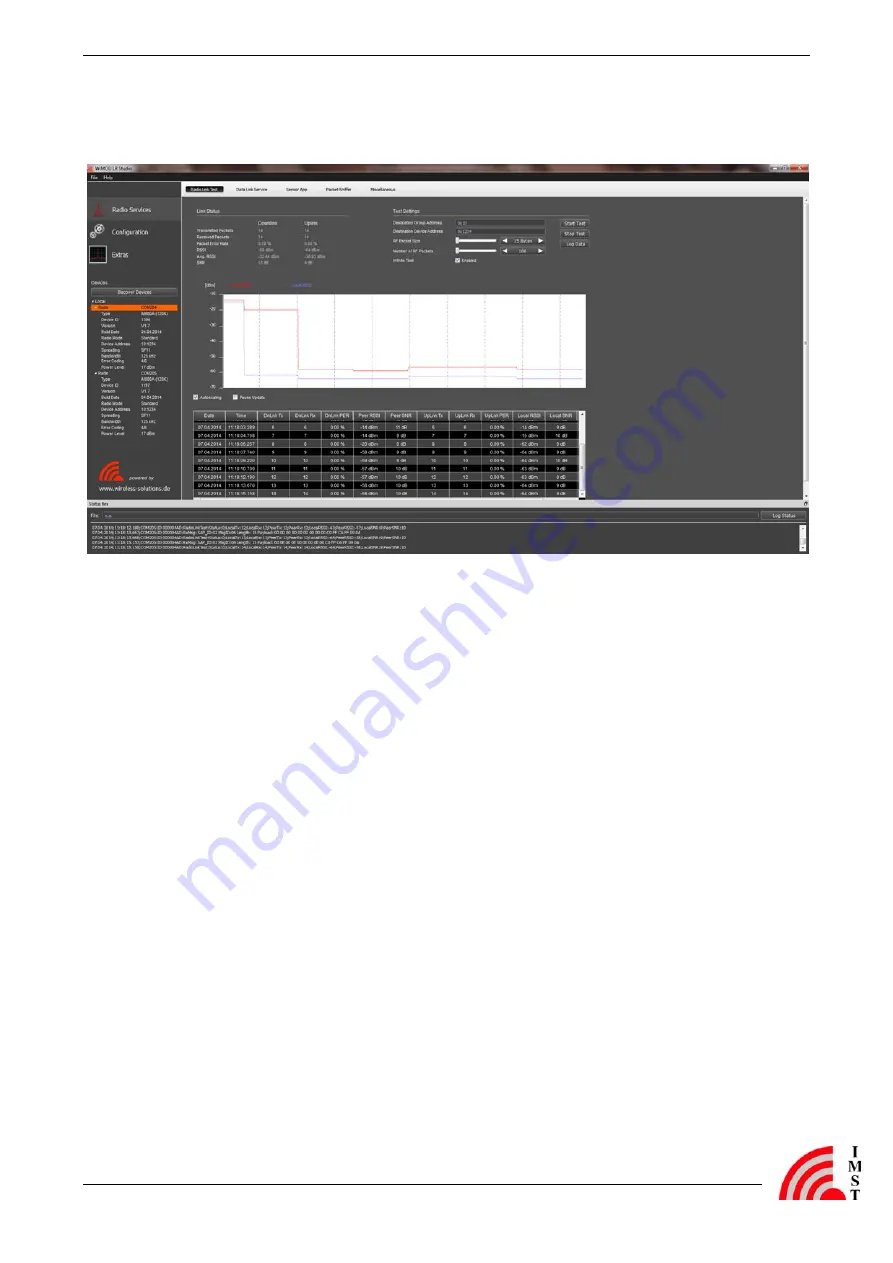
Wireless LR Studio 


Figure 3-1: WiMOD LR Studio 

1.


Open the WiMOD LR Studio tool to configure the radio module 

2.


Connect both WiMOD Demo Boards with attached iM880B/iM881A radio modules via 
USB cables to your PC and switch them on 

3.


After the initial virtual COM Port installation is finished the WiMOD LR Studio automatically 
detects the devices. The two boards will be listed in the left toolbar. If not try to find them by 
clicking 

Discover Devices

4.


Be sure to choose a reasonable parameter combination to establish a Wireless 

communication: Radio Mode, Frequency, Channel Bandwidth, Spreading Factor, Error 
Coding (=> Read Settings) 

5.


For a visual feedback the LED control can be enabled on both devices 

6.


Open the 

Data Link Service

 (Radio Services => Data Link Service) at the local device to 

initiate sending example packets to the peer device 

Summary of Contents for WiMOD LR

Page 1: ...WiMOD LR Starter Kit Quick Start Guide IMST GmbH Carl Friedrich Gauss Str 2 4 D 47475 KAMP LINTFORT ...

Page 2: ...t www wireless solutions de to get the latest information about our products software and documentation Nr File Comment 1 iM88x_StarterKit_QuickStartGuide pdf This document 2 Documentation DemoBoard_UserGuide pdf User guide for the WiMOD Demo Board 3 Documentation Folder with Datasheet ApplicationNote UserGuide and Firmware Description for the included hardware and software 4 Drivers CDM20814_Setu...

Page 3: ...SB chip manufacturer s web site 1 WiMOD LR Studio Copy the complete Folder WiMOD_LR_Studio from the enclosed installation CD to a local folder on your PC Start the WiMOD LR Studio by double clicking the executable WiMOD_LR_Studio exe Open the documentation in the Studio Menu Help User Guide for a detailed description of the included application and its features 1 http www ftdichip com Drivers VCP ...

Page 4: ...1 are set on both boards Verify that the jumper configuration is equal to the default jumper setup Figure 2 2 Default jumper set up Connect the Demo Board with an USB cable to your PC and switch S1 into position USB If successful the power LED D6 and the USB LED D5 are turned on After the Demo Board is detected by your PC as a new hardware please follow the given instructions to install the new vi...

Page 5: ...allation is finished the WiMOD LR Studio automatically detects the devices The two boards will be listed in the left toolbar If not try to find them by clicking Discover Devices 4 Be sure to choose a reasonable parameter combination to establish a Wireless communication Radio Mode Frequency Channel Bandwidth Spreading Factor Error Coding Read Settings 5 For a visual feedback the LED control can be...

Page 6: ...ance of systems or units in which products from IMST GmbH are integrated with applicable legal regulations Customers should provide adequate design and operating safeguards to minimize the risks associated with customer products and applications The products are not approved for use in life supporting systems or other systems whose malfunction could result in personal injury to the user Customers ...

Reviews: