Image Engineering
Seite
5
von
12
•
Select the
Transform Type, Reference Illuminant,
and
Profile Type.
•
Select the
Training data
for which the transform will be optimized.
•
Select the
Test data
on which the transform will be evaluated.
•
Click
Start
to calculate the color transform.
•
By default, the transform is applied to the
Test
data
and a split view of each color and the
color difference is shown in the evaluation panel.
•
Export
the ICC profile and matrices, if desired.
3.1.5 ICC profile evaluation module
•
Load a raw camera image.
•
Select a profile that was saved from the
CCM / ICC profile creation
module.
•
The color managed image will be shown for viewing on an sRGB-calibrated display.
•
Export the color managed image, if desired.
4 OPERATING INSTRUCTIONS
4.1 Camera settings
Set the camera to manual exposure mode, if available. To get best results the camera shall be
able to save pictures as linear raw files.
Exposure program
Manual
Aperture
No default value
ISO Speed
Lowest value (e.g.100)
Auto focus
Off
File type
RAW
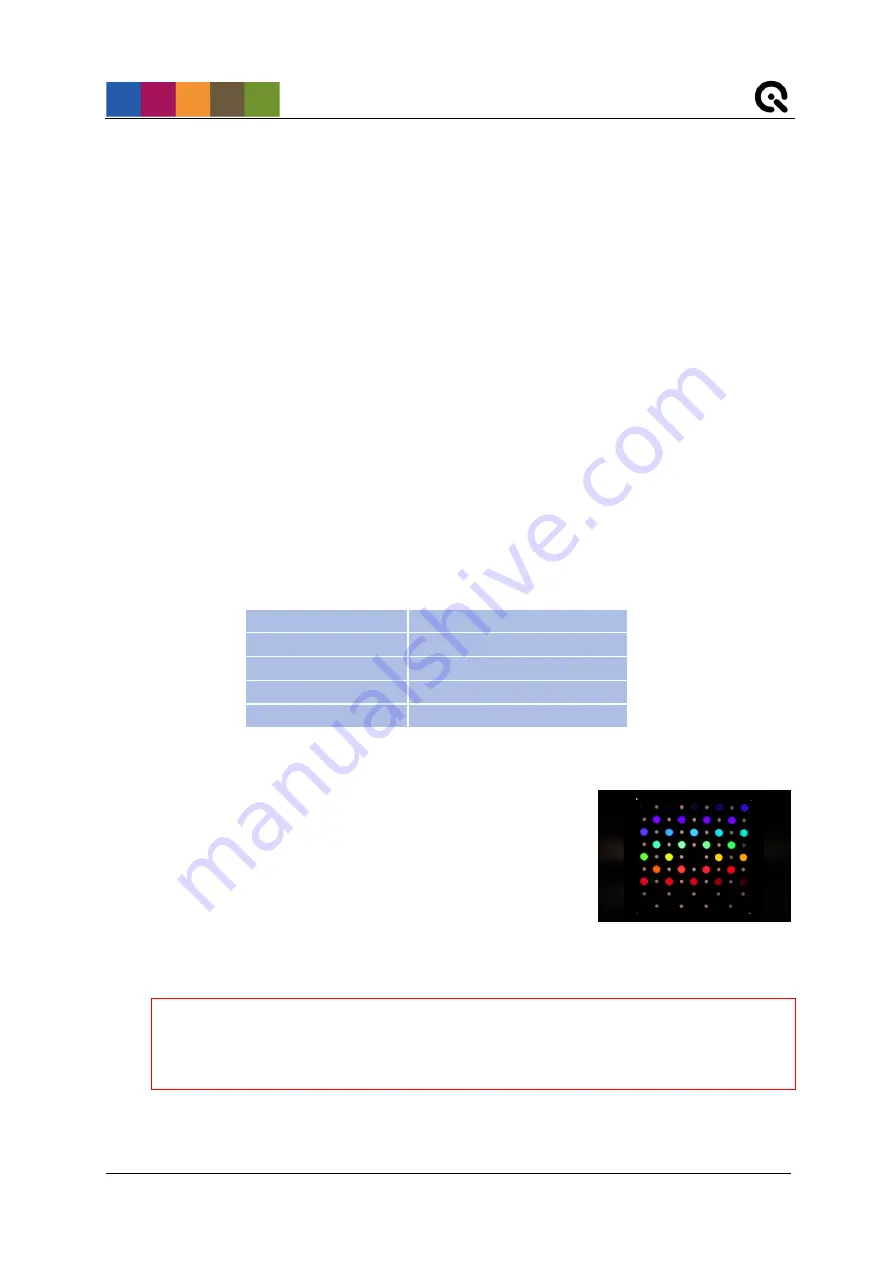
4.1.1 Camera position and lenses used
Place the camera in front of the filter plate. The principal axis
of the lens must be aligned perpendicular to the center of the
filter plate. Adjust the distance between the lens and the filter
plate such that the filter plate occupies approximately two-
thirds of the field of view of the camera, centered. Avoid using
wide-angle lenses, since there is a slight angle dependence of
the radiance power and the peak wavelength of the
interference filters. Using lenses with higher focal distances ensures a minimum viewing
angle. Viewing angles below 15° do not cause noticeable impacts on the resulting spectral
responses.
Note: Ensure that the filters are the only light sources that are captured by the
camera. To avoid stray light or other light hitting the camera sensor the pictures
should be taken in a dark room or the space between camera and the camSPECS
device should be shielded.


