background image


Introduction 

 
Your new waste disposal has been manufactured to the highest 
possible standards. It is designed to be simple to operate, and 
require minimal maintenance. Operation of the appliance will 
depend on the type of installation detailed later in this manual. 
 
If you have any questions, please do not hesitate to contact us 
using the numbers located in the rear of this manual. 
 
Please note that any electrical or plumbing work required to 
install this appliance should be carried out only by an 
authorised electrician.  
 
The minimum flow rate for this appliance is 4 litres per minute. 
 

PLEASE NOTE: 

The consumer must ascertain for themselves that 
Food Waste Disposals are permitted by the local 
authorities in the area which they live BEFORE 
installing this product. 


Before using this appliance, please thoroughly 
read this manual and understand the correct 
procedure for using this appliance. 


Summary of Contents for FWD2/1

Page 1: ...Installation and User Manual Food Waste Disposer Model FWD2 1 FWD3 FWD4 Code 3216 3217 3218...

Page 2: ...ocated in the rear of this manual Please note that any electrical or plumbing work required to install this appliance should be carried out only by an authorised electrician The minimum flow rate for...

Page 3: ...ion is vital in ensuring the product performs to the best of its ability Failure to adhere to these instructions may invalidate your warranty Contents 1 Introduction 3 Product Application 4 Important...

Page 4: ...mple of products that can be placed into the disposal The list should be used as a guide only Vegetables and vegetable by products Vegetable roots Nuts Fruit Fruit peels Egg shell Coffee grinds Fish b...

Page 5: ...such as Glass Porcelain Plastic Cans Cups etc Cutlery or any metal objects 6 When using the appliance do not leave the sealing plug in place Water needs to be flushed through continuously while the ap...

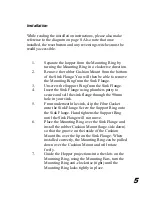
Page 6: ...utty to secure and sell the sink flange through the 90mm hole in your sink 5 From underneath the sink slip the Fibre Gasket onto the Sink Flange Screw the Support Ring onto the Sink Flange Hand tighte...

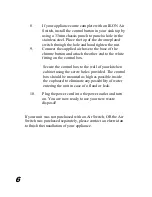
Page 7: ...ite fitting on the control box Secure the control box to the wall of your kitchen cabinet using the screw holes provided The control box should be mounted as high as possible inside the cupboard to el...

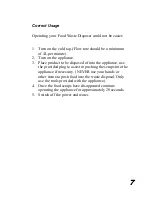
Page 8: ...to be disposed of into the appliance use the provided plug to assist in pushing the scraps into the appliance if necessary NEVER use your hands or other items to push food into the waste disposal Only...

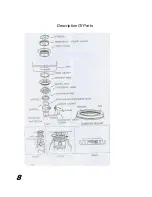
Page 9: ...Description Of Parts 8...

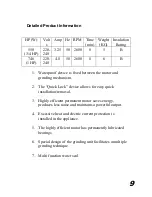
Page 10: ...anism 2 The Quick Lock device allows for easy quick installation removal 3 Highly efficient permanent motor saves energy produces less noise and maintains a powerful output 4 Excessive heat and electr...

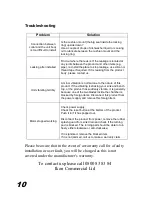
Page 11: ...ur sink and bench top or the product has suddenly vibrate it is generally because one of the two blades inside the chamber is blocked by foreign items Disconnect this product from the power supply and...

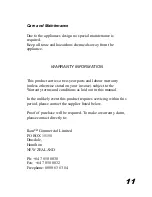
Page 12: ...otherwise stated on your invoice subject to the Warranty terms and conditions as laid out in this manual In the unlikely event this product requires servicing within this period please contact the sup...

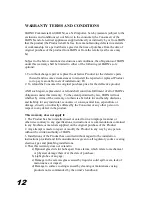
Page 13: ...ted by law IKON will not whether by virtue of the warranty or otherwise be liable for and hereby disclaims and liability for any incidental economic or consequential loss expenditure or damage directl...

Page 14: ...ty shall override or negative any statutory right or remedy that may be available to the Consumer under The Consumer Guarantees Act 1993 except where the Consumer has acquired or held himself out as a...

Page 15: ...ibed at the date of issue Under our policy of continuous product improvement these specifications may change at any time You should therefore check with your Dealer to ensure this booklet correctly de...

Reviews: