55
SSW
WIITTCCH
HEESS // FFIILLM
M GGAAU
UGGEE
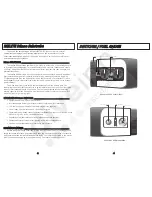
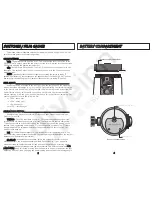
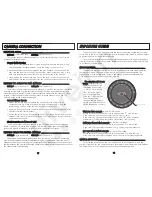
The DS200 features separate switches for power on/off and firing modes. The line
thru the switch points to the selected position.
O
ON
N//O
OFFFF SSW
WIITTCCH
H ________________________________________________________________________________________________________
O
OFFFF:: The upright switch position is OFF. The adjacent tab locks the switch in the
OFF position. To unlock, move the tab away from the switch. Always turn the Substrobe
OFF before opening the battery compartment.
O
ON
N:: There are two ON positions. The first ON position turns on the power to the
Substrobe. The second ON position turns on both the power to the Substrobe and the
modeling light.
BBAATTTT:: Occasionally check the battery capacity by rotating the switch to the BATT
position and referencing the fuel gauge on the opposite side of the strobe. The BATT position
also turns ON the modeling light as a reminder that the switch is in the BATT position.
FFU
UEELL GGAAU
UGGEE________________________________________________________________________________________________________________
When the switch is rotated to the BATT position, the fuel gauge on the Opposite
side of the strobe will display 0, 1, 2, or 3 red LED lights indicating the remaining charge
in the battery pack (see below). A fully charged NiMH pack will provide at least 160 full
power flashes and all 3 LED's should light. When no LED's are illuminated, then the
battery capacity is low and you may have less than 36 full power flashes remaining. For
general guidelines, refer to the following list:
• 3 LED’s - above 75%
• 2 LED’s - above 50%
• 1 LED - above 25%
• No LED - less then 25%
FFIIRRIIN
NGG M
MO
OD
DEE SSW
WIITTCCH
H______________________________________________________________________________________________
Multiple firing modes are featured: TTL/Auto and four manual power settings:
Full, 1/2, 1/4, and 1/8.
TTTTLL//AAuuttoo -
Thru-The-Lens/Auto Exposure: The camera automatically signals the
strobe to turn off when the exposure is correct. The camera must feature compatible
TTL/Auto exposure to utilize this mode on the DS200 when connected directly to the
camera. (See “Compatible Cameras” and “TTL/Auto Exposure” sections). The TTL/Auto
firing mode MUST be selected when connecting the optional DS Sensor #4100.5 or
EV-Controller #4100.6.
FFuullll -
Full Power Manual Exposure: The strobe fires at full power each time. You
must select the correct exposure manually. Set the camera aperture based on the subject
distance (see "Exposure Guide" section).
11//22,, 11//44,, 11//88 -
Manual Exposure Modes: Select the appropriate power setting to
manually balance the strobe output for available light. Select 1/2, 1/4, or 1/8 power
when the strobe-to-subject distance is fixed and the manual full power setting would
over-expose with the camera aperture you have selected. The difference between eeaacchh
ppoow
weerr sseettttiinngg is one full f-stop; moving from Full power to 1/2 power decreases the light
output by one full f–stop. Changing the power setting does not alter the coverage angle.
66
BBAATTTTEERRYY CCO
OM
MPPAARRTTM
MEEN
NTT
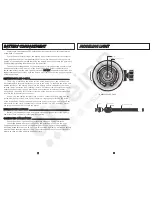
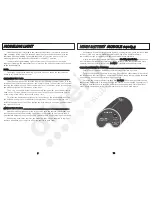
Battery Compartment
Battery Compartment
Electrical contacts
Bulb holder stem, unscrew to remove.
IK
E
L
IT
E
BA
TT
ON
O
FF
O
N
1/8
1/4
1/2
F
TTL
o'ring
battery compartment door
S
u
bs
tr
ob
e
20
0


