6
1. Press on the slide out dock to access the dock and place the insert for your iPhone or iPod model. Gently insert an
already playing iPhone or iPod. The iP39 will automatically turn on and you will hear the music playing from your
iPod/iPhone.
Note:
If the playing song/music loudness is too low on the iPod itself, the iP39 may not detect that the iPod/iPhone is in
play mode. Press the
Button
to play it. If a timer is currently active, “iPod/iPhone” “on” will be displayed for 5 sec
before returning to timer display. If no timers are active, “iPod/iPhone” “on” will be displayed while in “iPod/iPhone” mode.
2. Press the or
Button
to change iPod/iPhone track forward/reverse.
3. When the iPhone/iPod is docked and in standby mode, press the
Button
to play it.
4. When the iPhone or iPod is in play mode, press the
Button
again to pause play; press again to resume it.
5. Press
the
Volume
or
Button
to adjust the iP39 volume.
6. To turn off the unit, press the
OFF button
. Your iPhone/iPod will continue charging while in the dock.
Note:
While listening to iPod/iPhone, if iP39 has no power (AC adaptor not plugged in) the iPod/iPhone will POWER OFF.
Listening to iPod/iPhone
Charging your iPod/iPhone and USB Device
Note: Please make sure you are using the correct insert for your iPhone/iPod and that it is properly docked into the iP39.
Failure to do so may damage your iPhone/iPod.
While your iPhone/iPod is docked in the unit and the unit is connected to AC power, it recharges (until fully charged). Note
that non-docking iPods will NOT charge.
USB Mode Switch
Note:
A USB Mode Switch is located on the back of the unit near the USB port. The
USB Mode Switch is to address USB devices that require different bias to charge
properly.
To use:
1. Connect your USB device to the USB charge port on the rear of the unit. Watch your device’s charge indicator. If it
charges properly, allow it to charge.
2. If the device does not charge, move the USB Mode Switch and again observe the device’s charging indicator. If it charges
properly, allow it to charge.
If your device does not charge in either of the two USB switch positions, the device may require connection to a powered
USB port on a computer.
Charging a USB Device
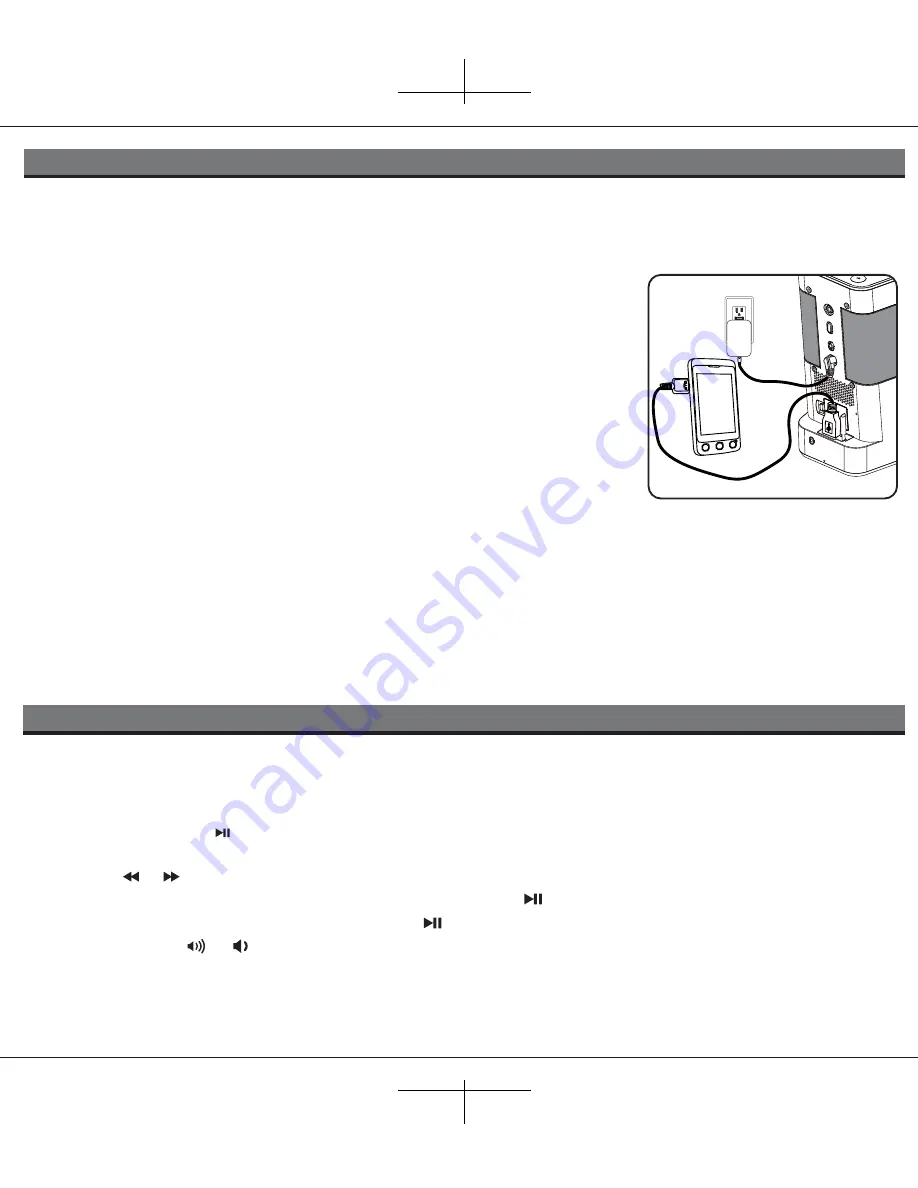
The iP39 is equipped with one USB 2.0 port (located on the the back apron) to charge
most USB compatible devices such as cell phones or PDAs while the iP39 is
connected to AC power.
To charge a USB-compatible device, lift the protective rubber cover from the USB port
and insert the compatible USB charging cable (charging cable not included). Connect
the other end to your device. Observe the charge indicator on your device to know
when it is completely charged.
NOTE: Some devices specifically require a computer-connected USB port to charge
RESETRESET
TESTTEST


