TANK-760 Em b e d d e d S ys te m
P a g e 17
S te p 3:
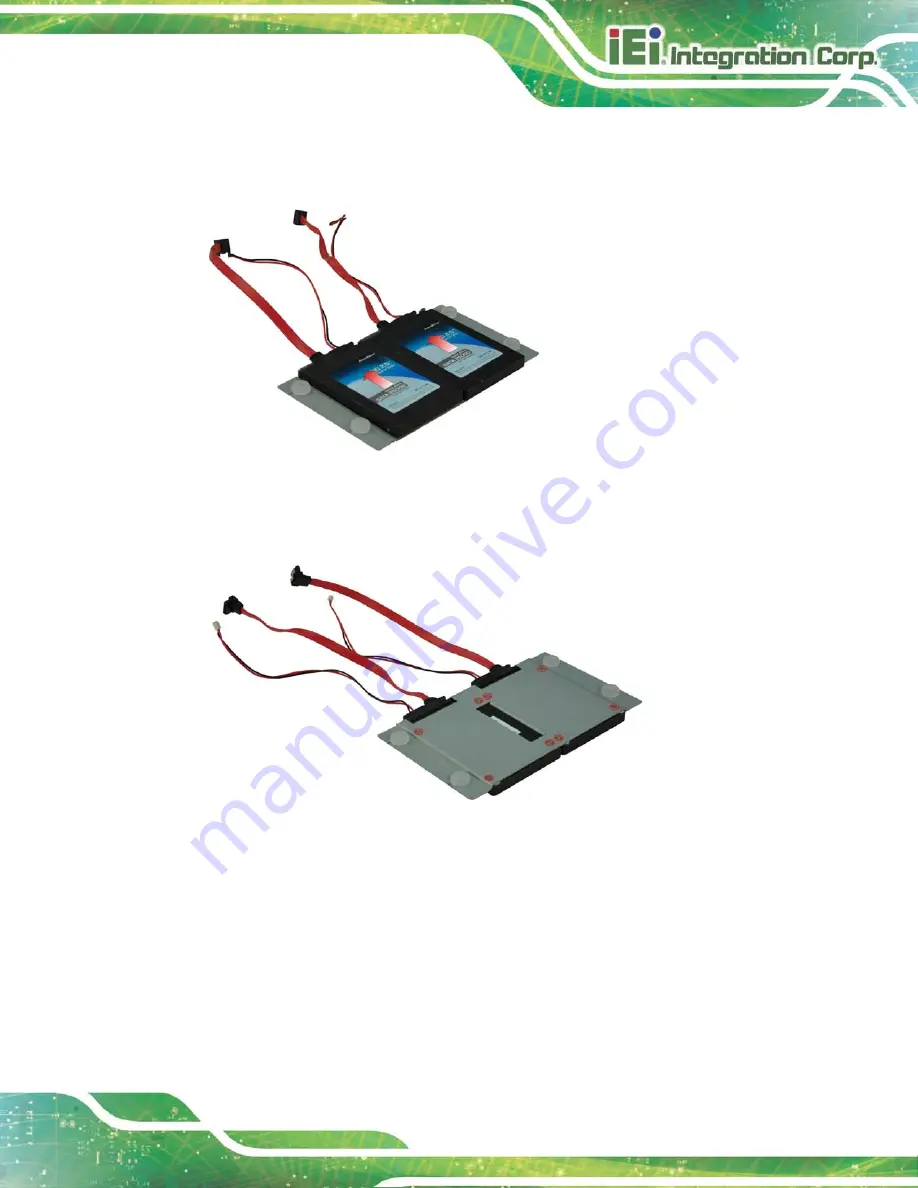
Attach each HDD to the HDD bracket, and then slide each HDD to connect the
SATA connectors.
Figure 3-3: HDD Installation
S te p 4:
Secure each HDD with the HDD bracket by four retention screws (eight in all).
Figure 3-4: HDD Retention Screws
S te p 5:
Secure the HDD bracket with TANK-760 by the four retention screws that were
previously removed.
S te p 6:
Reconnect the SATA signal and power cables to the TANK-760.
S te p 7:
Reinstall the bottom panel to the TANK-760.
Summary of Contents for TANK-760
Page 8: ...TANK 760 Embedded Sys tem Page viii Figure 3 26 Power Button 35 ...
Page 10: ...TANK 760 Embedded Sys tem Page 1 Chapter 1 1 Introduction ...
Page 19: ...TANK 760 Embedded Sys tem Page 10 Chapter 2 2 Unpacking ...
Page 23: ...TANK 760 Embedded Sys tem Page 14 Chapter 3 3 Ins tallation ...
Page 45: ...TANK 760 Embedded Sys tem Page 36 Chapter 4 4 BIOS ...
Page 81: ...TANK 760 Embedded Sys tem Page 72 Appendix A A Safety Precautions ...
Page 86: ...TANK 760 Embedded Sys tem Page 77 Appendix B B Hazardous Materials Dis clos ure ...


