


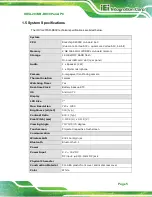


IOVU-207AR-RK39 Panel PC
Page 16
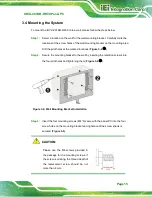
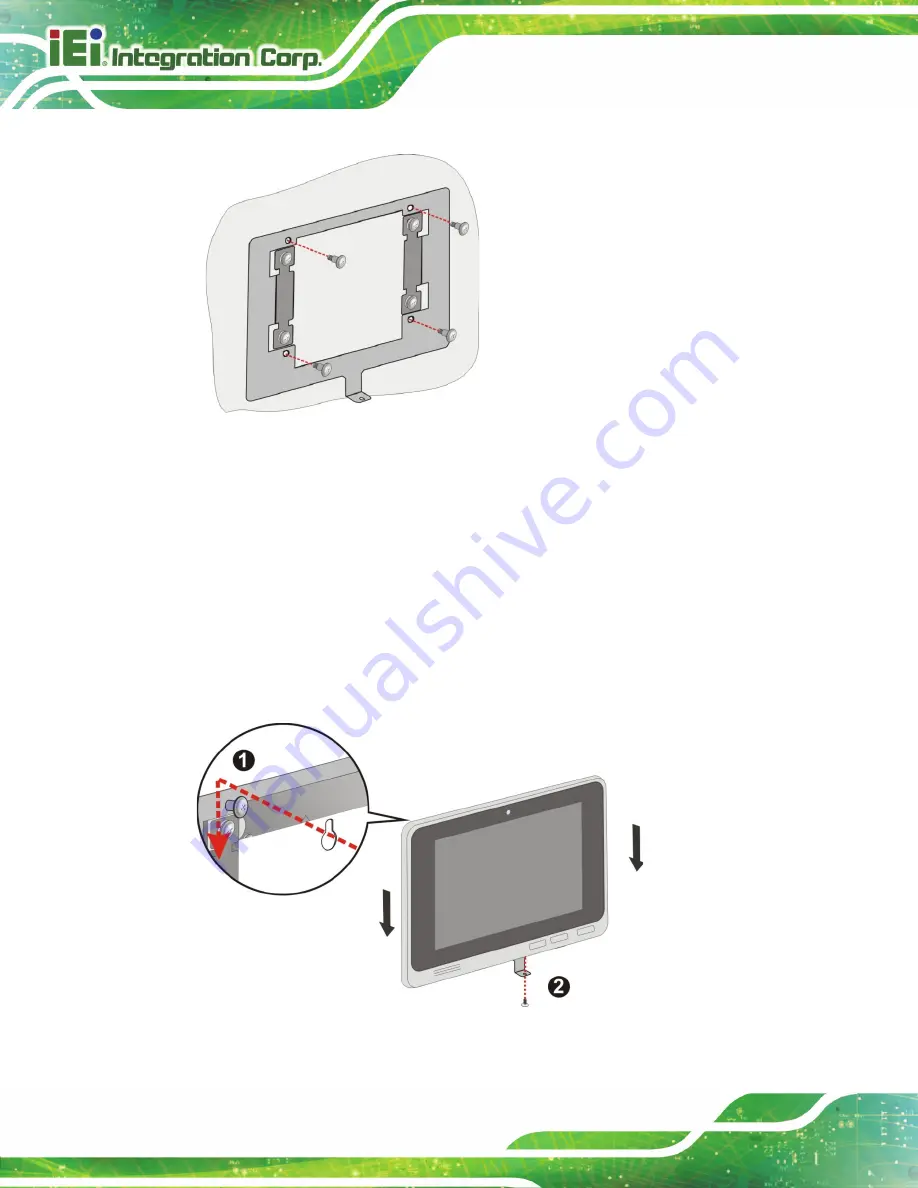
Figure 3-5: Secure Mounting Screws
Step 4:
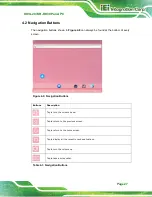
Align the mounting holes on the rear of the panel PC with the mounting screws.
Step 5:
Carefully attach the panel PC to the mounting screws and gently pull the panel
PC downwards until the panel PC rests securely on screws. Ensure that all four
of the slotted holes fit snuggly into their respective mounting screws
).
Step 6:
Secure the panel PC by installing the retention screw (M3*4) came with the
panel PC into the screw hole on the bottom of the bracket (
).
Figure 3-6: Mounting Panel PC
Summary of Contents for IOVU-207AR-RK39
Page 9: ...IOVU 207AR RK39 Panel PC Page 1 Chapter 1 1 Introduction ...
Page 16: ...IOVU 207AR RK39 Panel PC Page 8 Chapter 2 2 Unpacking ...
Page 19: ...IOVU 207AR RK39 Panel PC Page 11 Chapter 3 3 Installation ...
Page 29: ...IOVU 207AR RK39 Panel PC Page 21 Chapter 4 4 Android OS ...
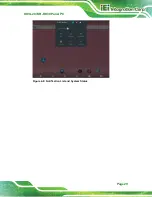
Page 37: ...IOVU 207AR RK39 Panel PC Page 29 Figure 4 8 Notification List and System Status ...
Page 38: ...IOVU 207AR RK39 Panel PC Page 30 Appendix A A Regulatory Compliance ...
Page 43: ...IOVU 207AR RK39 Panel PC Page 35 Appendix B B Safety Precautions ...
Page 48: ...IOVU 207AR RK39 Panel PC Page 40 Appendix C C Hazardous Materials Disclosure ...


