


DRPC-120-BTi Embedded System
Page 77
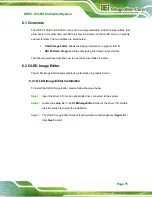
Step 5:
The following screen appears. Click
Next
to confirm the installation.
Figure 6-3: Confirm Installation
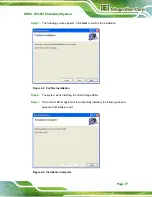
Step 6:
The system starts installing the OLED Image Editor.
Step 7:
When the OLED Image Editor is successfully installed, the following window
appears. Click
Close
to exit.
Step 0:
Figure 6-4: Installation Complete
Summary of Contents for DRPC-120-BT
Page 12: ......
Page 13: ...DRPC 120 BTi Embedded System Page 1 Chapter 1 1 Introduction...
Page 23: ...DRPC 120 BTi Embedded System Page 11 Chapter 2 2 Unpacking...
Page 28: ...DRPC 120 BTi Embedded System Page 16 Chapter 3 3 Installation...
Page 49: ...DRPC 120 BTi Embedded System Page 37 Chapter 4 4 System Maintenance...
Page 53: ...DRPC 120 BTi Embedded System Page 41 Chapter 5 5 BIOS...
Page 86: ...DRPC 120 BTi Embedded System Page 74 Chapter 6 6 Programming OLED for DRPC 120 BTi E5 OLED...
Page 97: ...DRPC 120 BTi Embedded System Page 85 Chapter 7 7 Interface Connectors...
Page 110: ...DRPC 120 BTi Embedded System Page 98 Appendix A A Safety Precautions...
Page 115: ...DRPC 120 BTi Embedded System Page 103 Appendix B B Digital I O Interface...
Page 118: ...DRPC 120 BTi Embedded System Page 106 Appendix C C Hazardous Materials Disclosure...


