13
4.
Browse for the dome in the
Select video encoder
window and click the
Serial port(s)
on the same unit
radio button if it is not already selected.
5.
Choose
DVTel IP
from the
Protocol
drop-down menu and click
OK
.
6.
Change the
PTZ number
field (under the PTZ motor
Properties
tab) to the dome’s
PTZ number (typically
1
) and click
Apply changes
.
7.
Switch to the
Test
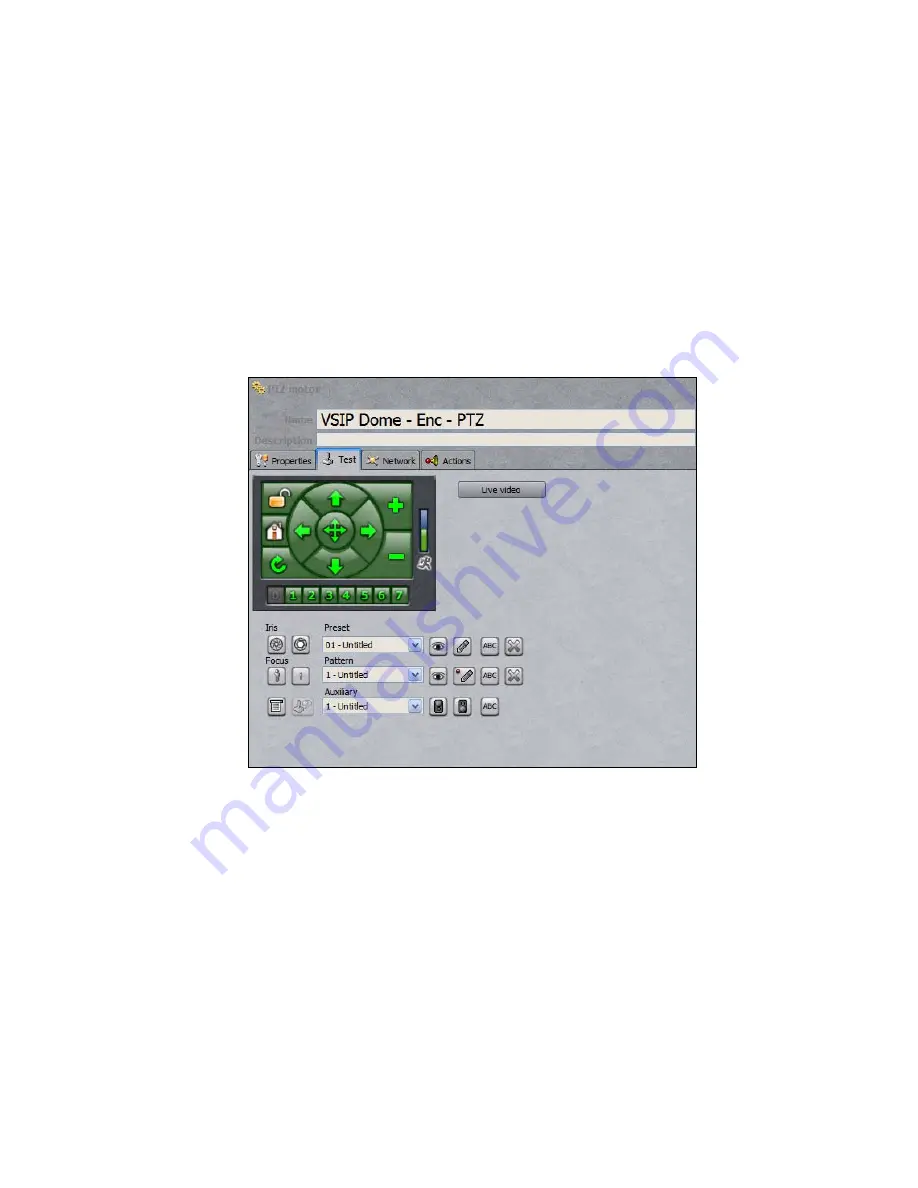
tab and click the
Live video
button. Use the green on-screen
controls to test that the dome is responding to PTZ commands.
Creating Presets and Patterns
Presets and patterns can be created using the AdminCenter’s GUI interface, without having
to rely on the dome’s menu.
Figure 19 - The PTZ Configuration Pane
To create a preset:
1.
Click the
Live video
button.
2.
Choose the preset you would like to create from the
Preset
pull-down menu.
3.
Use the on-screen controls to find the camera position/state you would like to associate
with the preset.
4.
Click any of the
Iris
/
Focus
buttons if you would like to override your camera’s default
setting when using the preset.
5.
Click the pencil button to save the preset and the ABC button to name it.
To create a pattern:
1.
Click the
Live video
button.
2.
Choose the pattern you would like to create from the
Pattern
pull-down menu.


